Scan Using the Scan
Button on Y
our Fuji
Xerox Machine
Scan Using the Scan Button
on the Machine
1
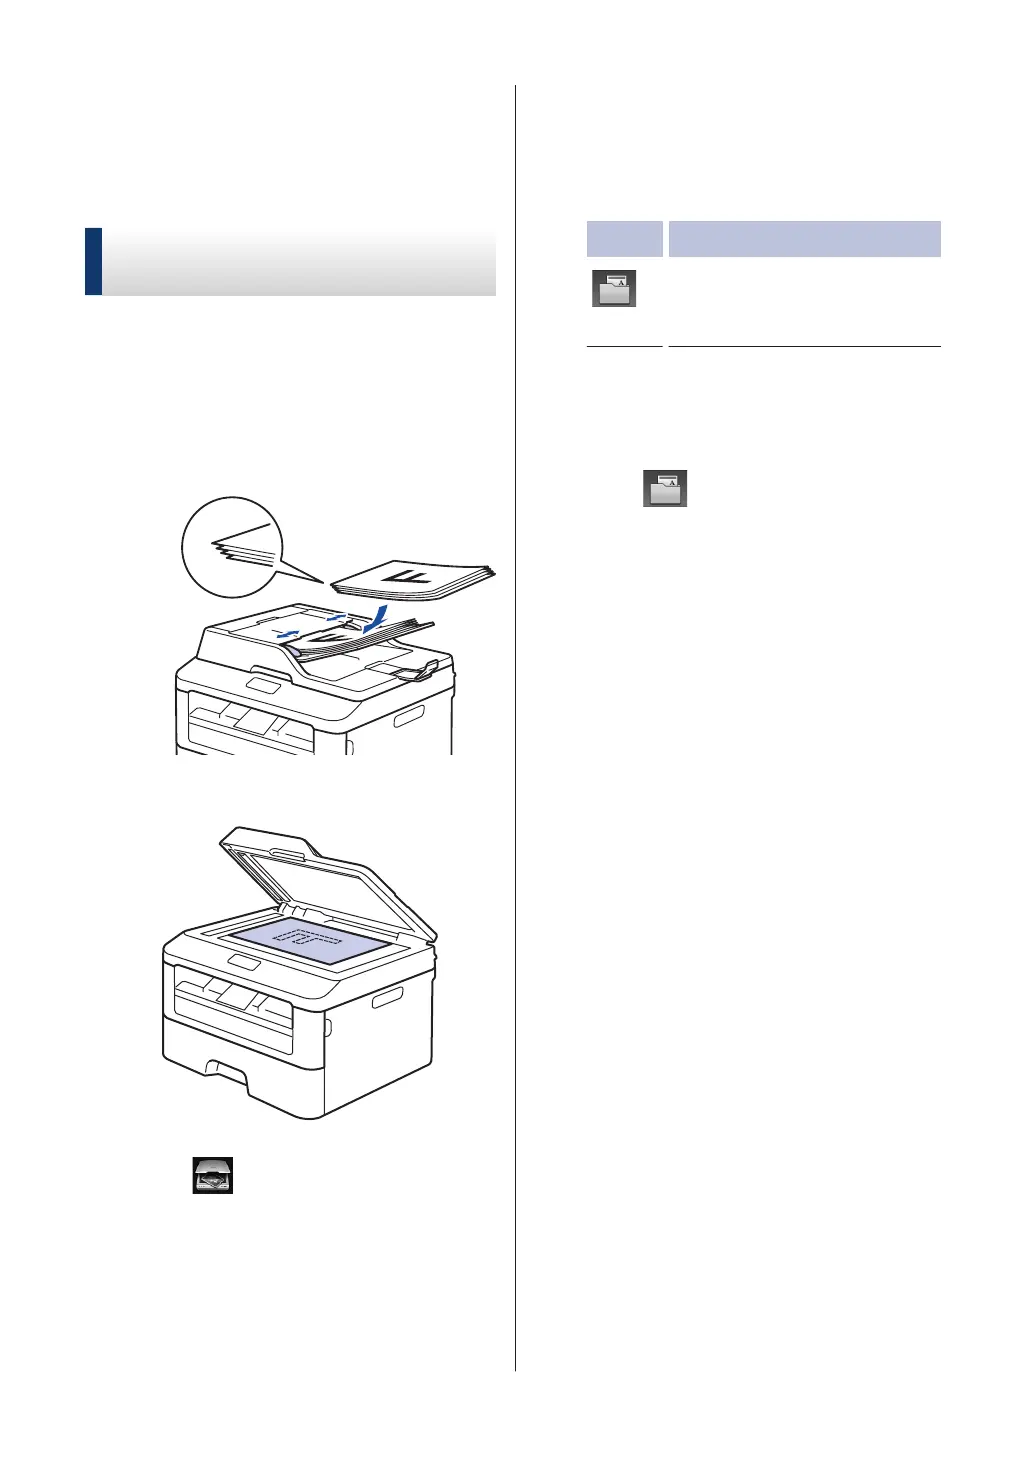
Do one of the following:
•
Place the document face up in the
ADF.
(If you are scanning multiple pages,
we recommend using the ADF.)
• Place the document face down on
the scanner glass.
2
Press (Scan).
3
Press d or c to display the Scan mode
icon.
The icon is highlighted and moves to the
middle of the LCD.
Option Description
Press this button to scan
documents and save them to
a folder on your computer
.
For other Scan options, see the Online
User's Guide: Scan Using the Scan
Button on Y
our Fuji Xerox Machine
4
Press
(to File).
5
If the machine is connected to a
network, press a or b to display the
computer where you want to send the
document, and then press the computer
name.
6
Do one of the following:
•
To change the settings, press
Options, and then go to the next
step.
• To use the default settings, press
Start.
The machine scans the document.
7
Select the scan settings you want to
change:
• 2-sided Scan
• Scan Settings
• Scan Type
• Resolution
• File Type
• Scan Size
• Remove Background Colour
(available only for the Colour and
Grey options.)
8
Make the changes you want, and then
press OK.
26

 Loading...