NOTES:
• *1: By using this function, the wiring is automatically corrected according to the piping.
• *2: When correcting the wiring manually, please disconnect the power supply or turn off
the breaker during results display, and then change the wiring manually according to the
obtained test results.
For example, in Example 1, the wirings connected to the terminals B and C is to be ex-
changed manually.
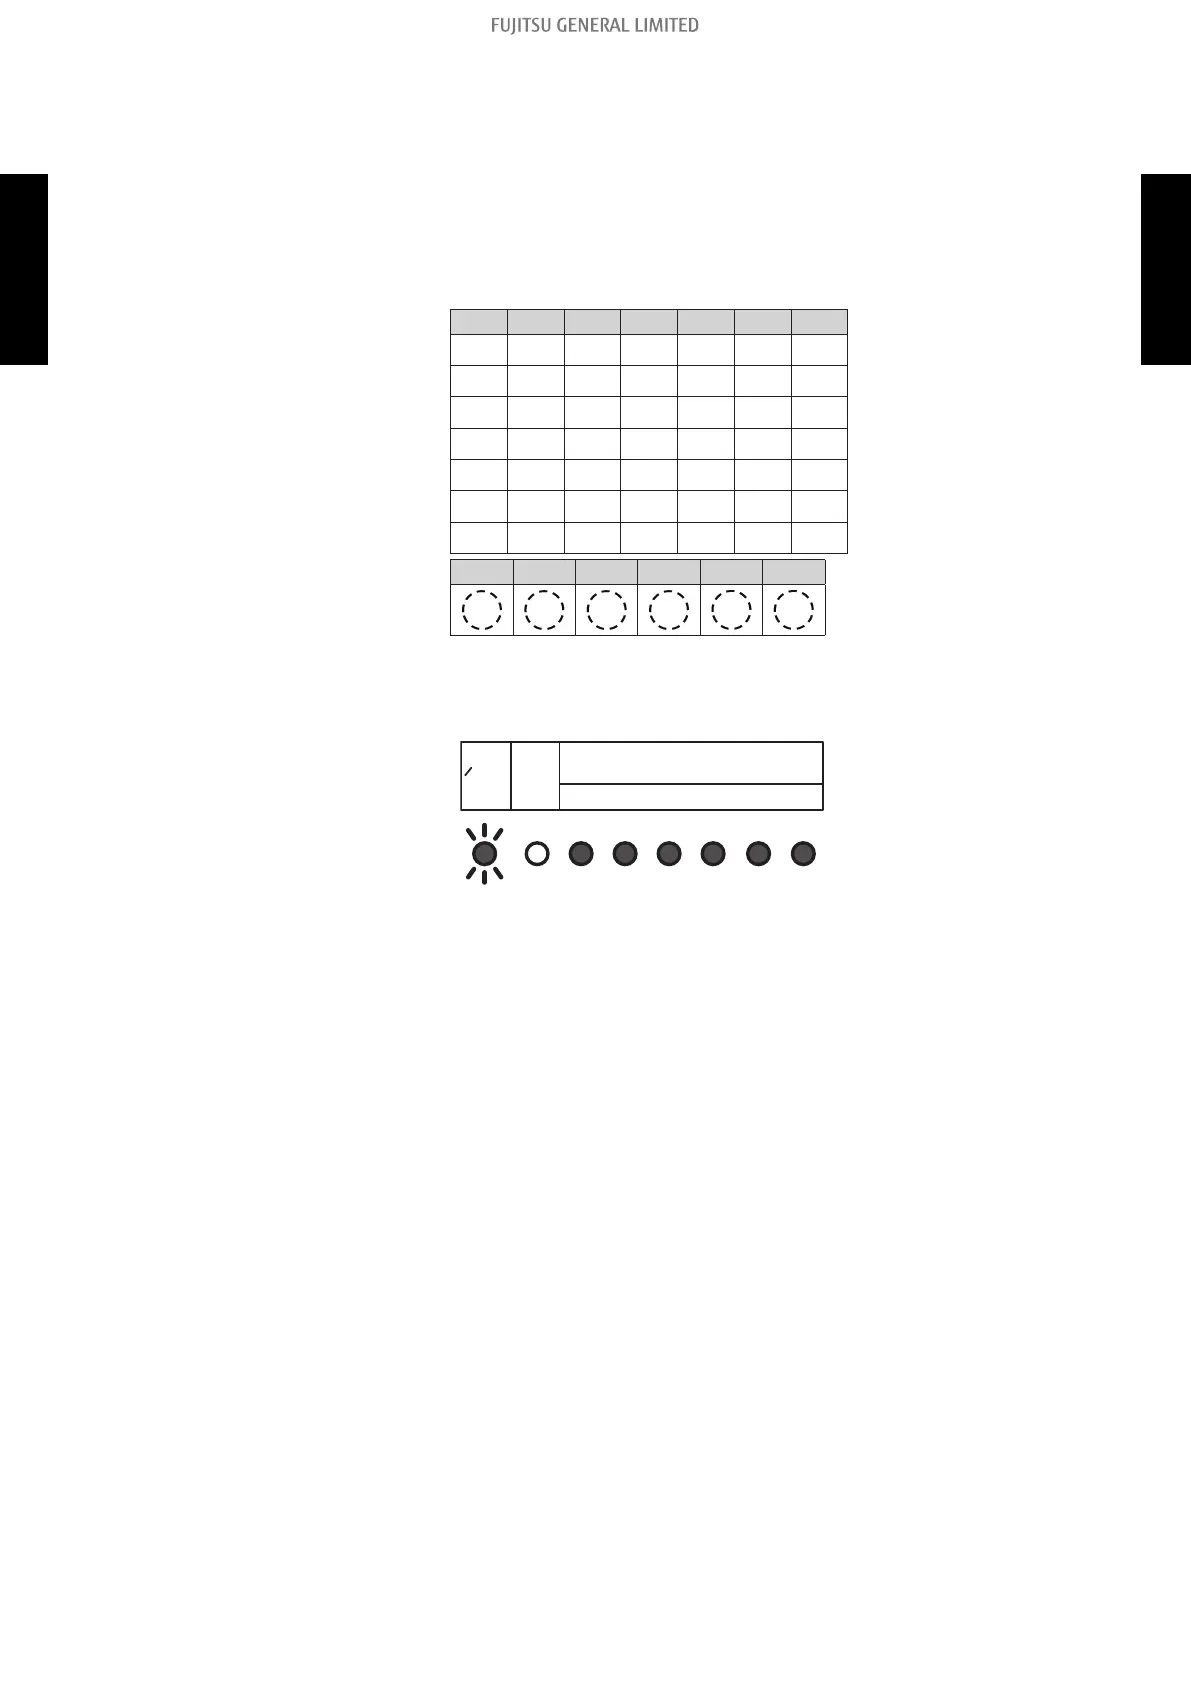
<Result Table>
A B C D E F
1
2
3
4
5
6
7
A B C D E F
5. During results display, press the "CHECK" switch for 3 seconds or more.
After LEDs A to F have lit in turn, all LEDs will light up indicating that the automatic wiring cor-
rection is completed.
(2-blink)
FEDC
MONITOR
ERROR
BA
POWER
MODE
6. Disconnect the power supply or turn off the breaker and wait 10 minutes then turn the power
back on and perform test run.
NOTE: If you do not disconnect the power supply or turn off the breaker, normal operation is
not possible.
Notices:
• If an error occurs during check run it will be suspended. Correct the error and start check run
again.
• After the check run, if automatic wiring correction is carried out, the indoor unit’s position will be
modified to match the piping. (Note that the display of the optional remote controller changes.)
• If you start check run again after the automatic wiring correction is finished, the modification will
be reset.
- 311 -
14-1. Check run 14. Check and test
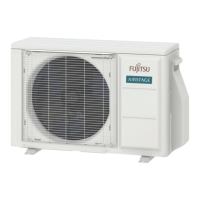
OUTDOOR UNIT
AOU45RLXFZ
OUTDOOR UNIT
AOU45RLXFZ
 Loading...