6
Turning on the power and setting hardware
Normally, hardware settings are not required to be changed from the default.
However, in the following cases, start each utility and check/change hardware settings.
- When changing the Boot Drive
- When installing/removing optional devices
- When running remote installation
"Chapter 7 Conguring Hardware and Utilities"
You can write down hardware conguration and setting values of the BIOS Setup Utility in the "Conguration Sheets" that is
available from Fujitsu PRIMERGY website (http://primergy.fujitsu.com).
1
Power on the peripheral devices such
as the display.
2
Turn the server power on.
3
Set the hardware.
If no hardware settings are performed, skip to the
next step when a message to insert the PRIMERGY
Startup Disc is displayed.
1.
When the " <F2> BIOS Setup / <F12>
Boot Menu" message appears at the server
startup (during POST), press the [F2] key.
2.
Check/change the settings.
3.
Select "Save Changes & Exit" from the
Exit menu and press the [Enter] key.
4
Turn the server power off.
For the use of Linux distribution with this server, refer to
Fujitsu PRIMERGY website (http://primergy.fujitsu.com).
n
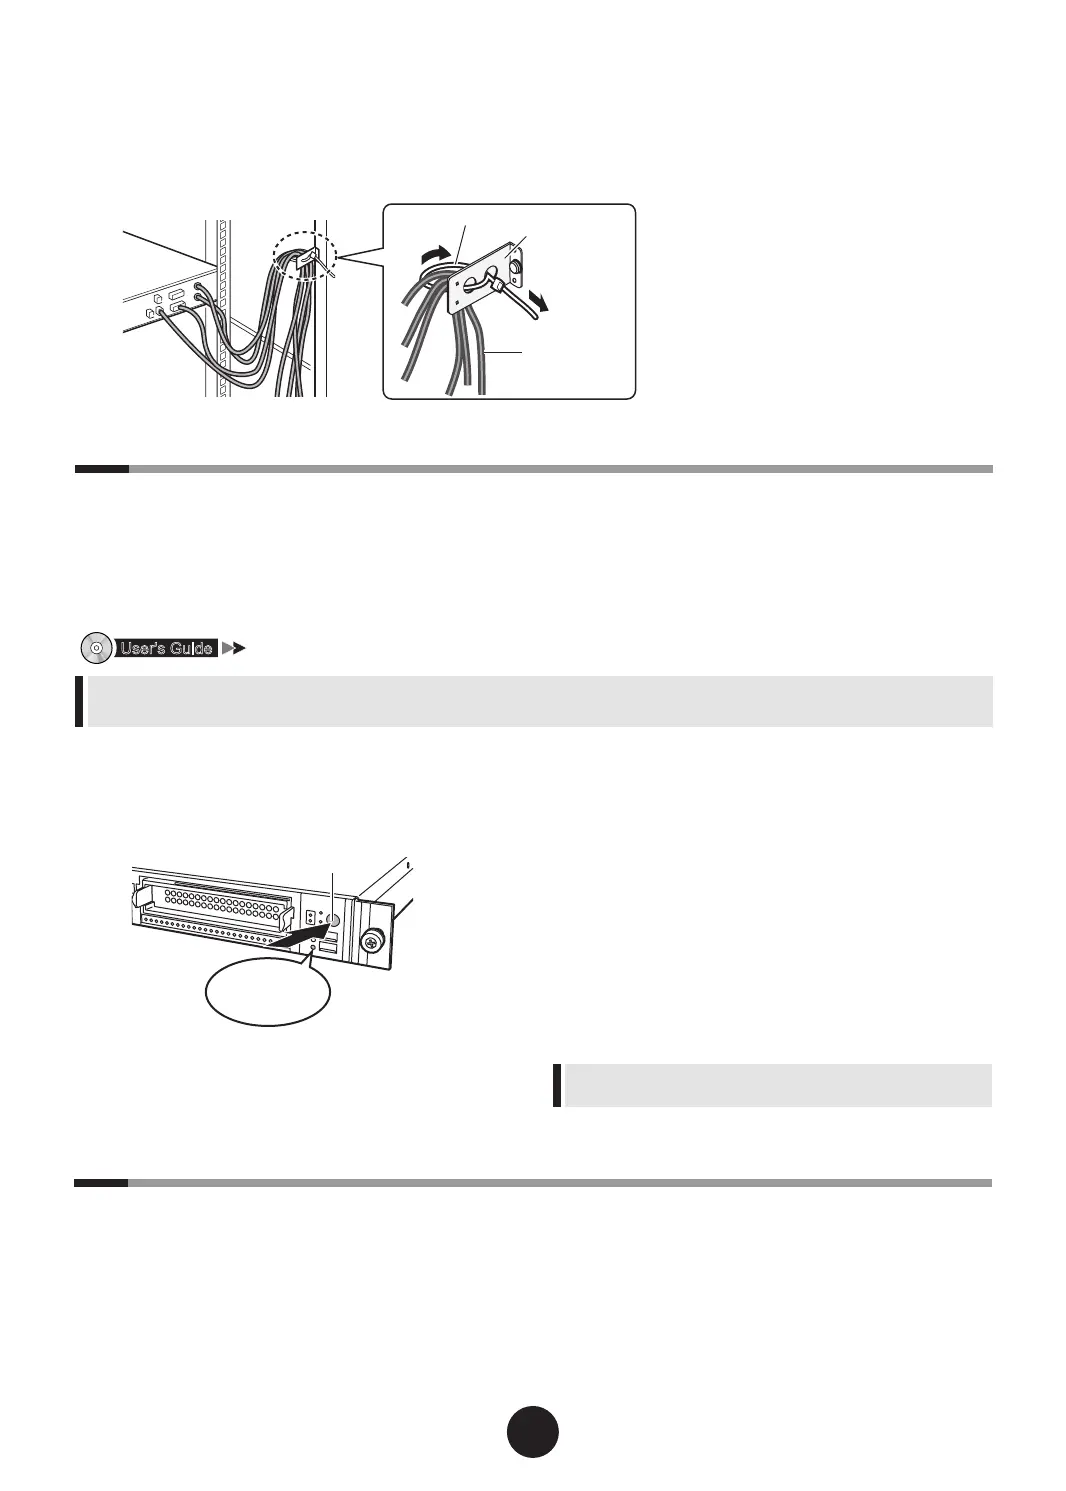
Cable forming process
After connecting the peripheral devices, tie all the cables and x them with the release tie to the cable holder provided with
the rack.
This forming process makes the cables easily recognizable even when multiple servers are installed in the rack.
1
Turn on the server and insert
PRIMERGY Startup Disc immediately.
ServerStart start up. The select-media window for
the conguration le appears.
2
Insert the ServerStart oppy disk sup-
plied with the server. Click [Continue].
ServerStart initialization process starts. After
completion, the license agreement window ap-
pears.
7
Installing the OS
This section explains the procedures to install the OS using ServerStart.
 Loading...