1. INSTALLATION
1-10
7. Apply the supplied adhesive (TB5211) to the bottom of the attachment gasket.
Note: DO NOT apply the adhesive to the vent holes.
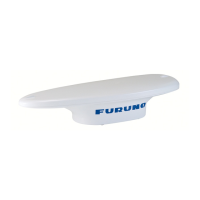
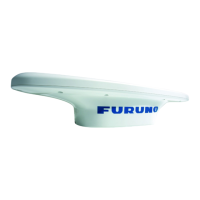
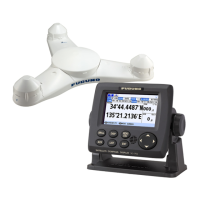
8. Set the antenna unit assembly so the bow mark (see step 4) on the top of the an-
tenna unit is facing the ship’s bow.
9. Apply the supplied adhesive TB5211 to the threads of the supplied screws
(M520), then fasten the antenna unit assembly with their screws from the top.
Note: DO NOT apply the adhesive to the contact areas (Hashed areas in the fig-
ure below) between the roof mount kit and a mounting platform and between the
antenna unit and the roof mount kit.
1.5 Antenna Mounting Base (option)
The antenna unit can be mounted on the following locations, using the optional right
angle mounting base (NO.13-QA330).
• Inclined surface (adjustable up to 35°)
• Narrow, flat surface
Vent holes
(12 places)
Vent holes
(12 places)
Adhesive
(Bottom of gasket)
Adhesive
(Bottom of gasket)
Antenna
cable
Antenna
cable
Bow side
Stern side
M5×20
(both sides, 4 places)
M5×20
(both sides, 4 places)
Note
Note
 Loading...