Deleting a Route
1 Select Route Planner.
2 Select a route.
3 Select Delete Route.
Recordings
Your device records your path as an activity. Activities contain information about points along your recorded
path, including time, location, and elevation for each point.
Recording Settings
Select Setup > Recording.
Record Method: Sets the recording method. The Auto option records points at a variable rate to create an
optimum representation of your path. You can also record points at specific time or distance intervals.
Interval: Sets the recording rate. Recording points more frequently creates a more-detailed path, but fills the
recording log faster.
Auto Pause: Sets the device to stop recording your path when you are not moving.
Auto Start: Sets the device to start a new recording automatically when the previous recording ends.
Activity Type: Sets the default activity type for the device.
Advanced Setup: Enables you to open additional recording settings (Advanced Recording Settings, page 15).
Advanced Recording Settings
Select Setup > Recording > Advanced Setup.
Output Format: Sets the device to save the recording as a FIT or a GPX/FIT file (File Types, page 35). The FIT
option records your activity with fitness information that is tailored for the Garmin Connect
™
application and
can be used for navigation. The FIT and GPX option records your activity as both a traditional track that can
be viewed on the map and used for navigation, and as an activity with fitness information.
GPX Auto Archive: Sets an automatic archive method to organize your recordings. Recordings are saved and
cleared automatically.
Trip Recording: Sets a trip recording option.
Recorded Data Reset: Sets a reset option. The Activity and Trip option resets the recording and trip data when
you finish the active recording. The Prompted option prompts you to select the data to reset.
Viewing the Current Activity
By default, the device automatically starts recording your path as an activity when it is turned on and has
acquired satellite signals. You can pause and start recording manually.
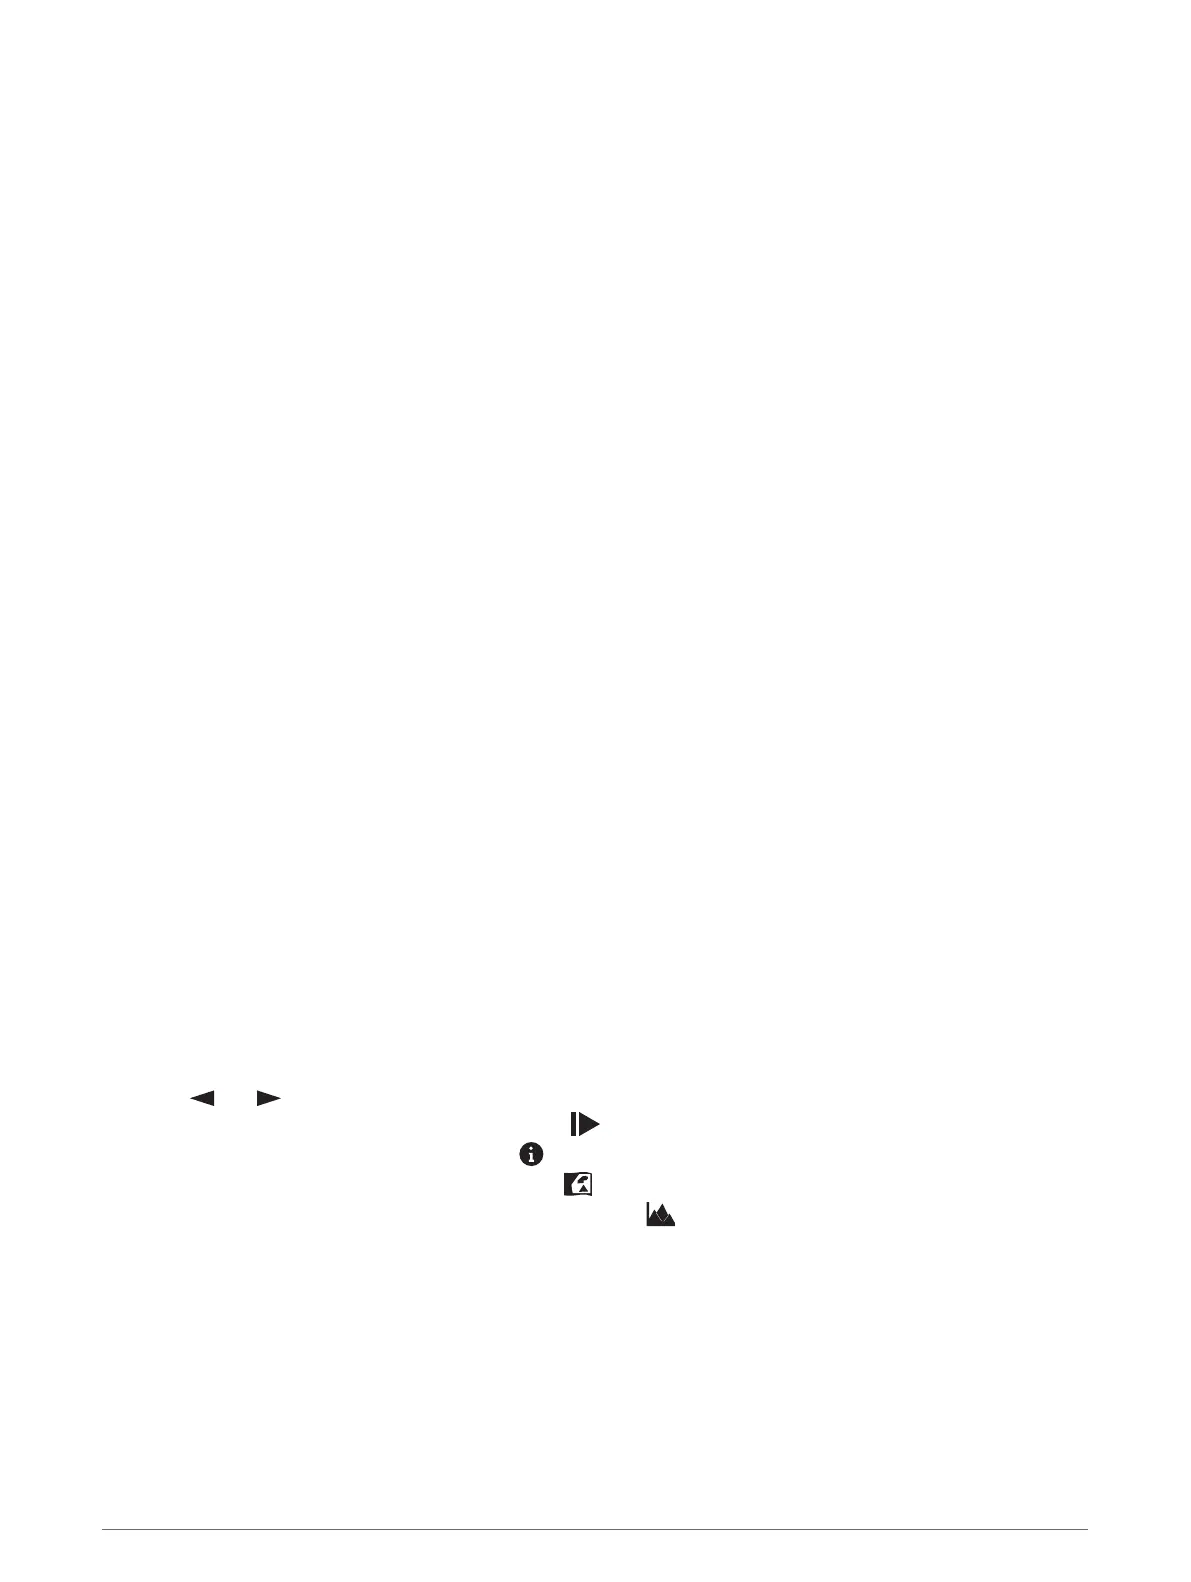
1 Select Recording Controls.
2 Select and to view an option:
• To control the current activity recording, select .
• To view data fields for the activity, select .
• To view the current activity on the map, select .
• To view the elevation plot for the current activity, select .
Navigation 15
 Loading...