- 50 -
Drag and Drop a Video File.
Drag and Drop a Video File.Drag and Drop a Video File.
Drag and Drop a Video File.
You can drag and drop an entire video file into another location, ie: Desktop. To do this Left-
click on video file in the Video File and Clip list. Next Drag to your desktop and finally Release
the Left-mouse button.
Saving a Still Image.
Saving a Still Image.Saving a Still Image.
Saving a Still Image.
You can extract a still image (jpeg) using the blue Video Clip Graph, this process is very similar
to saving a video clip.
1. Pause Video at the point where you want to extract an image.
2. Right-click on the Video Clip Graph and choose “Save still image”.
3. Or choose File, Save Still image.
4. This will bring up a standard Save As… Windows dialog box.
5. By default, the file name will be the Camera + Date + Time + License ID (see Table 8 for
definition), e.g. 1_20110426-112006_1003n0_SDHC.jpg.
Camera Date Time Internal Log File License ID
1 20110426 112006 1003n0 SDHC
Table 9: Still Image Filename Definition
Emailing a Still Image.
Emailing a Still Image.Emailing a Still Image.
Emailing a Still Image.
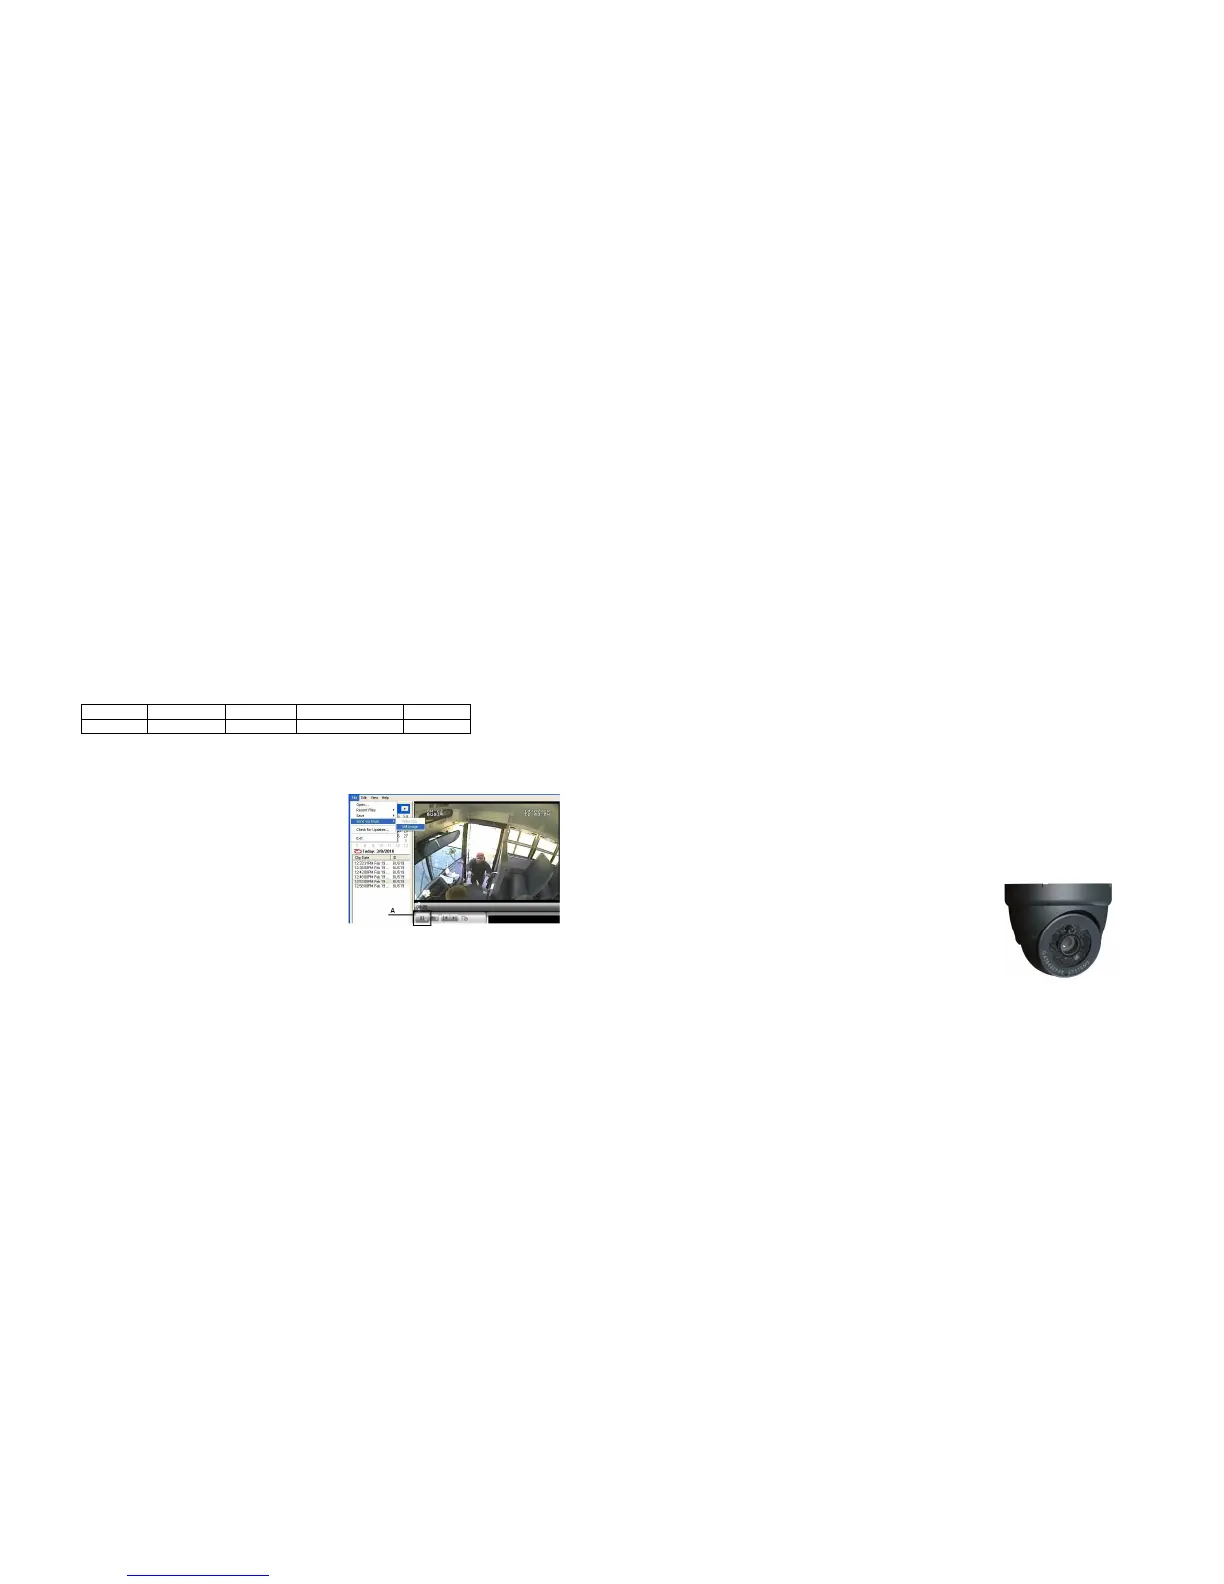
On occasion you may have a need to e-mail
a captured image, when this is the case find
the location of the image which you wish to
capture, and click on the Pause button (A) in
MaxVIEW
400. This will create the image
which you are now going to send.
Once you have this image, go to the File
menu top left hand corner of MaxVIEW
400 and then highlight Send via Email and
then click on Still Image.
Figure 39 : Emailing a Still Image.
Once you have clicked on Still Image a window should appear, (this may take a few seconds
depending upon your system and its settings), enter the e-mail address of the person who you
wish to receive the e-mail (B) and then choose send.
- 19 -
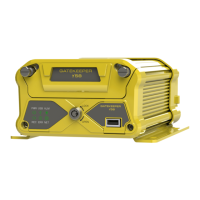
Camera Mounting and Connections
Camera Mounting and ConnectionsCamera Mounting and Connections
Camera Mounting and Connections.
..
.
• Please refer to the relevant section for your particular model of camera for install
instructions.
• Camera mounting locations are to be determined by the district.
• Cameras should be mounted to the ceiling whenever possible. Install the foam pad
provided with each camera and use holes as a template. The audio hole on the front of
the camera can be used as a aiming guide for the direction the camera needs to be
facing.
• All camera harnesses must be carefully routed to the NiTRO™ or NiTRO-X unit to avoid
pinching or piercing the shielded camera cable.
• All cables running through holes in sheet metal (ceiling, bulkhead etc.) must be protected
with grommets.
• Ensure included gasket is in place between dome base plate and mounting surface.
When installing multiple cameras, mark camera harness wires so the school district knows
which camera is front
and back by looking at the marked Molex output connectors,
S
SS
S2
22
2-
--
-Series Camera Installation.
Series Camera Installation.Series Camera Installation.
Series Camera Installation.
Routing the Camera Harness(es) ) (GSWHC2N-XX).
Route the camera harness(es) with labeled end at NiTRO™ connections.
Always use grommets when running the harness through sheet metal holes.
Avoid excessively tight bends especially around metal surfaces..
Coil and tie off excess harness in a safe place.
The S2 series camera balls support in-field lens changing. The S1 series Do Not support in-
field lens changing. Please contact Gatekeeper Systems on 888-666-4833 for options and
pricing for S1 series camera lenses.
DO NOT
DO NOTDO NOT
DO NOT disassemble the S1 or S250 WDR Camera Ball unless
directed to, and under the direction of, a Gatekeeper Systems
support technician