- 36 -
Total
Total Total
Total
Capacity
CapacityCapacity
Capacity
Displays the total capacity of the currently installed SD card. This total is in
decimal and so will not reflect the Bytes capacity. The Total Capacity will
always show less than that indicated on the SD card
Free
Free Free
Free
Capacity
CapacityCapacity
Capacity
Shows the amount of free disk space, (in decimal), of the currently installed SD
card.
Search By
Search By Search By
Search By
Time
TimeTime
Time
Allows a video clip to be selected based on Time frame. The time frame will be
based upon the File Length configuration as set under the Record menu.
When the Search By Time option is selected, a single line option will appear,
press the Menu button on the remote control. To select a channel use the
Right arrow button on the remote until the desired video channel is selected.
From here use the Down arrow on the remote to select a file based upon its
time stamp you wish to review and press the OK key on the remote control. A
second window will now appear with information which directly relates to the
Date and Time frame of the file which you have just chosen to playback. At the
bottom of this window are two options; Play or Save As. Choose play if you
wish to view the file locally. If there are multiple pages available use key 15 or
16 (see Figure 8) on the remote control.
Alarm.
Alarm.Alarm.
Alarm.
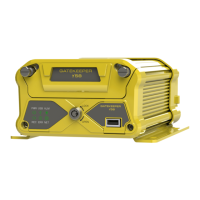
In Alarm setup, there are two user configurable options.
PLEA
PLEAPLEA
PLEASE NOTE:
SE NOTE:SE NOTE:
SE NOTE:
It is highly recommended that the default value of OFF is not changed
It is highly recommended that the default value of OFF is not changedIt is highly recommended that the default value of OFF is not changed
It is highly recommended that the default value of OFF is not changed for Alarm
for Alarm for Alarm
for Alarm
Action
ActionAction
Action.
..
. If the A
If the A If the A
If the Alarm
larm larm
larm action,
action, action,
action, (
((
(Record
RecordRecord
Record)
))
), is changed from its default o
, is changed from its default o, is changed from its default o
, is changed from its default of OFF
f OFF f OFF
f OFF the resulting
the resulting the resulting
the resulting
video when played back through MaxVIEW
video when played back through MaxVIEWvideo when played back through MaxVIEW
video when played back through MaxVIEW
will be out of synch with the other vi
will be out of synch with the other vi will be out of synch with the other vi
will be out of synch with the other video
deo deo
deo
files. For Example:
files. For Example: files. For Example:
files. For Example: If the Post event Record is set to 30 seconds and the Event itself
If the Post event Record is set to 30 seconds and the Event itself If the Post event Record is set to 30 seconds and the Event itself
If the Post event Record is set to 30 seconds and the Event itself
lasts 20 seconds, the video file will be out of synch in MaxVIEW
lasts 20 seconds, the video file will be out of synch in MaxVIEWlasts 20 seconds, the video file will be out of synch in MaxVIEW
lasts 20 seconds, the video file will be out of synch in MaxVIEW
with the timeline
with the timeline with the timeline
with the timeline
of the other channel
of the other channelof the other channel
of the other channel(
((
(s
ss
s)
))
) video by 50 seconds.
video by 50 seconds. video by 50 seconds.
video by 50 seconds.
Post Event
Post Event Post Event
Post Event
Record
RecordRecord
Record
Sets the amount of time, in seconds, which will be recorded when an alarm is
activated. It is recommended to use zero seconds
Options
0, 10, 20, 30, 45, 60, 180.
Default Value:
Default Value:Default Value:
Default Value:
15
1515
15 Second
Second Second
Seconds
ss
s
Alarm Action
Alarm ActionAlarm Action
Alarm Action
Determines the action which will happen when an alarm is triggered. All
three alarms can be set to individual actions. Record is a toggle controlled
by use of the Menu button on the remote control, e.g. CH01; CH01+CH02;
CH01+CH02+CH04.
- 33 -
Format
FormatFormat
Format
Use the Menu key to access options and the Up or Down navigation key to
make a selection. Once highlighted press the Menu key a second time.
Options NTSC or PAL
Default Value:
Default Value:Default Value:
Default Value: NTSC
NTSC NTSC
NTSC
New
New New
New
Password
PasswordPassword
Password
Allows the password to be changed after login.
NOTE:
NOTE:NOTE:
NOTE: It is highly recommended that his option not be changed as if the
password is forgotten or not known by the operator, there is NO option to
reset.
Login
Login Login
Login Verify
VerifyVerify
Verify
Sets user level of access to the system.
Options Yes / No
Default Value:
Default Value:Default Value:
Default Value: No
No No
No
Language
LanguageLanguage
Language
Sets the language for the DVR menus to use.
Options
English; Japanese; French; Russian
Default Value:
Default Value:Default Value:
Default Value: English
English English
English
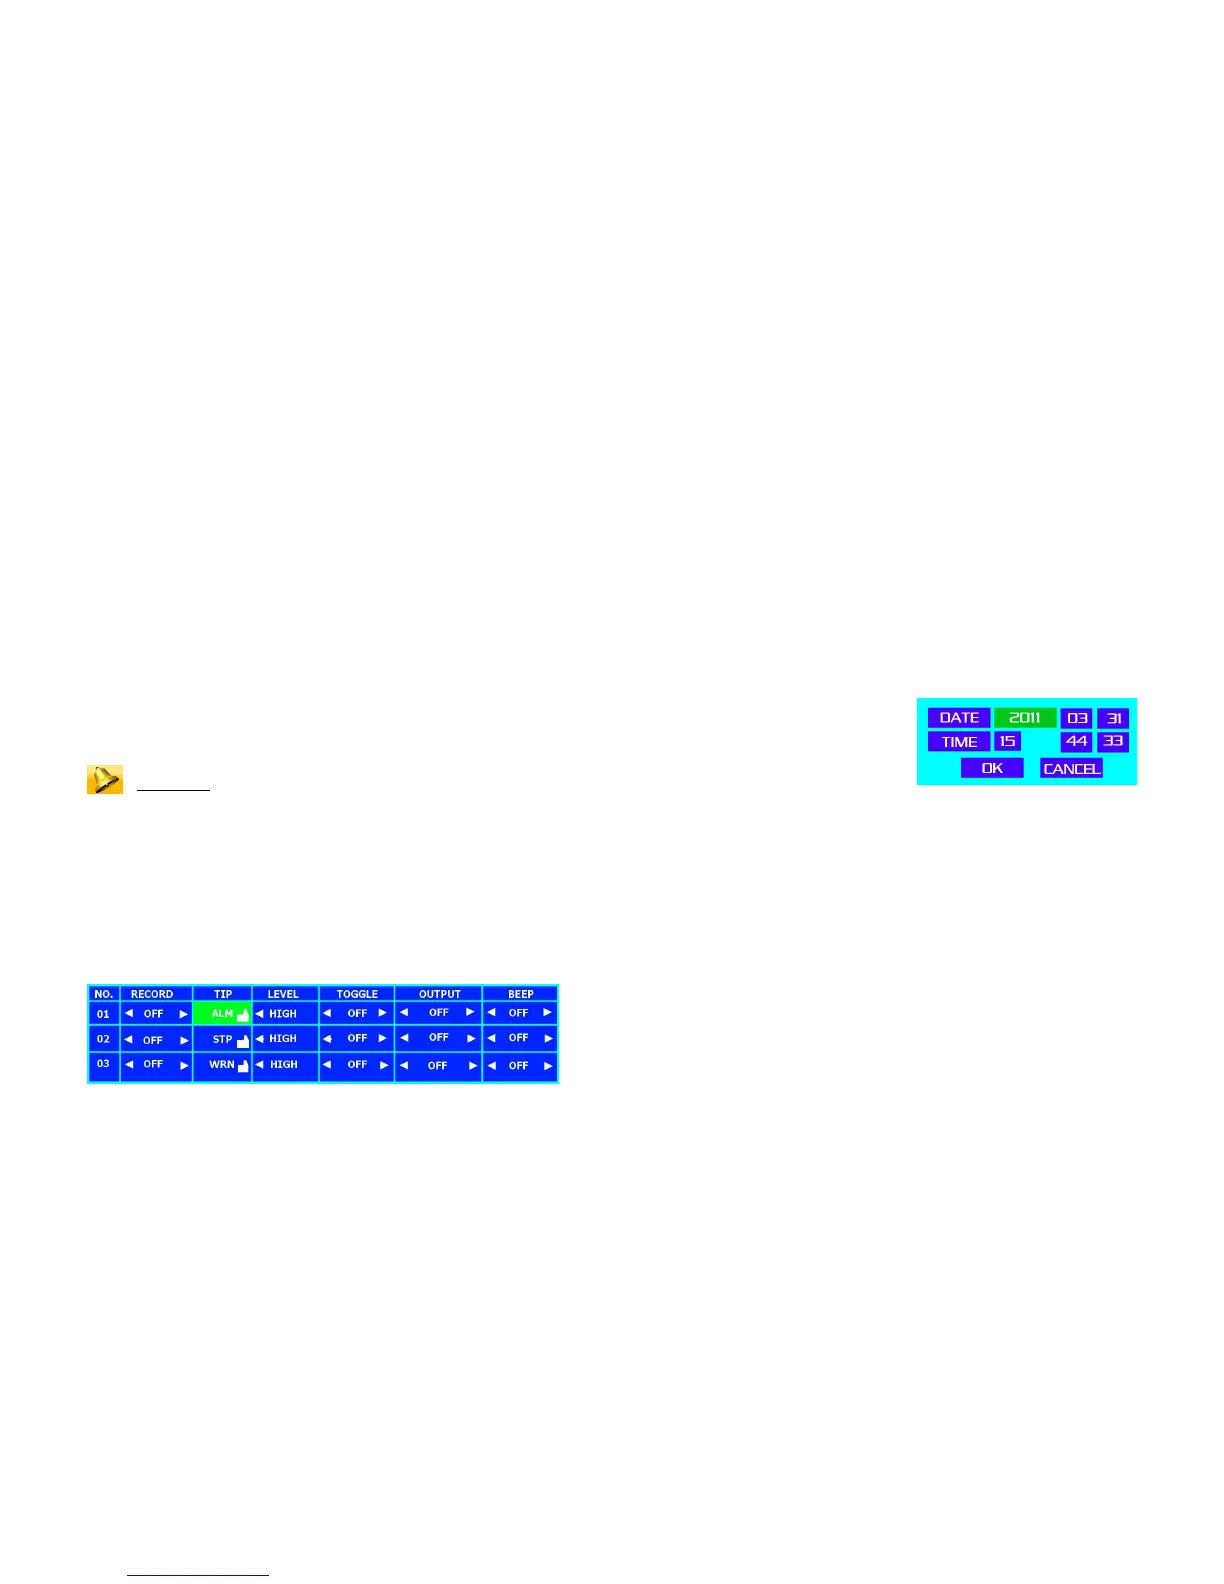
Figure 14 : Setting Date and Time.
Time Zone
Time ZoneTime Zone
Time Zone
Opens a sub-menu for Time Format; Date Format; DST (Daylight Savings Time)
and Time Zone.
Option Time Format: Can be set for either 24 Hour or 12 Hour format
Default
Default Default
Default Value:
Value:Value:
Value: 24 Hour
24 Hour 24 Hour
24 Hour
Option Date format can be either MM/DD/YY or YY/MM/DD or
DD/MM/YY
Default Value:
Default Value:Default Value:
Default Value:
MM/DD/YY
MM/DD/YYMM/DD/YY
MM/DD/YY
Option DST can be set to either ON or OFF
Default Value:
Default Value:Default Value:
Default Value: On
On On
On
Option Sets the time zone for the DVR location in UTC time. Press the
menu button on the remote control and select the number of hours
+ or – that your particular time zone in relation to UTC.
De
DeDe
Default Value:
fault Value:fault Value:
fault Value:
PST UTC
PST UTC PST UTC
PST UTC -
--
-8.00
8.008.00
8.00
Date/Time
Date/TimeDate/Time
Date/Time
Sets the Date and Time to be displayed (Figure 14). Once the option is
highlighted a pop-up menu will appear use navigation keys to access the
required data, e.g. Year, and type in the numbers using the keys on the
remote control.
System Info
System InfoSystem Info
System Info
Allows the firmware of the NiTRO 400 series and NiTRO-X 400 series to
be updated. The firmware is specific to its model, firmware for a NiTRO-X
applied to a NiTRO will cause the unit to become un-usable and void the