CHAPTER 3: INSTALLATION ADD DEVICE TO SOFTWARE
D30 LINE DISTANCE PROTECTION SYSTEM – INSTRUCTION MANUAL 3-61
3
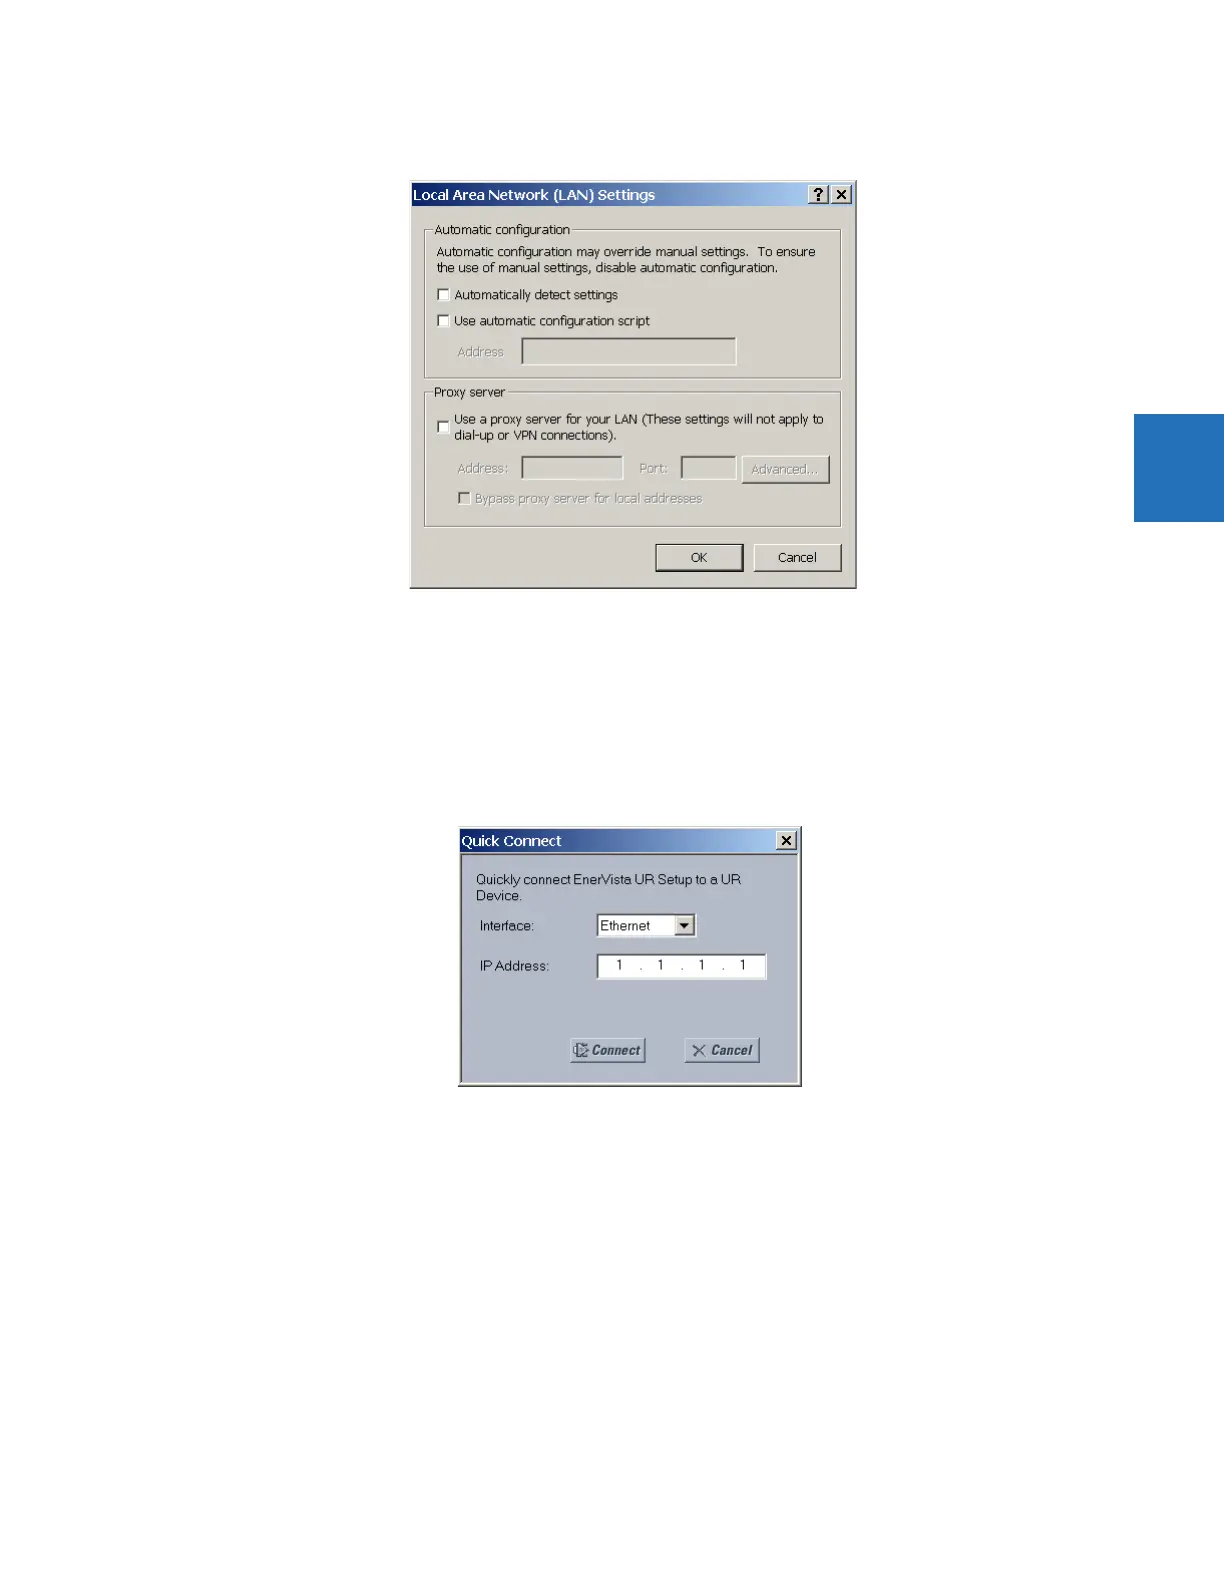
3. Click on the LAN Settings button to open the following window.
4. Ensure that the “Use a proxy server for your LAN” box is not checked.
If this computer is used to connect to the Internet, re-enable any proxy server settings after the computer has been
disconnected from the D30 relay.
1. Start the Internet Explorer software.
2. Select the UR device from the EnerVista Launchpad to start EnerVista UR Setup.
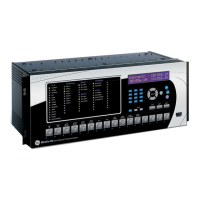
3. Click the Quick Connect button to open the window.
4. Select the Ethernet interface and enter the IP address assigned to the D30, then click the Connect button. The
EnerVista UR Setup software creates a site named “Quick Connect” with a corresponding device also named “Quick
Connect” and displays them on the left side of the screen.
5. Expand the sections to view data directly from the D30 device.
Each time that the EnerVista UR Setup software is initialized, click the Quick Connect button to establish direct
communications to the D30. This ensures that configuration of the EnerVista UR Setup software matches the D30 model
number.
When direct communications with the D30 via Ethernet is complete, make the following changes:
1. From the Windows desktop, right-click the My Network Places icon and select Properties to open the network
connections window.
2. Right-click the Local Area Connection icon and select the Properties item.