MENU’ : Exit Activity Setup
ENTER’: Save and Exit Activity Setup
PAUSE’: Toggle between Enable and Neutral
STOP’ : Toggle between Disable and Neutral
‘ZOOM’ : Disable/Enable all zones
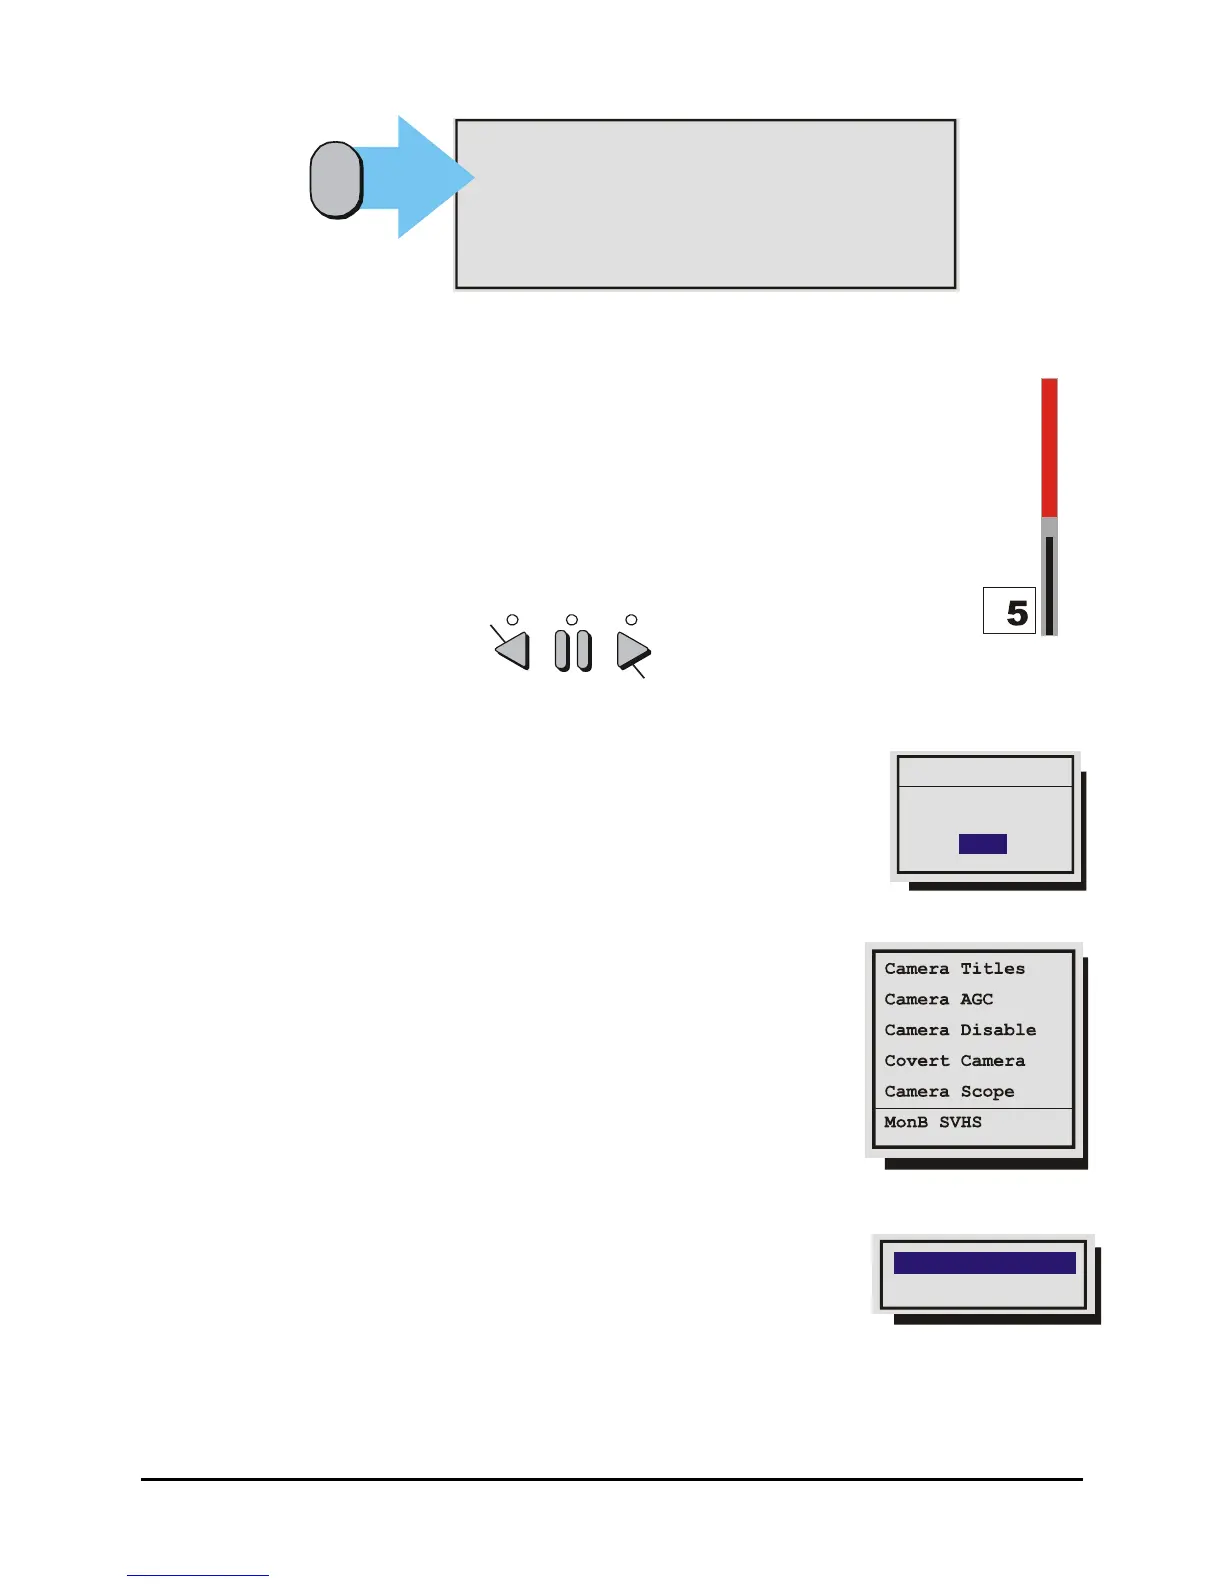
PLAY FORWARD’: Increase the Sensitivity level
PLAY REVERSE’: Decrease the Sensitivity level
Function
Button
{F}
Sensitivity Scope
Use the sensitivity scope to adjust the motion detection sensitivity for the scene. The
sensitivity scope is the bar located near the left-hand corner of the screen.
The black bar raises and lowers to indicate the degree of motion detected. When the
black bar reaches the red bar, a motion detection alarm is activated.
Adjusting Motion Detection Sensitivity: Raise and lower the red bar to change the
motion detection sensitivity. Use the Play Forward button to increase the sensitivity level
and the Play Reverse button to decrease the sensitivity level. The sensitivity level is also
displayed as a numeric value.
Play Forward to increase the Sensitivit
Play Reverse to decrease the Sensitivit
Main Menu → Motion Detection → Indicate Detection
Motion Detection may be indicated on-screen by displaying the letter M.
Use this menu to turn this feature On or Off.
Indicate Detection
ON
Detection
3.14 Camera Setup
Use this menu to:
• Edit the title for each camera.
• Adjust the Automatic Gain Control.
• Disable or Enable camera inputs.
• Specify cameras as covert (recorded but not displayed).
• View the Camera Scope (Histogram)
• Enable or Disable SVHS output on Monitor B.
Main Menu → Camera Setup → Camera Titles
Use this menu to:
Edit Titles
Titles Display
• Specify if the camera titles will be displayed on the monitors.
Edit the title for each camera.
0150-0313B 52 DVMRe CT II
 Loading...