GE Grid Solutions
iBox/iBox Kit
Installation and Maintenance Guide
GE Information
994-0047-5.10-4
Physical Mounting
Rack Spacing
When mounting the iBox Kit in a rack with other equipment, leave at least one rack
unit (RU) of space above and below the equipment to allow for cooling air flow and
cable routing (1 RU = 1.75 inches or 44.5
mm).
Required
Clearances
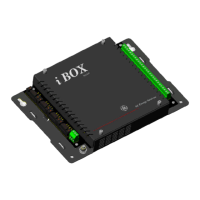
The exterior dimensions of the iBox Kit are:
• 8.75” high x 19" wide x 2" deep (22.2 cm high x 48.3 cm wide x 5.1 cm deep)
Procedure –
Mounting the
iBox Kit
To mount the iBox Kit on a rack:
Step Action
1 Determine the location of the iBox Kit in the 19-inch mounting rack.
2 Insert, but don’t tighten the top two mounting screws.
3 Slide the iBox Kit over the top mounting screws and drop down into position.
4 Insert the bottom mounting screws.
5 Tighten all four mounting screws.
Note: iBox Kits should be installed with the equipment modules and LEDs visible
from the front of the rack.
Note: Equipment cabling will typically route along the rack channel, come through
a space above or below the iBox Kit then connect to the mounting panel,
iBox, power supply, Ethernet Module and I/O module.
Note: An IEC
®
60947 compliant main disconnect switch (or other equivalent
device complying with IEC 60947-1 / 60947-3) must be as electrically close
as practicable to the iBox Kit power supply.
You are now ready to connect ground, power, and communications cabling to the
iBox Kit.