Configuring Computer IP Address
Configure the IP address of the wired interface of the computer as
follows:
This configuration is for a Windows 7 computer. The same procedure
can be used for other operating systems, however there might be a
slight difference in menu options.
1. Navigate to Control Panel - Network and Internet - View
network status and tasks.
2. Select Change adapter settings.
3. Right-click on Local Area Connection and select Properties. If
a security warning pop-up appears, select Yes.
4. In the Local Area Connection Properties window, double-click
on Internet Protocol Version 4 (TCP/IPv4) .
The Internet Protocol Version 4 (TCP/IPv4) Properties
window opens.
5. In the General tab, select Use the following IP address.
6. In the IP address field, enter:
• 192.168.101.101
7. In the Subnet mask field, enter:
• 255.255.255.0
8.
Select OK.
9. Select OK to exit the Local Area Connection Properties
window.
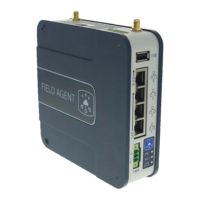
10. Verify that the Mini Field Agent is ON.
A green LED light beside ON on the Mini Field Agent indicates
that the device is switched ON.
11. Click Start. In the Search field, enter:
• cmd
The command prompt window opens.
12. In the command prompt window, type the following and then
press Enter.
• ping 192.168.101.2
A reply as shown below indicates that the computer is
connected to the Mini Field Agent.
Note
Note
6 2094532-001 D 02 2018
 Loading...