-*()#)'.'2>=C
=BC0;;0C8>==BCAD2C8>=B
$'.$*#
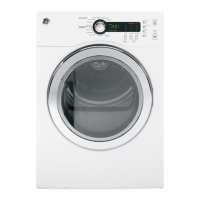
K Remove and discard existing plastic or metal foil
duct and replace with UL-listed duct.
K Remove any lint from the wall exhaust opening.
Internal
Duct
Opening
Wall
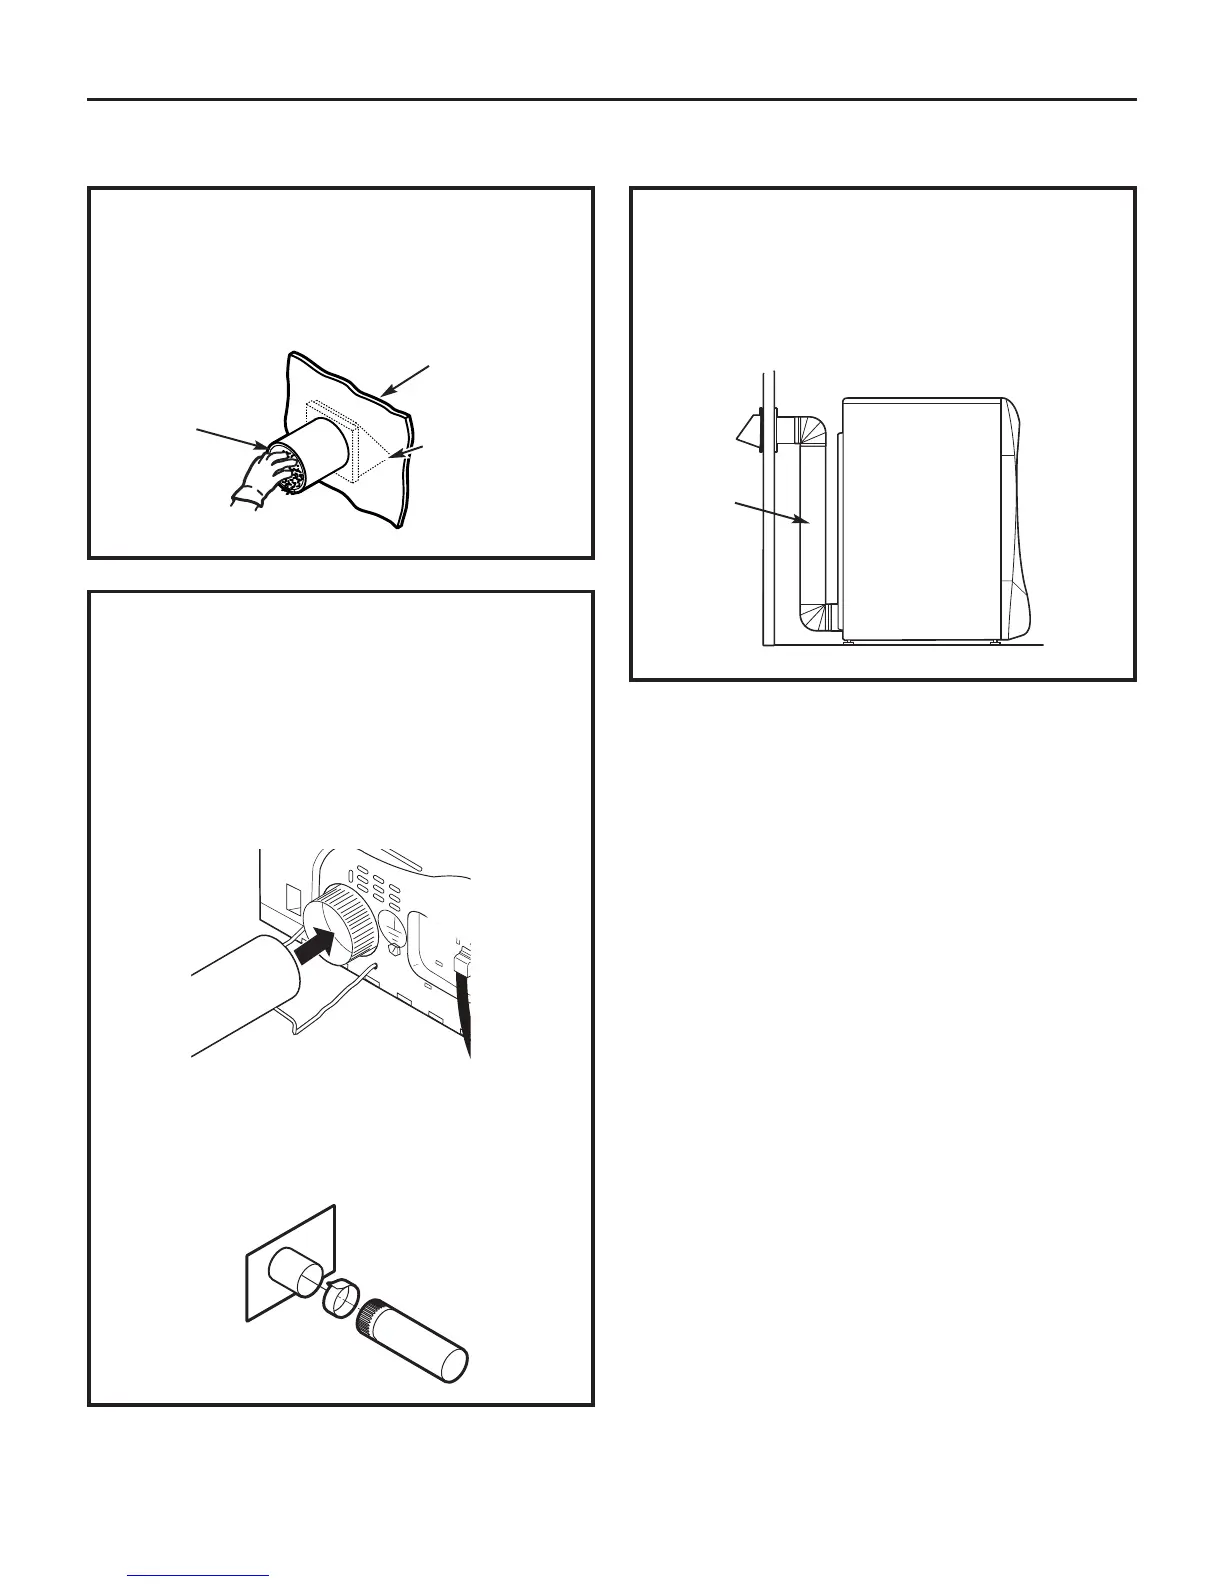
Check that exhaust
hood damper opens
and closes freely.
()#'''-*()
,4A42><<4=3C70CH>D8=BC0;;H>DA
3AH4A145>A48=BC0;;8=6H>DAF0B74A)78B
F8;;?4A<8C38A42C0224BB5>A40B84A4G70DBC
2>==42C8>=
Slide the end of the exhaust duct on the back
of the dryer and secure with duct tape or
a hose clamp.
#$)We strongly recommend using rigid metal
exhaust duct.
K For straight-line installation, connect the dryer
exhaust to the wall, using duct tape.
'$""#$#*')$#
)$"#"/-*()!$
*B8=63D2C4;1>FBF8;;?A4E4=C3D2C:8=:8=60=3
2>;;0?B8=6
Duct
Transition
Ducting
Wall Side
Dryer
Side