'"$+)$$'(("!.
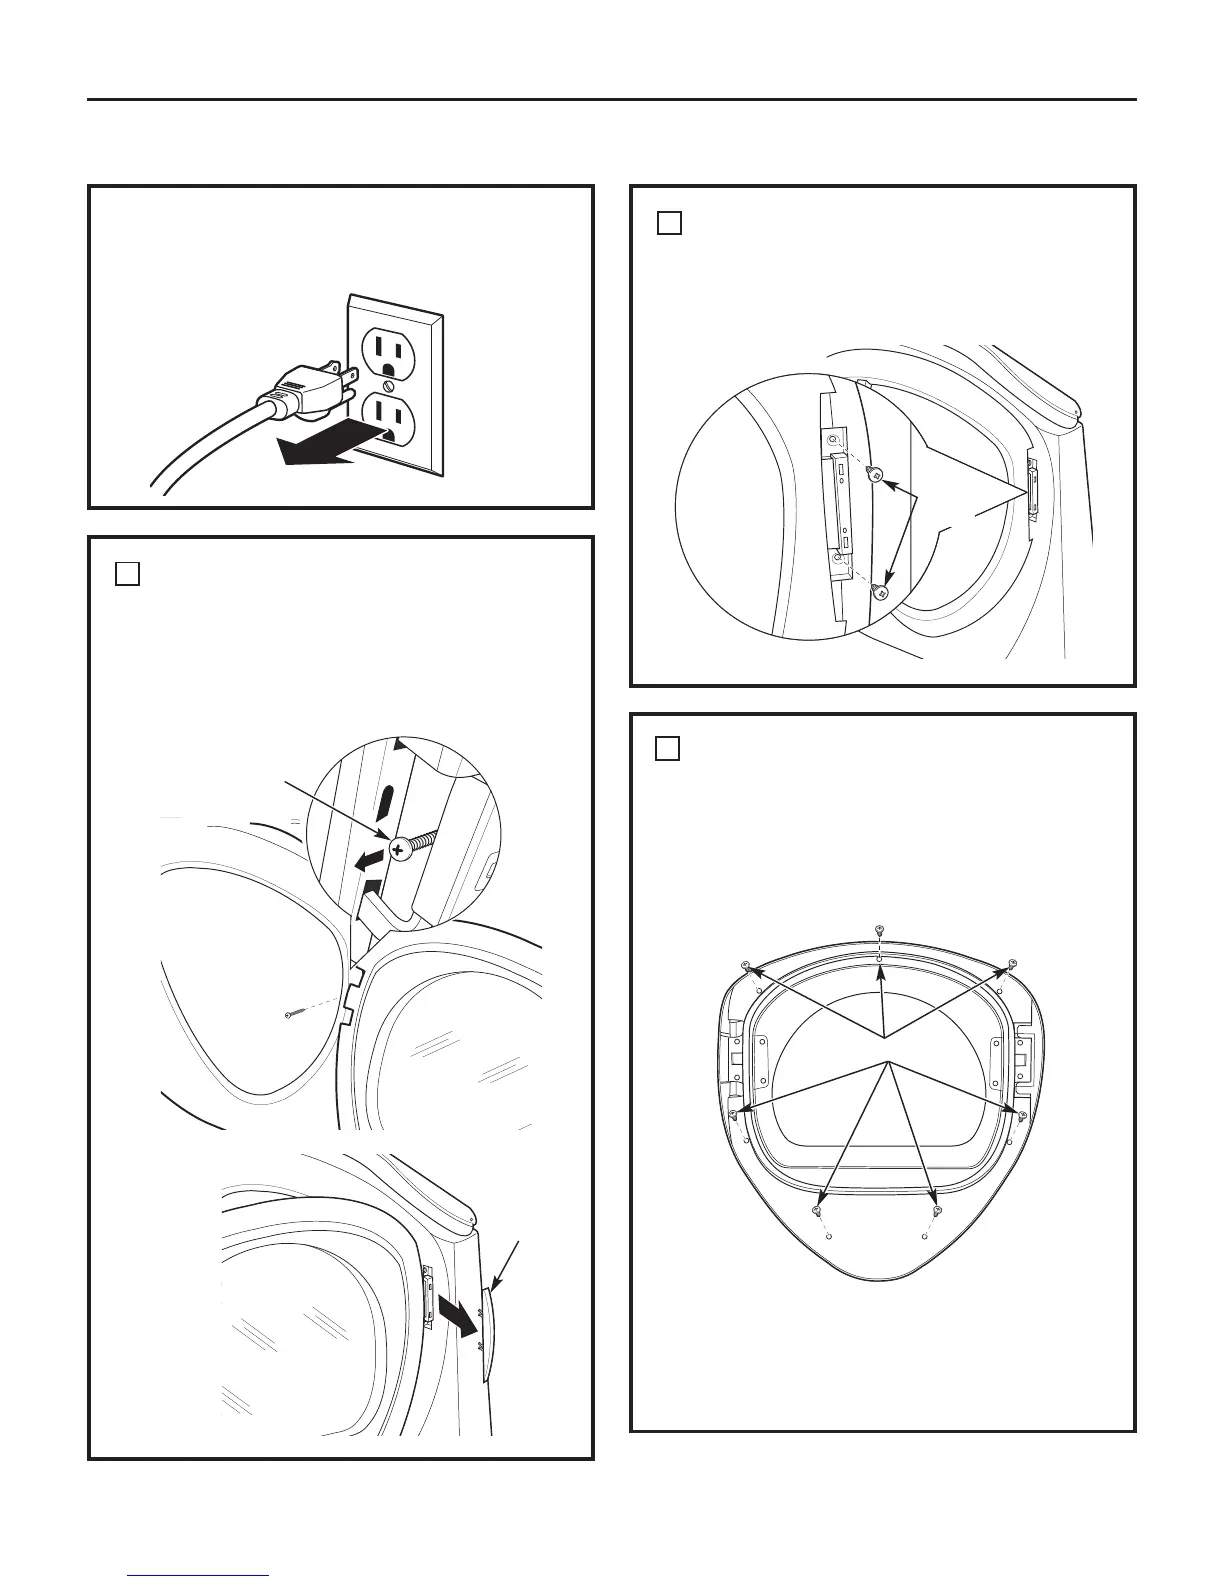
Remove the side hinge cap by opening
the dryer door and removing the screw from
behind the hinge (#8 x .375″ tapping screw). Then
using your hand, pop the hinge cap off the dryer.
Hinge
cap
((("!)$$'(("!.
Lay the door down on a soft, protected, flat
surface so that the inner part faces upward
(door resting on the handle side).
Remove the 7 screws (#10 x 1.125″ tapping
screws) located around the perimeter of the door.
Turn the door assembly over and separate
the chrome cover from the inner door. Put
the inner door aside on a soft, protected flat
surface.
7 x A Screws
=BC0;;0C8>==BCAD2C8>=B
$'.$*()')
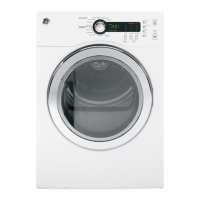
Unplug the dryer from its electrical outlet.
'"$+)$$'(("!.2>=C
Close and hold the door, remove the 2 hinge screws
(#10 x 0.75″ tapping screws). Pull the door away
from the dryer front panel.
2 x B
Screws
1 x C Screw
'+'(#)$$'(,#8534B8A43