() #),('#
'.'8534B8A432>=C
=BC0;;0C8>==BCAD2C8>=B
#()!!)$#%'%')$#
Remove the packaging.
Flatten the product carton to use as a pad to lay
the dryer down on its side. Continue using the
carton to protect the finished floor in front of
the installation location.
)$#)#)(
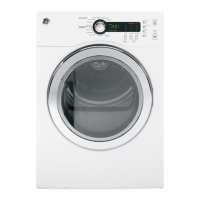
rRight hand bracket
rLeft hand bracket
r4 rubber pads
r4 #12 x 1″ screws
r4 #8 x 1/2″ screws
)$$!(.$*,!!#
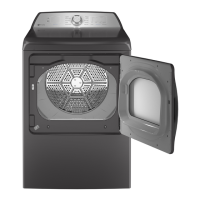
rPhillips screwdriver
rOpen-ended wrench
rPliers
rGloves
rLevel
#()!!#)()
' ) )
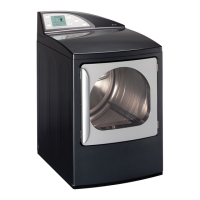
'"$+)'.'!+!#!(
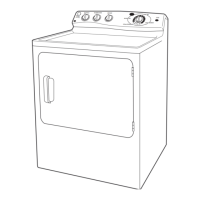
Carefully lay the dryer on its side. Use the
packing material so you don’t scratch the finish
on the dryer.
Use an open-end wrench or pliers to remove
the dryer leveling legs.
Back out and remove
all 4 leveling legs
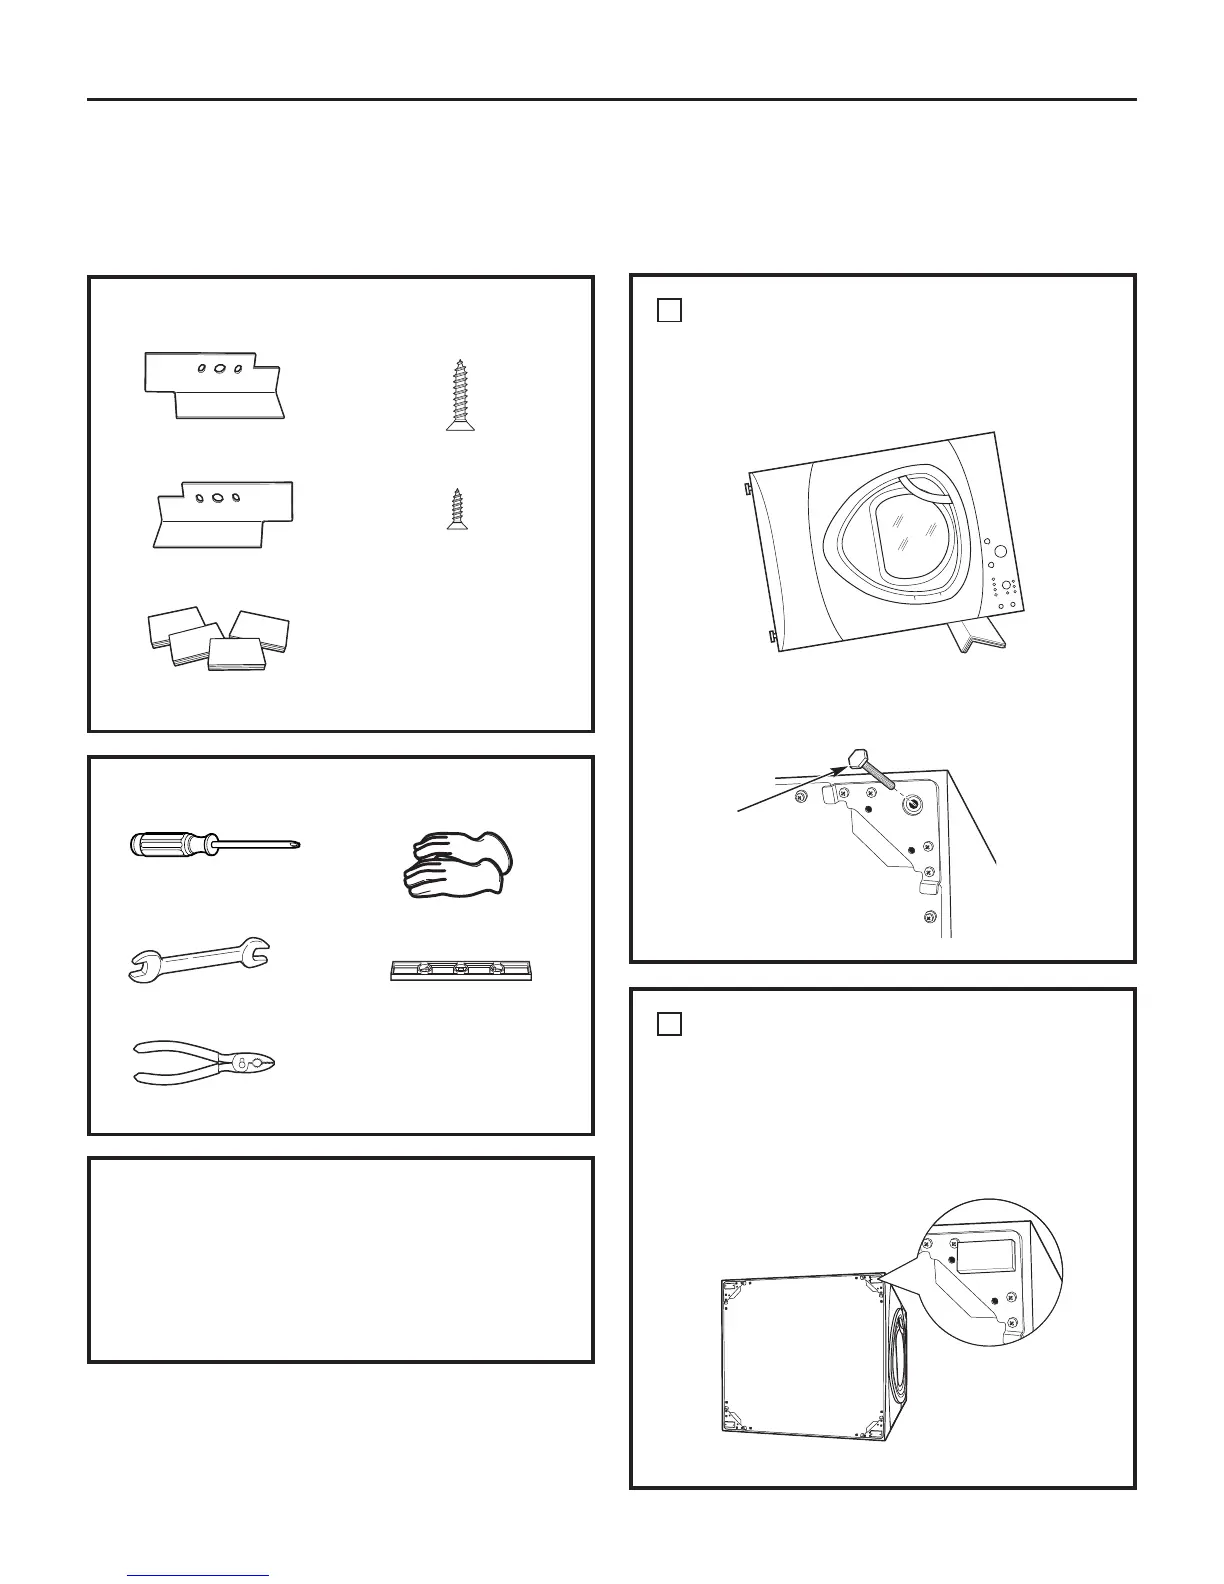
#()!!'*'%(
)$'.'(
Locate the 4 rubber pads in the parts package.
Remove the adhesive backing and firmly place
over on the bracket where you removed the
leveling legs.