ATTENTION
Welding distortions
The housing can warp during welding.
●
Tack the pipe sockets of the housings without and gaps and tension to the pipe
and housing and weld.
Prerequisites
●
The pipe is drained, and cleaned or rinsed, if necessary.
●
The
pipe section for the valve to be mounted must be separated from the re-
maining pipe system.
1. Release the spring tension.
2. Remove the valve insert, see
9.5.2 Disconnecting the valve insert from the housing
.
3. Weld the housing, without gaskets, into position, ensuring that the connection is
free of stress.
3.1 Fit the housing into place and tack it.
3.2 Flush the housing with forming gas from the inside to push the oxygen out
of the system.
3.3 Weld the housing into the pipe system; use welding additive, if necessary.
®
When technically possible, use the WIG-orbital welding process with pulse
conguration, according to the EHEDG D.35 guideline.
4. Passivate the seam after welding.
5.
INFO
When assembling the valve, always replace the housing O-rings to ensure that the
valve is tight.
Insert the seals.
6. Depending on the actuator closing direction:
6.1 Spring-to-close
actuator (NC): pressurize the actuator. Assemble the valve.
Depressurize the actuator to lower the valve disk.
6.2 Spring-to-open actuator (NO): install the valve.
Þ
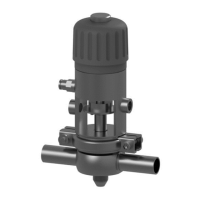
Install the valve with welded ends.
INFO Welding method: We recommend using the automatic orbital welding
method. All welding work should only be performed by certied welders or
machine operators (orbital welders).
INFO When assembling the valve, always replace the housing O-rings to ensure
that the valve is tight.
36 / 128 - 5.4 Install valve with welding ends
0000000607 - 002 - EN-GB





 To Next Page