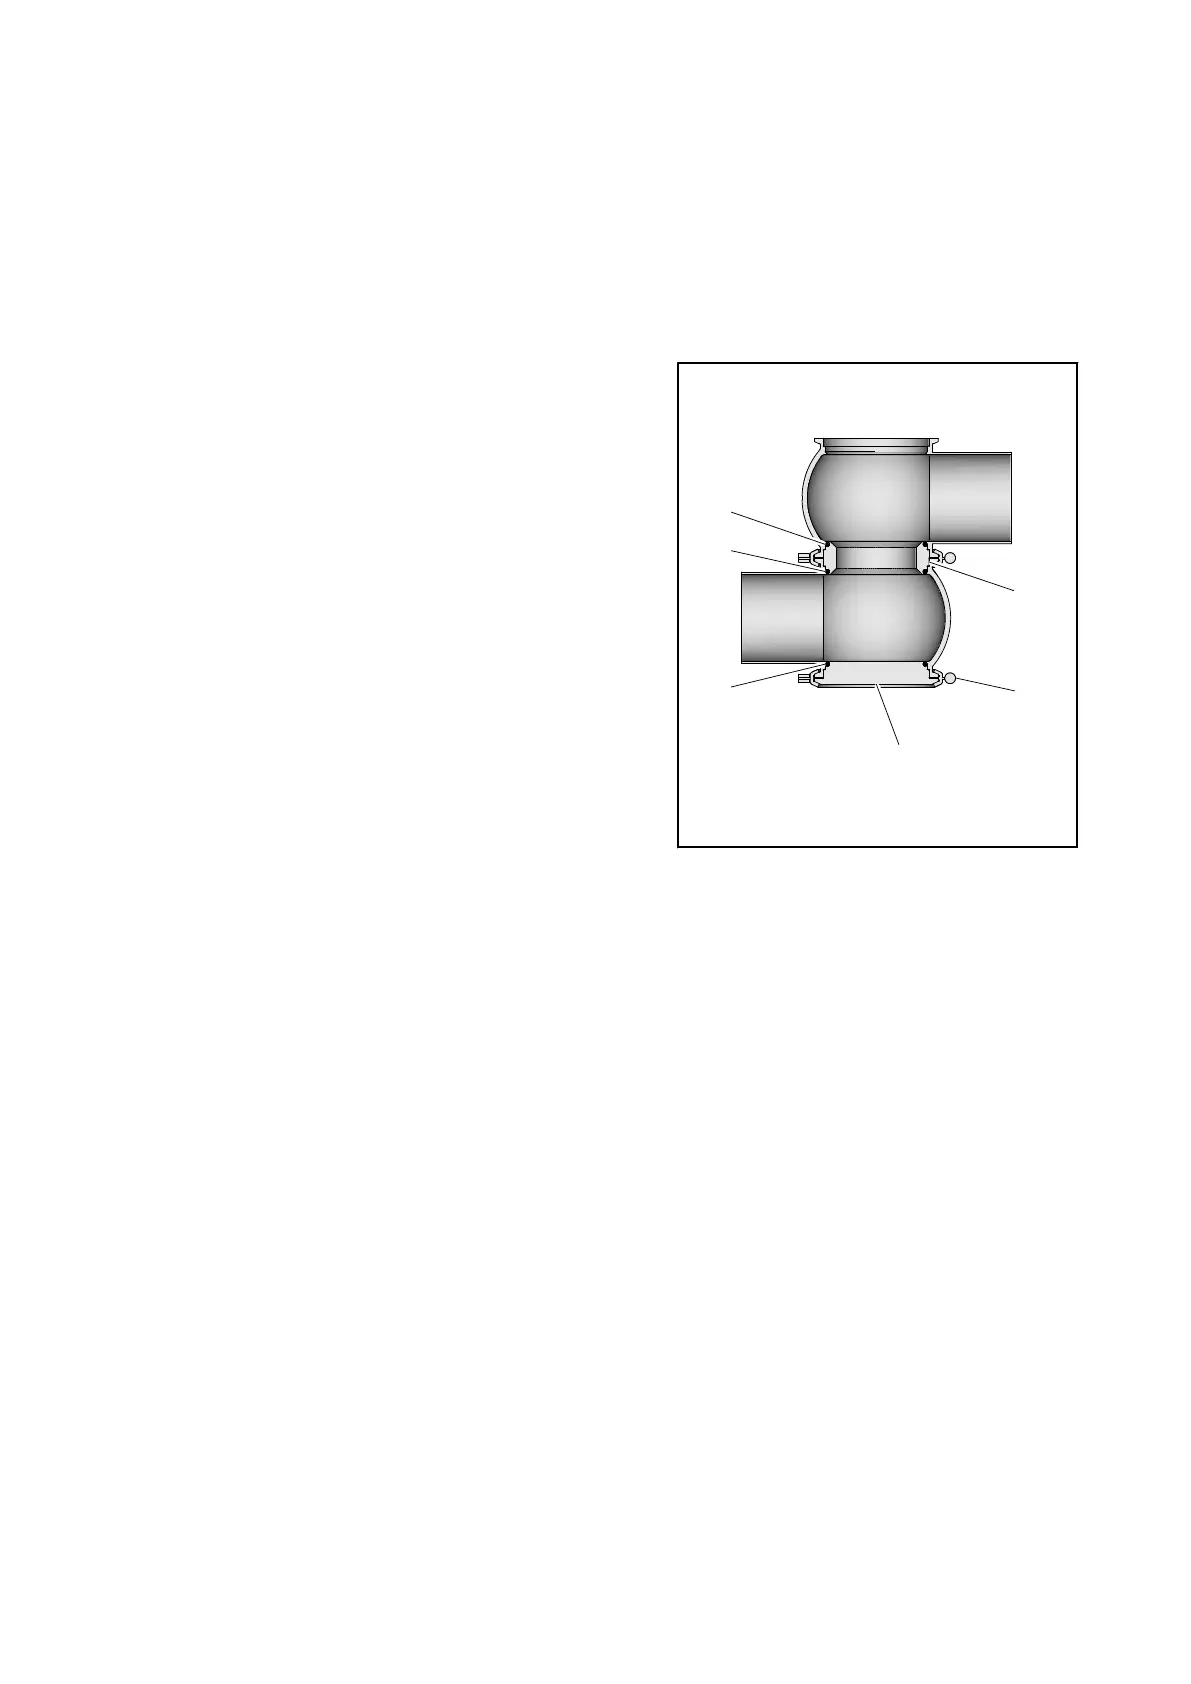
9.6.3 Assembly of the housing combination
Prerequisites
●
Loose housing combination available
Tools
●
Jaw wrench, a/f 10/11
●
Jaw wrench, a/f 12/13
●
Jaw wrench a/f 24
1. Mount the seat ring (33) and blanking
plate (35) with O-ring (5) and hinged
clamps (43).
®
Observe torques, see table ‘Tight-
ening torques’. (→ TARGET NOT
FOUND).
2. Grease the thread of the clamp con-
nections (43) and install.
®
Ensure that the clamp connection
(43) is rmly installed.
Þ
Housing combination is assembled.
9.6.4 Placing the valve insert in the housing
The valve insert is installed depending on how the valve is congured:
●
see section
Spring-to-close valve (NC) with control head T.VIS
●
see section
Spring-to-close valve (NC) without control head T.VIS
●
see section
Spring-to-open valve (NO)
84 / 128 - 9.6 Installing the valve
0000000607 - 002 - EN-GB





 To Next Page