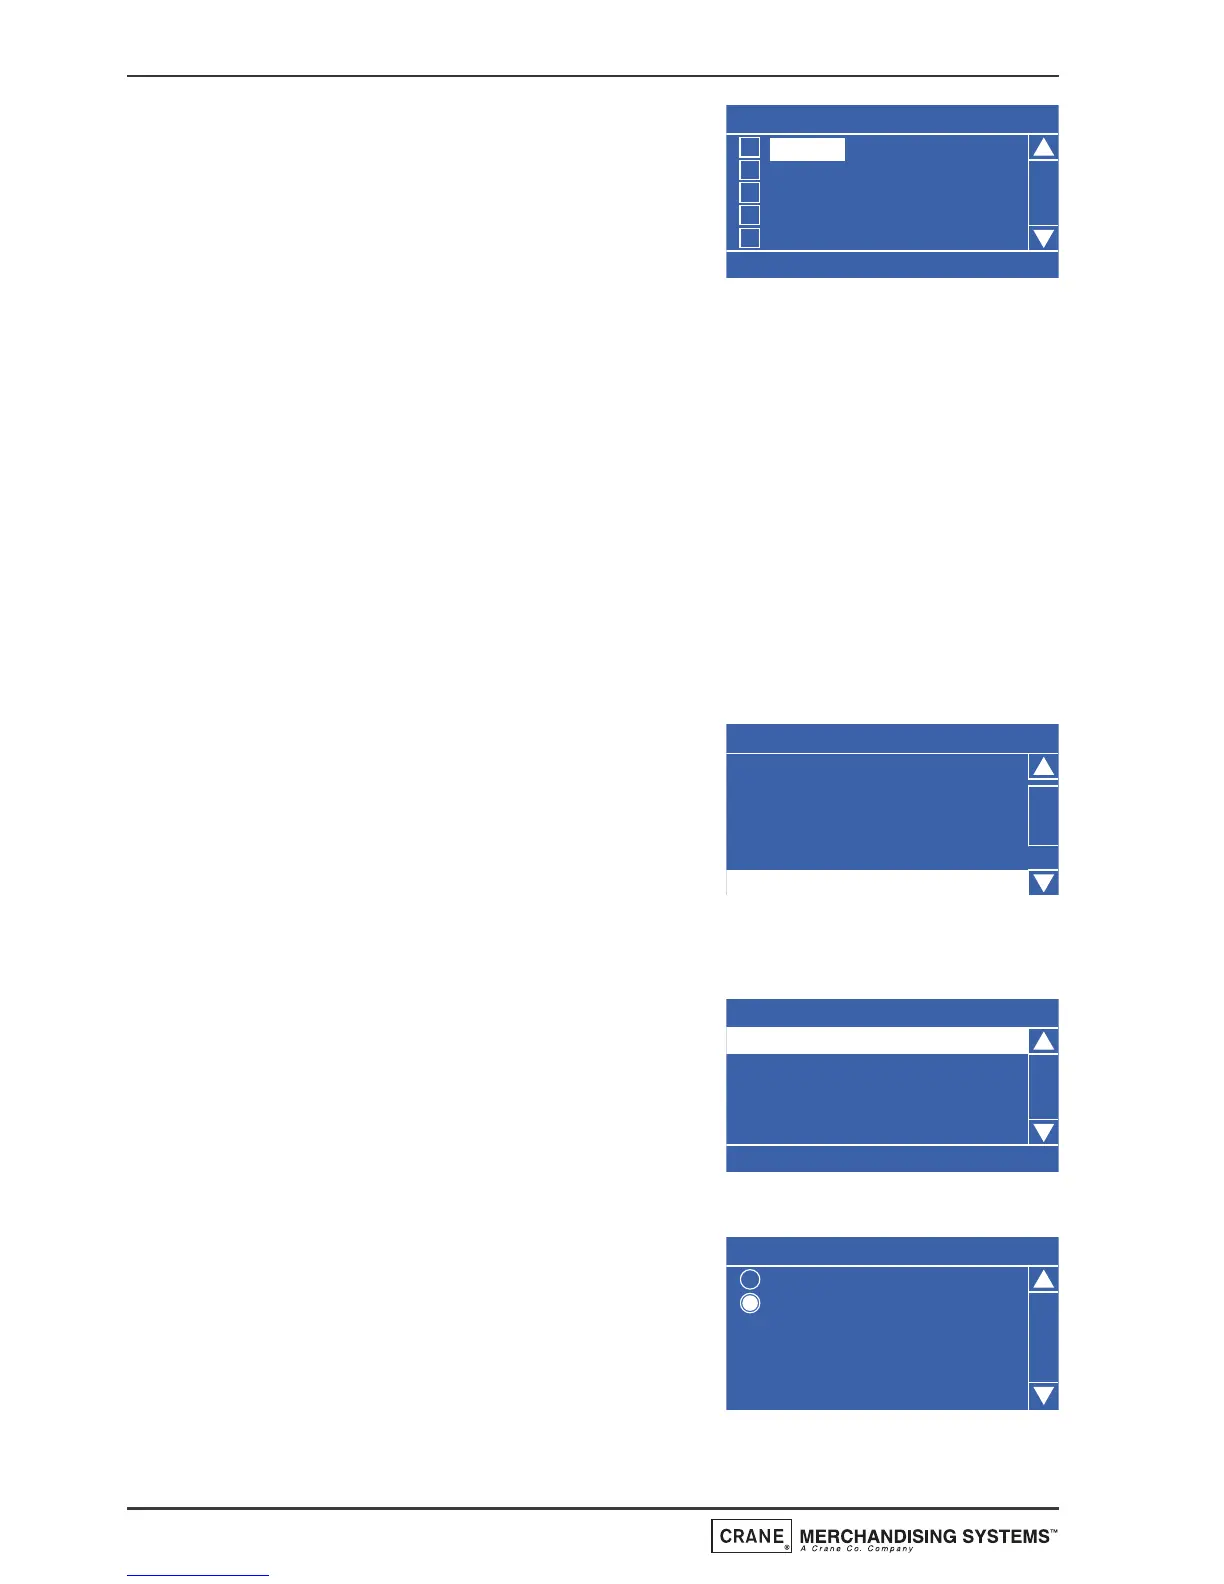
6. Press the ▼ (down) key to highlight Days
Of Week and press the ↵ (Edit) key. From
this menu the operator can set the days
on which the sanitation event will take
place. To select everyday (Monday -
Sunday), press the START/? key on the
drink selection keypad. The program automatically places an X in every
box indicating that each day is selected.
N.B. To select individual days, scroll through the menu using the ▲ (up)
or ▼ (down) keys until the required day is highlighted. Press the ↵ (Edit)
key to select the day, indicated by an X appearing in its adjacent box.
7. Press the X (Exit) key three times to return to the Timed Events Menu.
Using the sequence described above the operator can quickly and easily
set up additional sanitation event periods for the machine.
It is also possible for the operator to program up to six post vend sanitation
events. The following example describes how the operator can program a post
vend event to flush the water system 12 minutes after each vend.
1. From the Main Menu press the ▼ (down)
key until Timed Events is highlighted then
press the ↵ (Edit) key. Once in the Timed
Events menu press the ▼ (down) key to
highlight Sanitation Events Menu then
press the ↵ (Edit) key. Press the ▼ (down)
key until the first Post Vend event is highlighted. The LCD will display the
screen as shown.
2. With Post Vend highlighted, press the ↵
(Edit) key to access the 7 Post Vend sub
menu. The LCD will change and display
the screen as shown. By default the
current State is set to Off as indicated by
the status line at the bottom of the
screen.
3. Press the ↵ (Edit) key to access the State
sub menu. Using the
▼ (down) key, set
the state to On (indicated by the filled
radio button). Press the ↵ (Edit) key to
return to the 7 (Post Vend) screen. Verify
that the status line confirms the State is
set to On.
56
Operators Manual