1. From the Main Menu press the ▼(down)
key until Timed Events is highlighted then
press the ↵ (Edit). Press the ▼(down) key
three times to access the Energy Saving
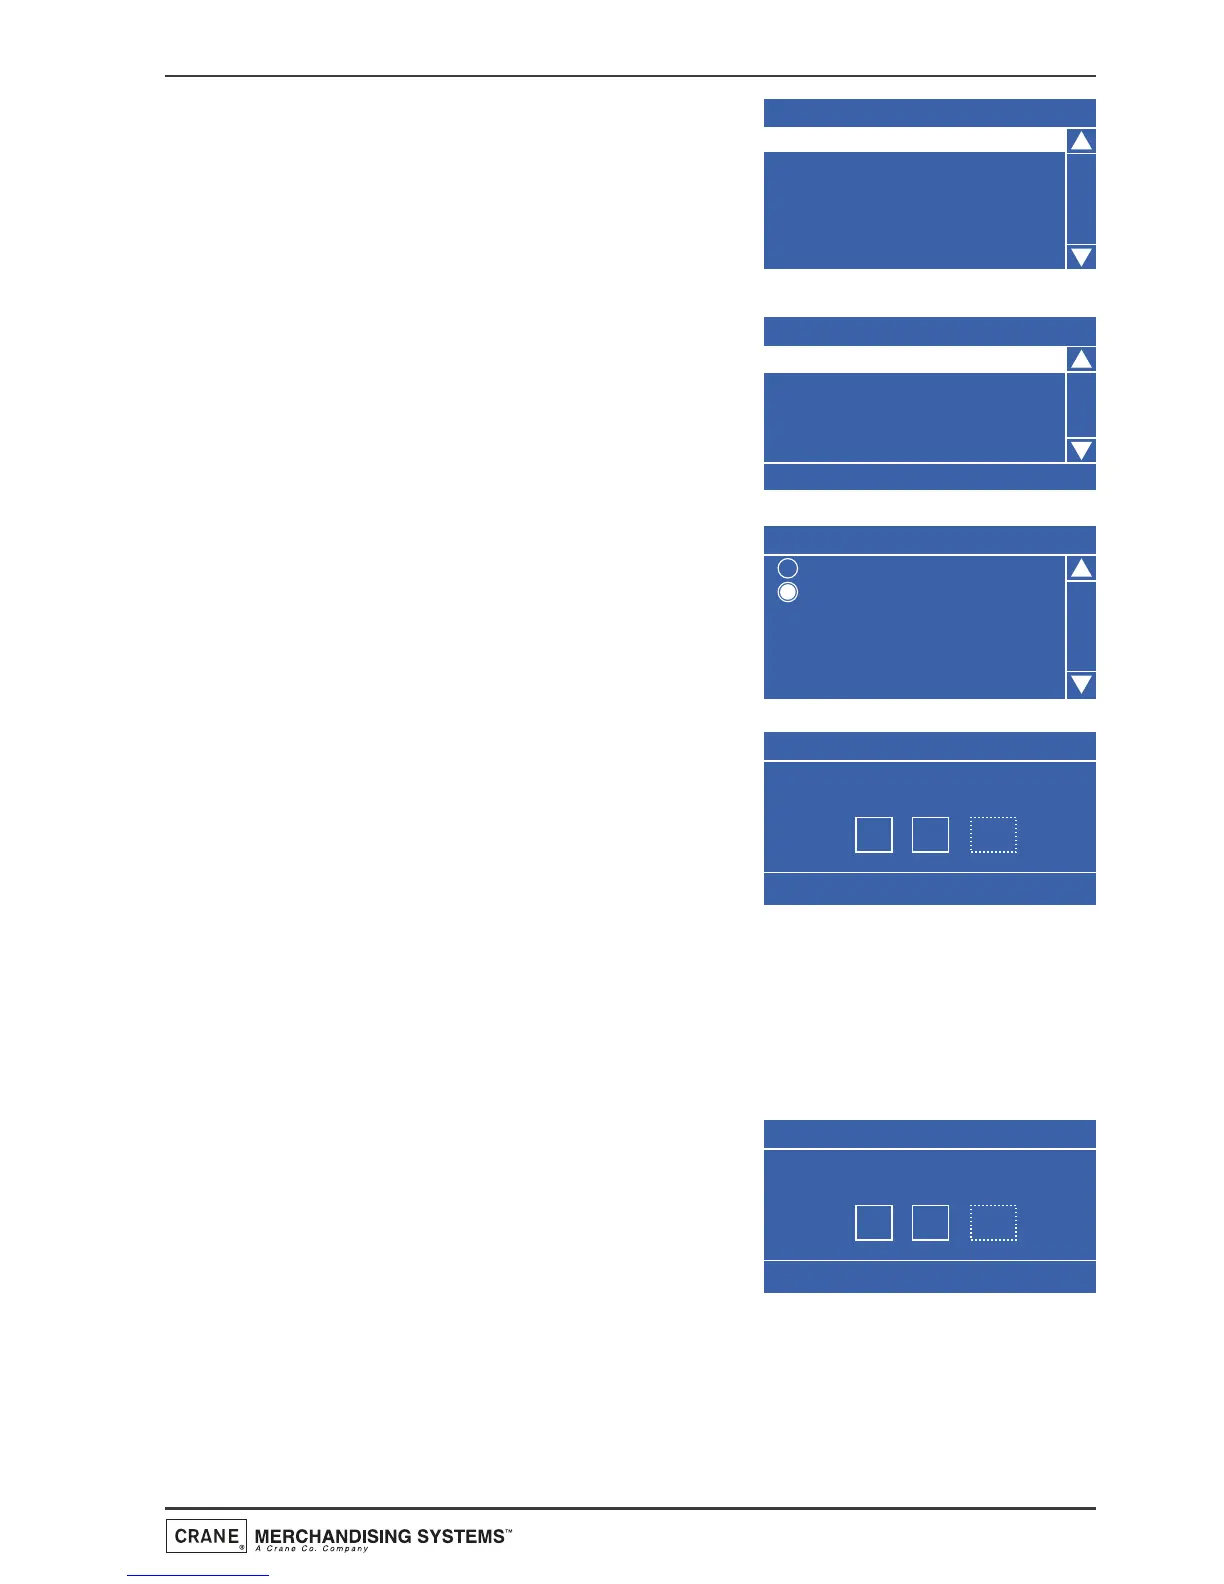
Events menu screen. The LCD will display
the screen as shown.
2. Press the ↵ (Edit) key to access the menu.
The LCD will display the screen as shown.
By default the current State is set to Off
as indicated by the status line at the
bottom of the screen.
3. Press the ↵ (Edit) key to access the State
sub menu. Using the ▼(down) key, set the
State to On (indicated by the filled radio
button). Press the ↵ (Edit) key to return
to the Event 1 screen. Verify that the
status line confirms the State is set to On.
4. Press the ▼(down) key to highlight Start
Time and press the ↵ (Edit) key. From this
menu the operator sets the time at which
the Energy Saving period will start. Enter
the start time in the sequence 0-5-3-0,
using the drink selection keypad If
necessary use the ▲(up) or ▼(down) key to display AM or PM as
required.
5. Press the ↵ (Edit) key to return to the Event 1 screen. Verify that the
correct start time is displayed in the status line at the bottom of the
screen.
6. Press the ▼(down) key to highlight Stop
Time and press the ↵ (Edit) key. From this
menu the operator sets the time at which
the Energy Saving period will end. Enter
the time using the drink selection keypad.
If necessary use the ▲(up) or ▼(down)
key to display AM or PM as required.
7. Press the ↵ (Edit) key to return to the Event 1 screen. Verify that the
correct stop time is displayed in the status line at the bottom of the
screen.
59
Operators Manual