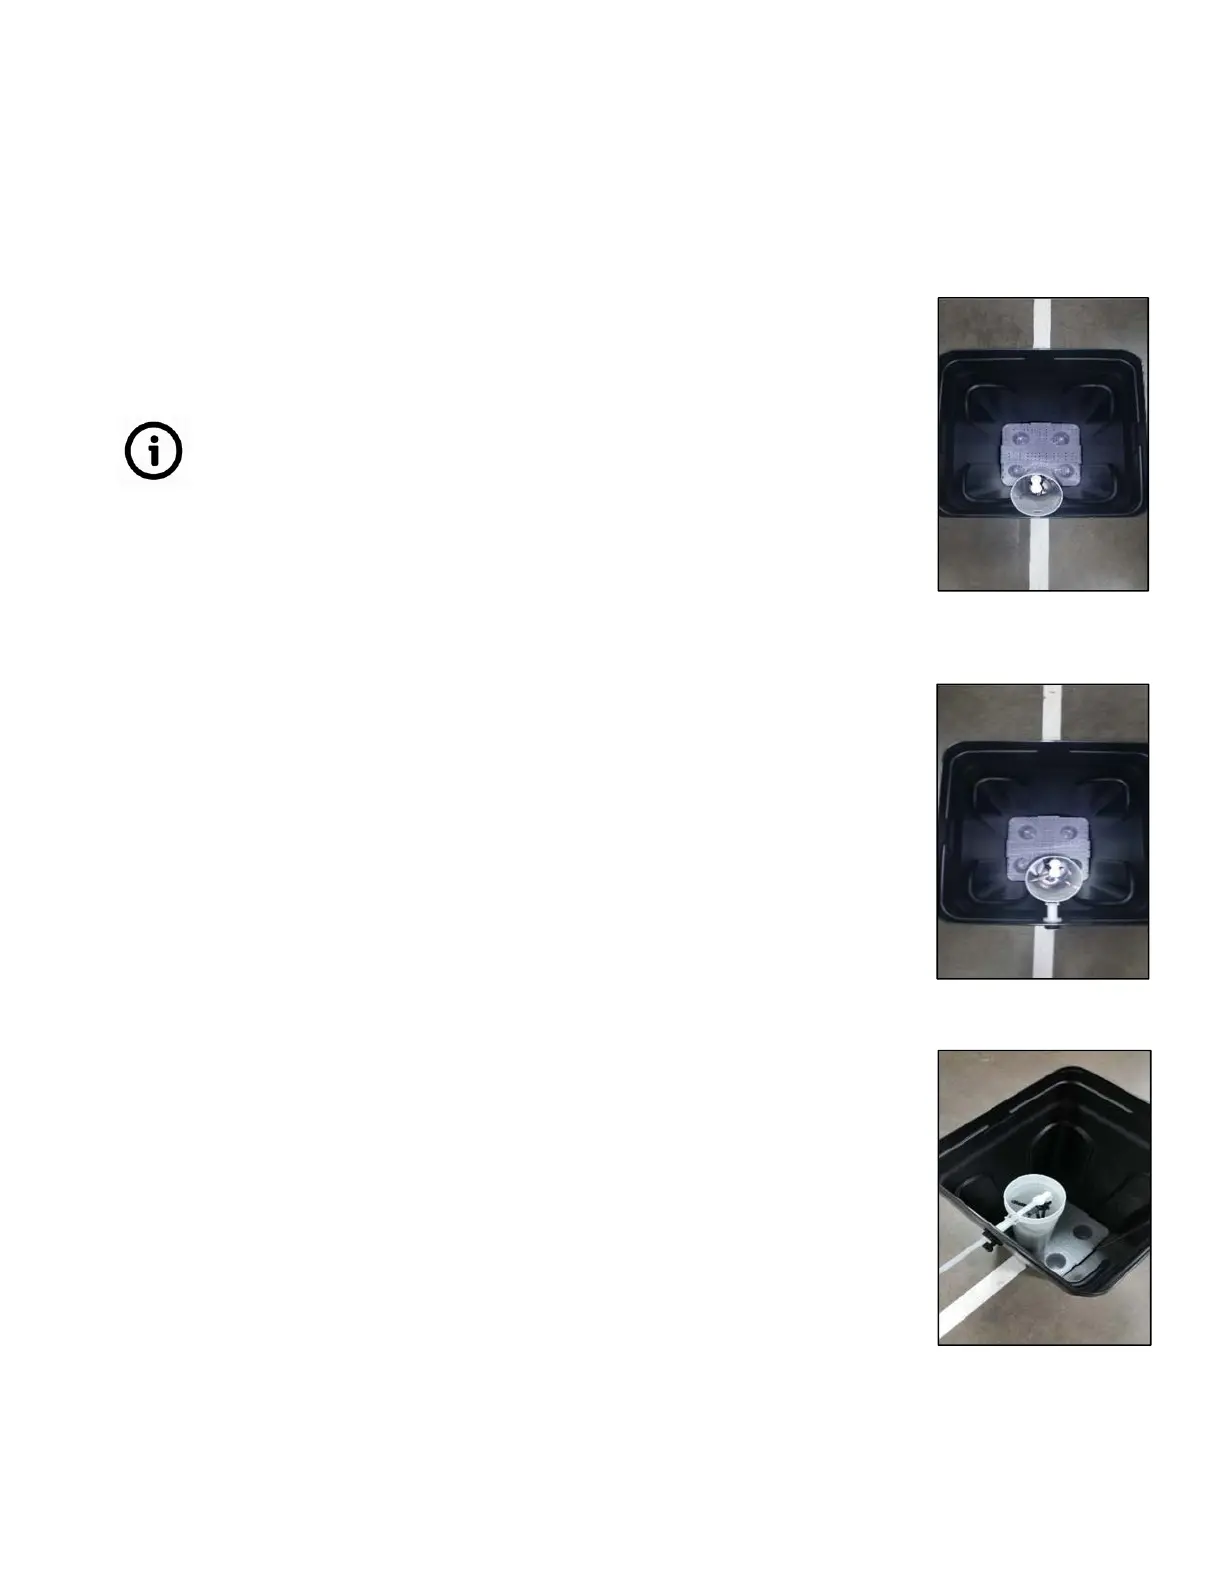
5. Insert the brine well, making sure the bottom brine well cap is attached.
Insert the float assembly by lining up the top cut out holes.
Through testing there have been some instances where the bottom float
assembly cap can come off of the tube when force is applied. Therefore
we strongly suggest using Gorilla Glue or any equivalent glue to glue the
bottom (only) float assembly cap to the tube to prevent this cap from
coming off the tube.
6. Install brine tank standoff over the float assembly and insert into top cut
out hole. Attach washer on outside of tank and secure unit.
8. Insert brine line into the top cut out hole, through the standoff, and
into the quick connect elbow (optional: attach blue clips). Press firmly
to make sure brine line is fully inserted into the quick connect.
Genesis Upflow Valves & Systems Service Manual
 Loading...