DVR Configurations
151
8
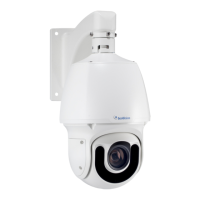
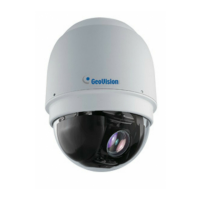
Connecting to GV-IP Speed Dome
Depending on where you save the created E-Map file (GV-System / GV-VMS, E-Map Server
or Control Center), the steps to open the Remote E-Map window for monitoring may vary
slightly. The following is the connection example when you store the E-Map file in the
GV-System.
1. To enable the remote access to the GV-System / GV-VMS, click the Network button,
select WebCam Server to display the Server Setup dialog box, and click OK to start the
WebCam server.
2. At the local computer, open the web browser and type the address of the GV-System /
GV-VMS. The Single View page appears.
3. Select Remote eMap. The valid user name and password are required for login. For the
first-time user, you will be directed to the Download page. Install the E-Map program
before you can run it.
4. On the Remote E-Map window, click the Login button and select the GV-IP Speed Dome
host to access its videos and I/O devices. The valid user name and password are required
to log in the GV-IP Speed Dome.
For details on the Remote E-Map functions, see “E-Map Applications”, GV-DVR User’s
Manual or GV-VMS User’s Manual on the Surveillance System Software CD/DVD.
 Loading...
