SERVICE MANUAL ProSeal Classic/Plus/Premium
14
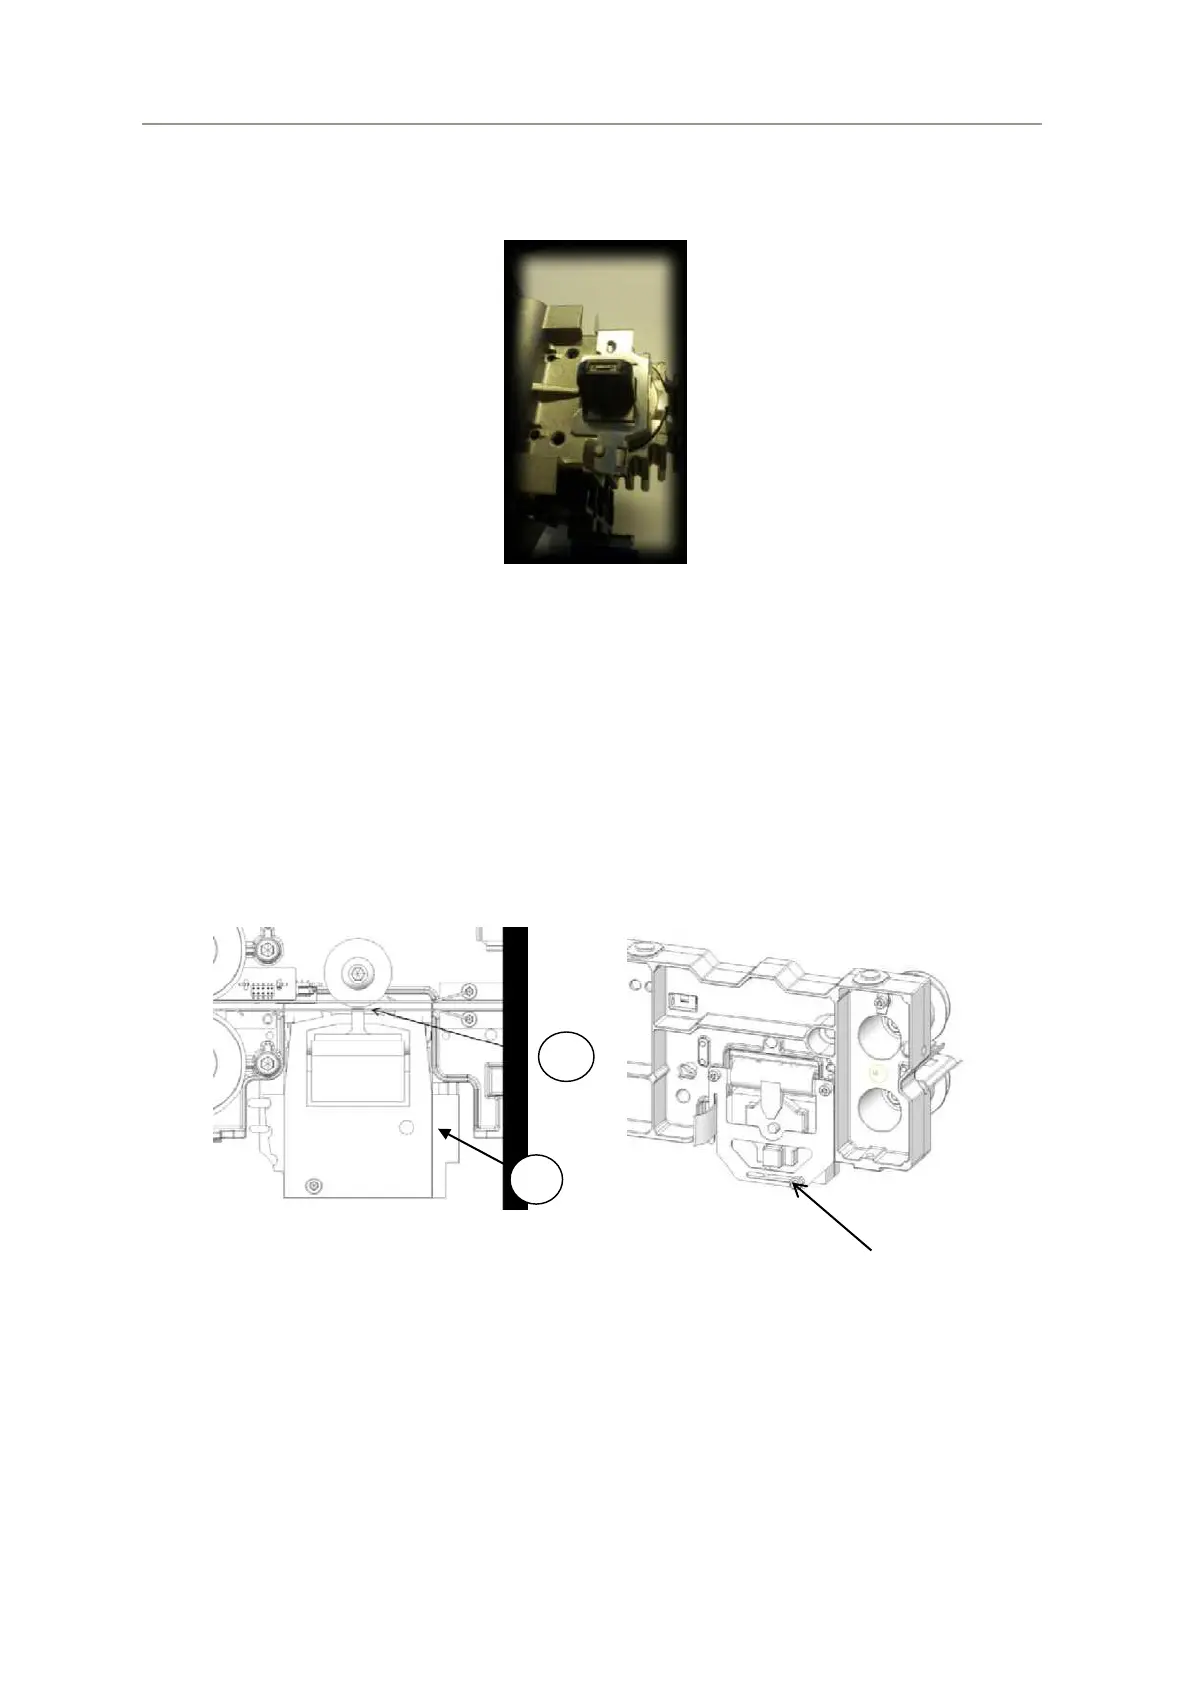
Turn the printer module upside down and clean the area around the printer
needles(Pic 22).
Pic 22
Switch the unit on.
Produce some seal samples with printing.
Check if the text on the seal samples is printed well.
If the text is illegible, turn the pin on the printer ribbon housing (2) (Pic 23).
Produce some seal samples again with printed parameters or text.
Check if the text on the seal samples is printed well.
If the text is illegible, check if the distance between the printer head and the
printer wheel is still 0.3-0.4 mm (depending on sealing material). Use a feeler
gauge with 0.3-0.4 mm thickness.
If the distance is not 0.3-0.4 mm, loosen the screw; see Pic 23 (1).
Pic 23
Lay a feeler gauge with a 0,3-0,4 mm thickness above the printer head.
Place the nylon printing wheel so that it is lying on top of the feeler gauge.
Fasten the screw and remove the feeler gauge.
Check the printing result.
2.6 Upper pressing wheel.
Check – at every maintenance inspection – if the surface of the upper pressing wheel
is worn out or damaged. If the upper pressing wheel is worn out or damaged, it
should be replaced.