
D
dpittsAug 20, 2025
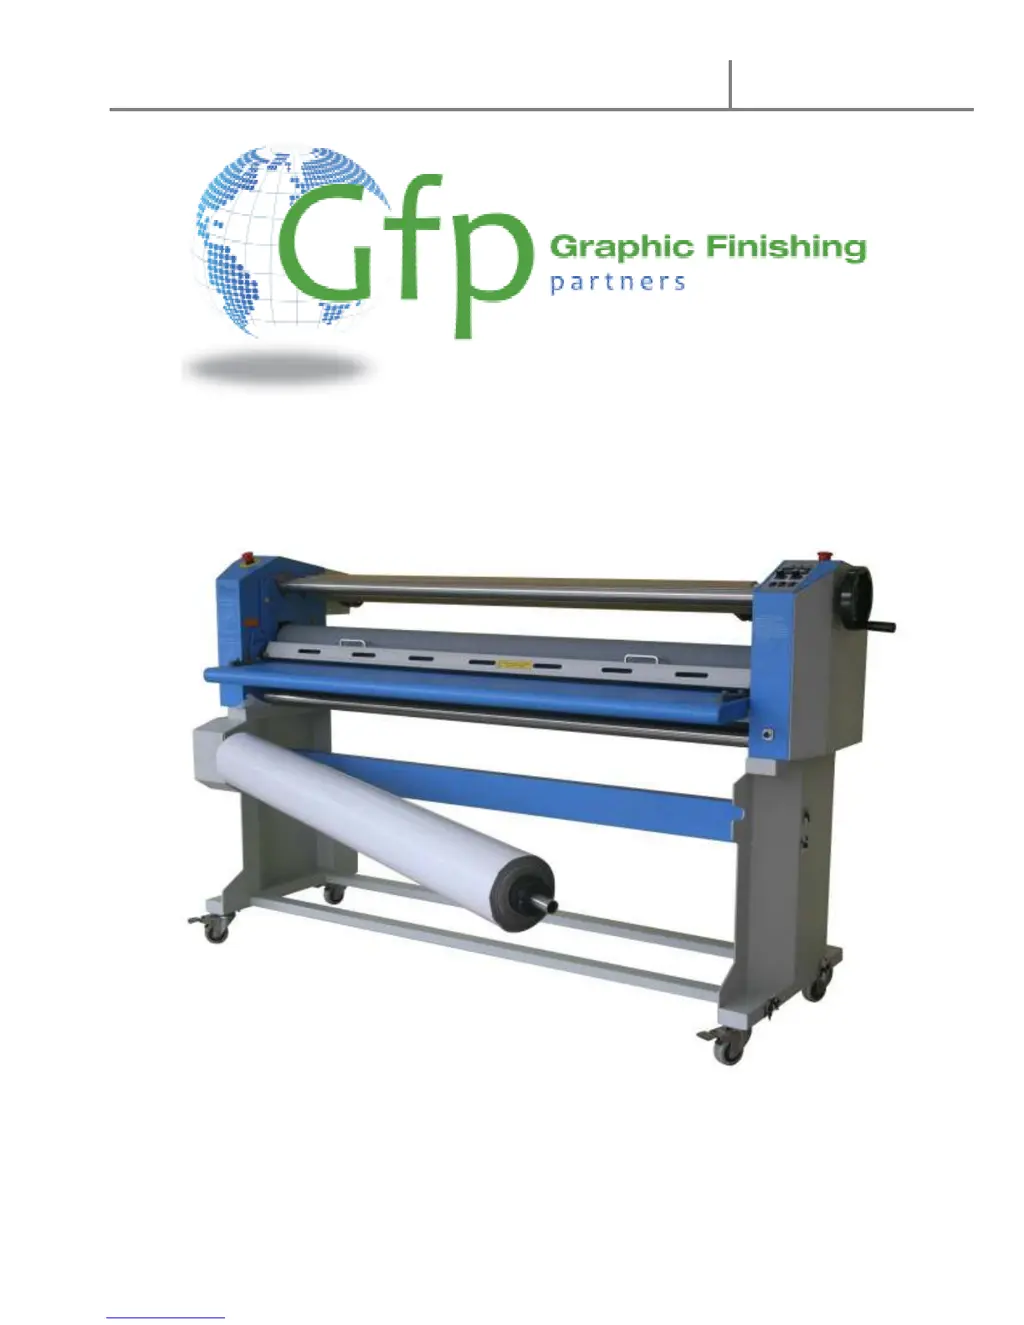
Why does my Gfp 563TH Laminator have poor film adhesion or cloudy prints?
- Tthomas32Aug 20, 2025
Poor film adhesion or cloudy prints on your Gfp Laminator can be due to: 1. Nip roller pressure being too low, so increase it. 2. Dust on the print surface. Make sure to clean the print surface before lamination.