- 85 -
Step 2:
ThescreenwillshowthattheBIOSleisbeingreadfromyourUSBashdrive.PleaseselectFast or Intact to
begin the BIOS update. The screen will then display the update process.
Step 3:
The system will restart after the update process is complete.
• Do not turn off or restart the system when the system is reading/updating the BIOS.
• DonotremovetheUSBashdriveorharddrivewhenthesystemisupdatingtheBIOS.
Step 4:
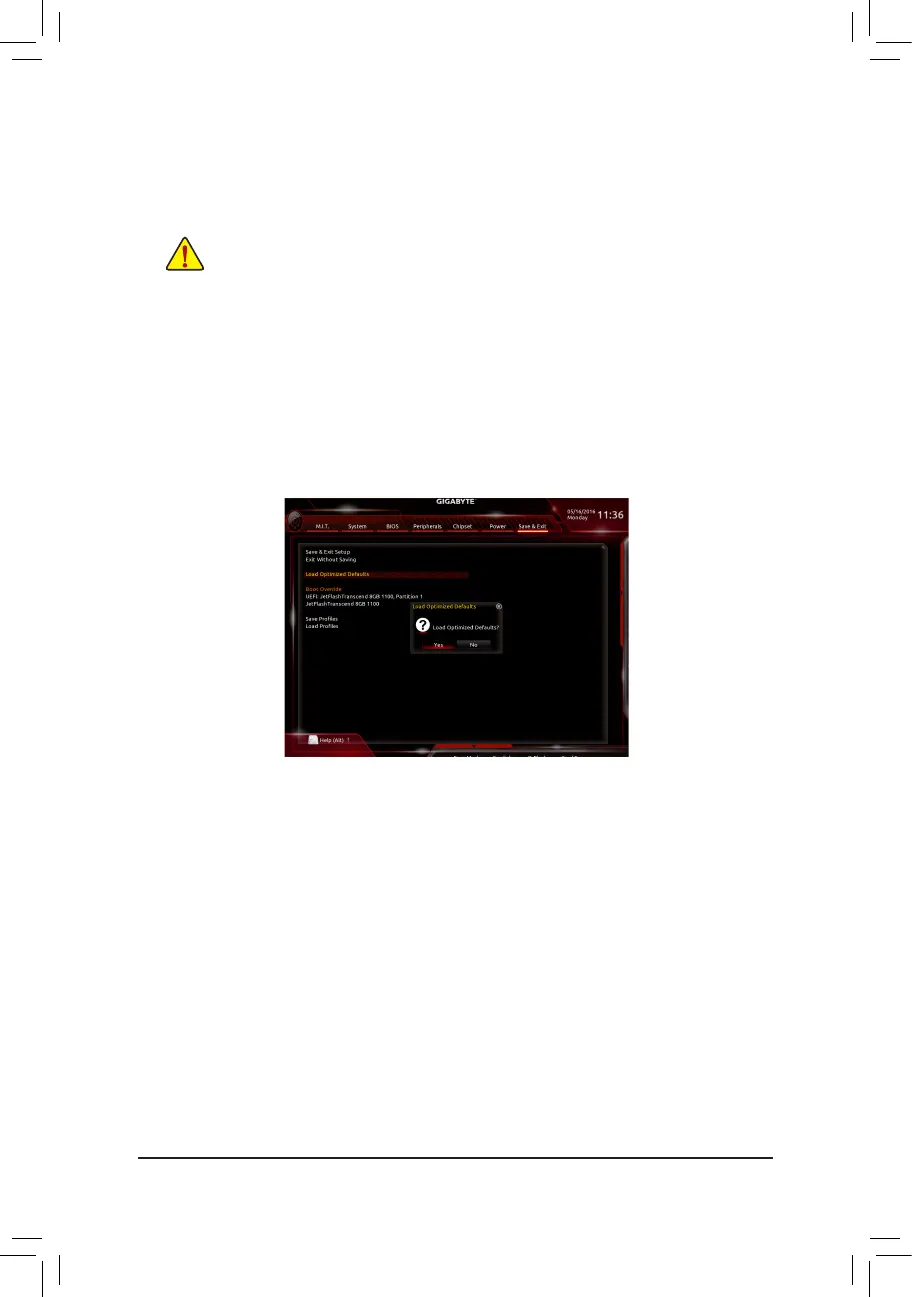
During the POST, press <Delete> to enter BIOS Setup. Select Load Optimized Defaults on the Save & Exit
screen and press <Enter> to load BIOS defaults. System will re-detect all peripheral devices after a BIOS update,
so we recommend that you reload BIOS defaults.
Step 5:
Select Save & Exit Setup and press <Enter>. And then select Yes to save settings to CMOS and exit BIOS
Setup. The procedure is complete after the system restarts.
Select Yes to load BIOS defaults
 Loading...