THE FAULT HAS BEEN RECORDED IN CUR-
RENT STATUS:
The control circuit gave a negative result when
switching to "ON".
AHEAD go to 8
3 Select the "PARAMETERS" function on the
menu.
Check the number of «lost synchronisations»:
1 TOOTH and > 1 TOOTH
YES go to 4 NO go to 5
4 THE INDICATION INCREASES PROGRES-
SIVELY OVER TIME WITH THE ROTATION OF
THE ENGINE.
AHEAD go to 8
5 INDICATION = 1-3
THE RPM-TIMING CIRCUIT IS IN COMPLI-
ANCE.
Make an attempt to start and use the parameters
function to check for the «engine revs» indication.
YES go to 6 NO go to 7
6 The signal panel is in conformance.
7 CHECK THE AIR GAP AND MAGNETIC AC-
TIVITY OF THE SENSOR.
See engine mechanics.
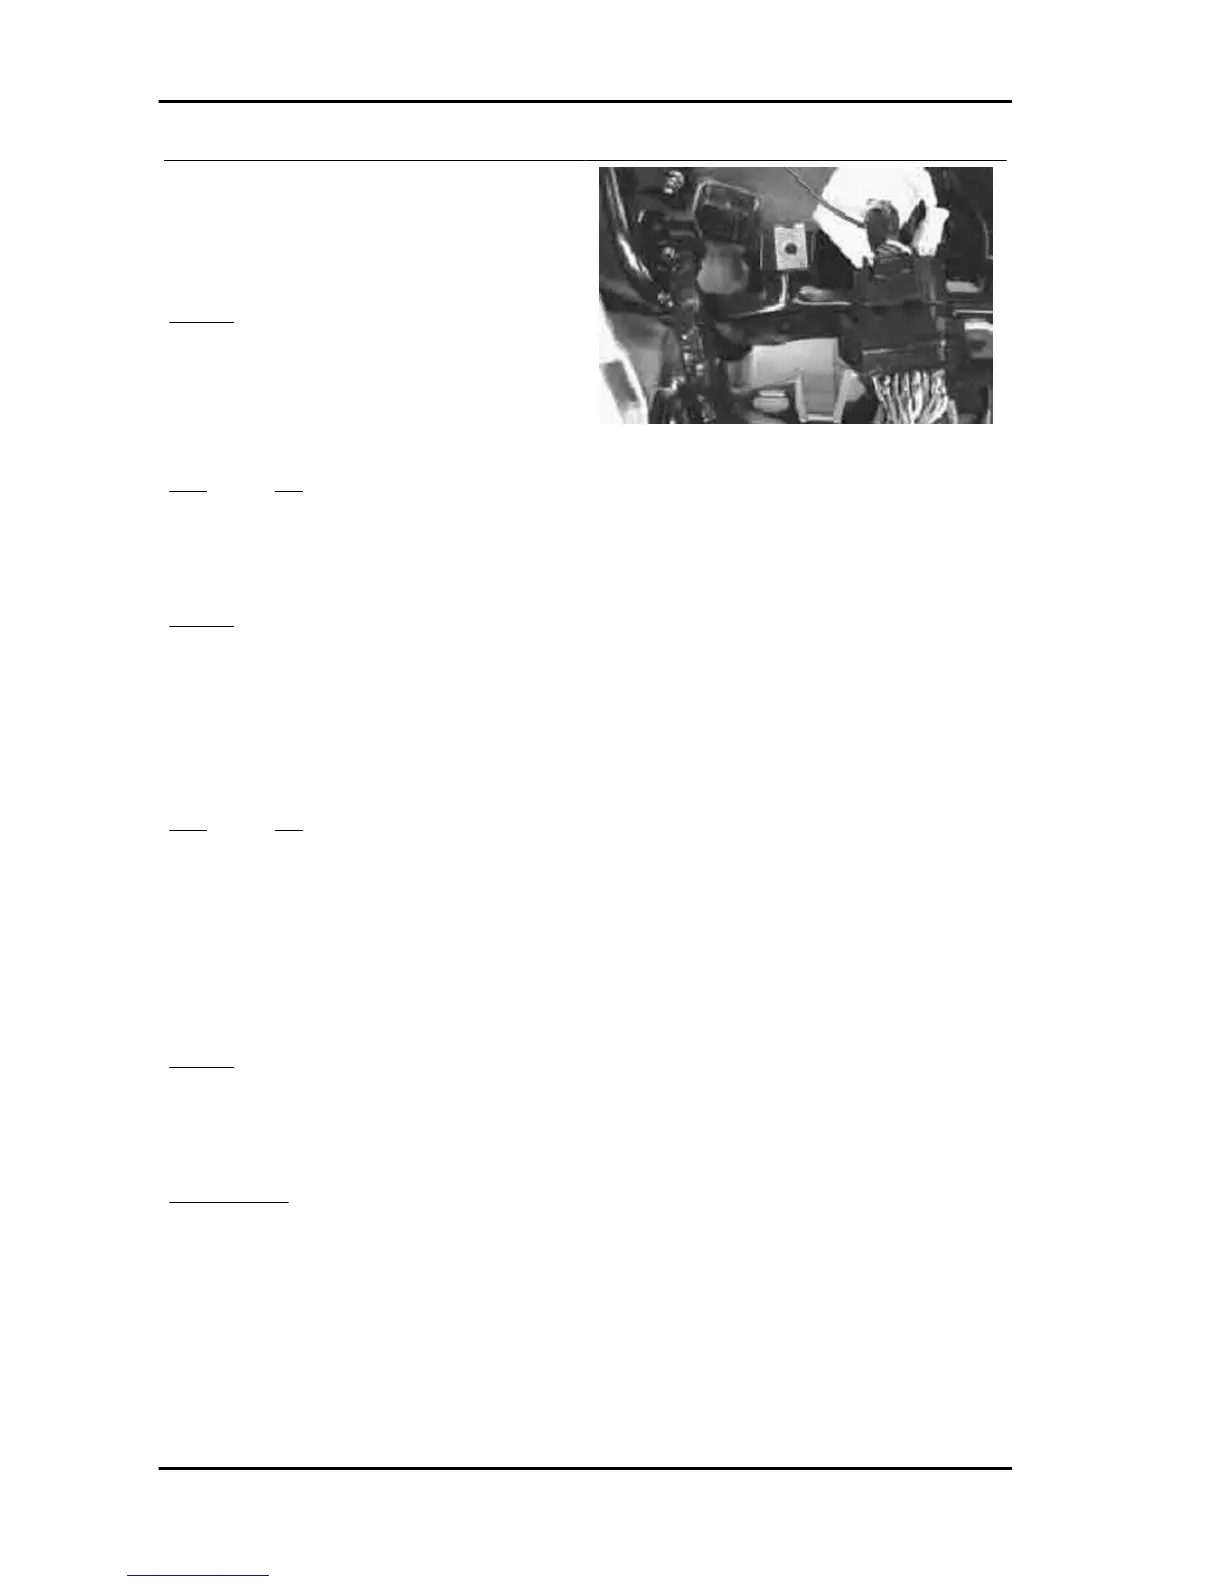
8 Check the sensor and related connection circuit
with the control unit.
AHEAD go to 9
9 Install the connection wiring between the control
unit and injection system. Do not make the con-
nection with the control unit.
CONTINUE at 10
Specific tooling
020481Y Control unit interface wiring
10 Install the connection connector between the rpm timing sensor and injection system.
Measure the sensor resistance by connecting a multimeter between the terminals marked + and - (see
the "Electrical system" chapter).
Injection Nexus 500 euro 3
INJEC - 250