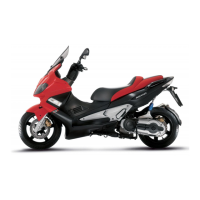
- Keep the brake pads in contact with the plungers
and insert the calliper in the brake disc.
- Fix the calliper to the support with the two screws
with spring washer to the prescribed torque as
shown in the photograph.
- Fasten the brake pipe union to the calliper and tighten to the prescribed torque
- Bleed the system and replace the rear wheel
N.B.
IF THE REAR BREAK CALLIPER SUPPORT PLATE HAS BEEN REMOVED, UPON REFITTING IT
IS NECESSARY TO FOLD THE EDGES OF THE WASHER ON THE HEAD OF THE SCREWS FIXING
THE PLATE TO THE CRANKCASE.
Locking torques (N*m)
Pipe / brake calliper coupling 20 ÷ 25 Rear calliper support on crankcase retainer 20 ÷ 25
Front brake calliper
Removal
- Check the good condition of the brake hoses, of
the seals and of the respective fittings. If any loss
of brake fluid is discovered at the brake callipers,
the callipers must be replaced.
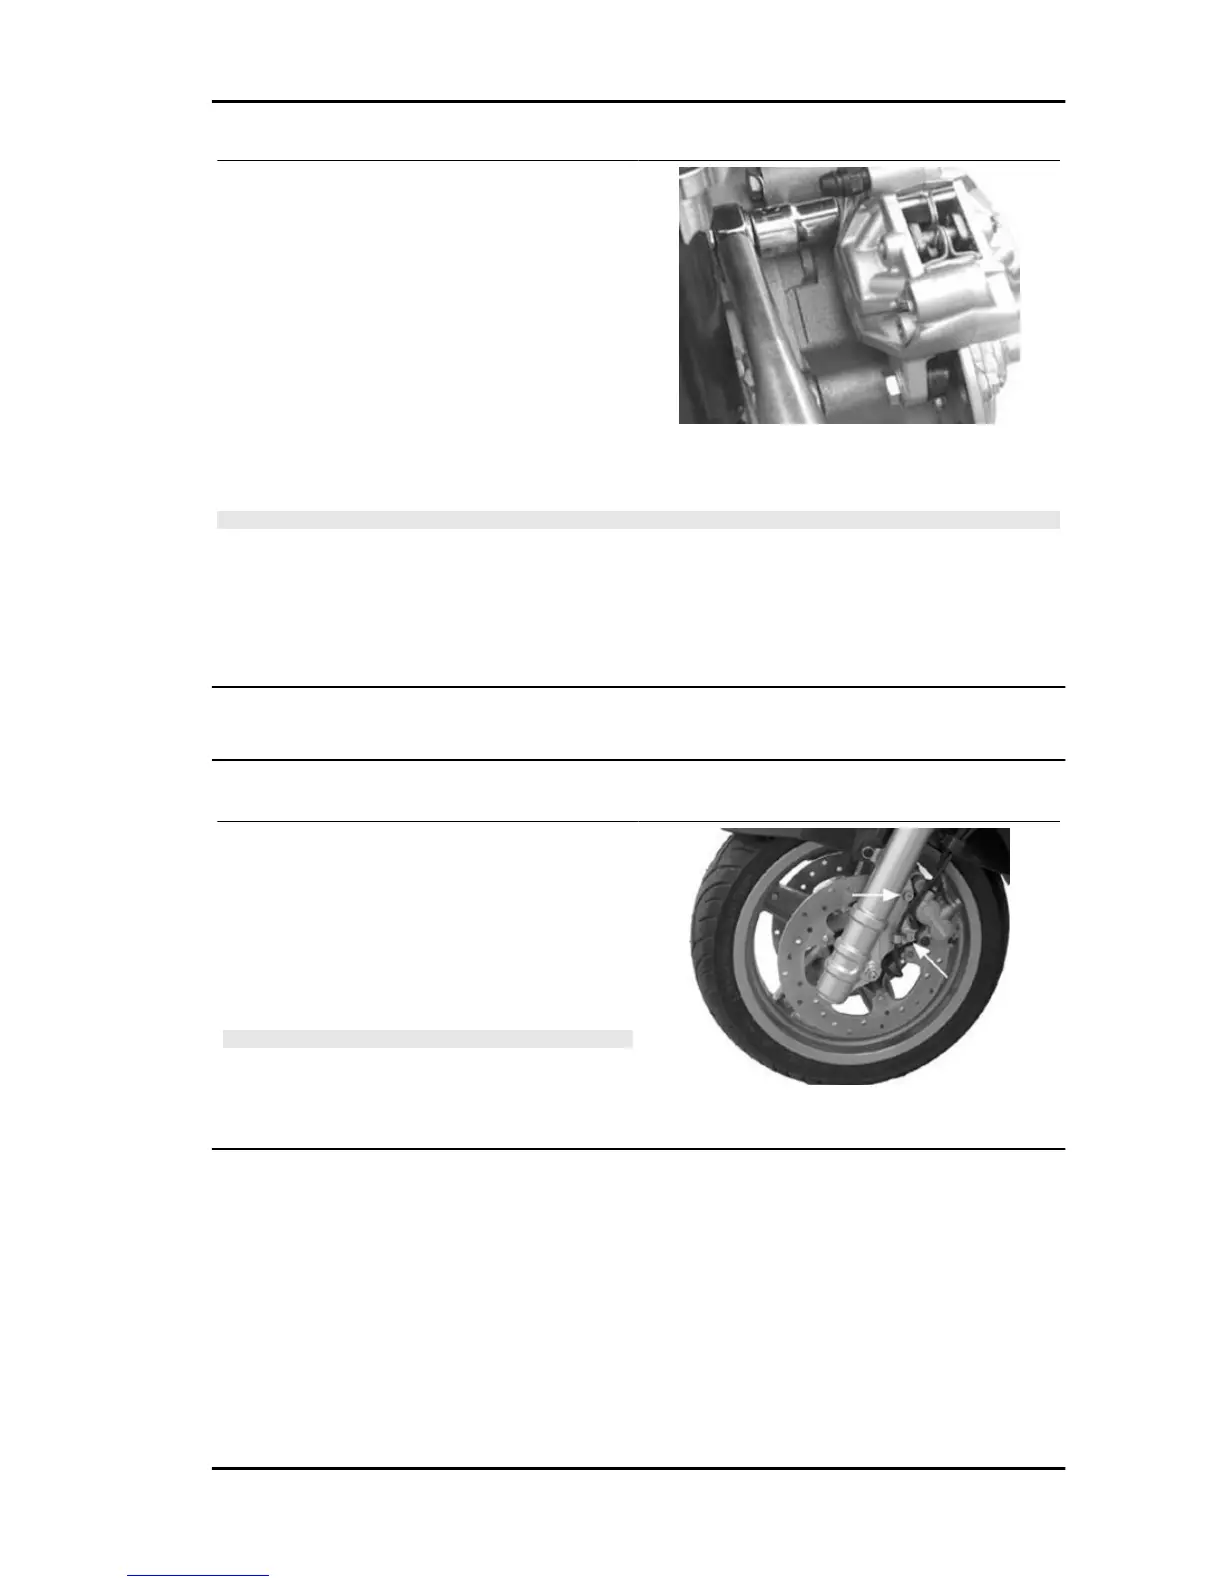
- Remove the two retaining screws of the front
brake calliper at the fork as indicated in the photo.
N.B.
BEFORE STARTING TO SERVICE OR REPLACE THE CAL-
LIPER, LOOSEN THE CONNECTION OF THE PRESSURE
HOSE AT THE BRAKE CALLIPER AFTER HAVING DEP-
RESSURISED THE CIRCUIT AS A WHOLE.
Nexus 500 euro 3 Braking system
BRAK SYS - 313