4-2
Maintenance 4
Replacing the Fuse(s)
Replacing the Fuse(s)
A blown fuse may indicate the existence of another
problem in the instrument. If the replacement fuses
blow, do not try others.
To change a fuse, follow these steps.
1 Disconnect the power cord from the power
outlet and from the rear panel receptacle.
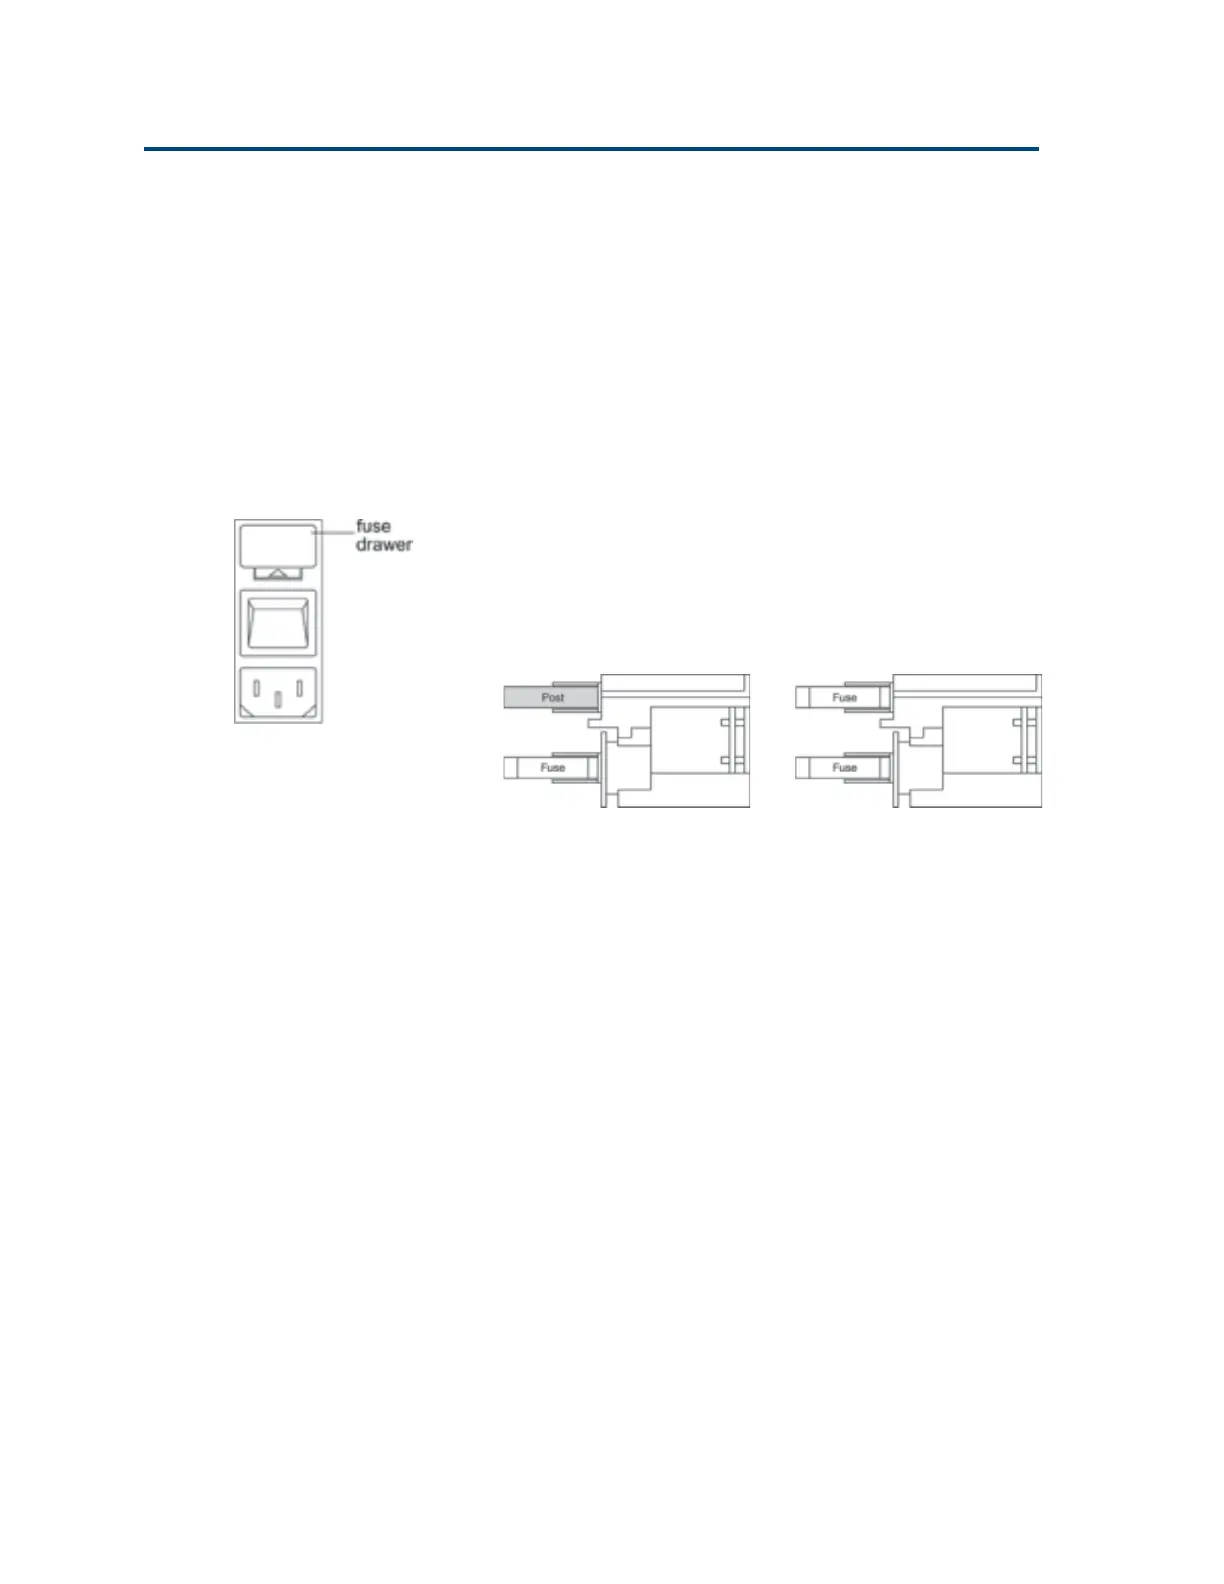
2 Locate the fuse drawer on the rear panel. See
page 2-2 if necessary.
3 Insert a small screwdriver into the notch located
below the fuse drawer.
4 Twist the screwdriver to open and remove the
fuse drawer. The fuse drawer contains one
2.0A “T” Slo-Blo fuse (5 x 20 mm size) for a
100/120 voltage selection. It contains two 2.0A
fuses for a 220/240 voltage selection.
5 Remove the old fuse(s) and insert the new
fuse(s).
6 Insert the fuse drawer into its receptacle in the
valve actuator.
Fuse installation for
220/240 voltage
Fuse installation for
100/120 voltage
Artisan Technology Group - Quality Instrumentation ... Guaranteed | (888) 88-SOURCE | www.artisantg.com