Glidermatic GTS+ Installation Instructions & owner’s manual Page 3
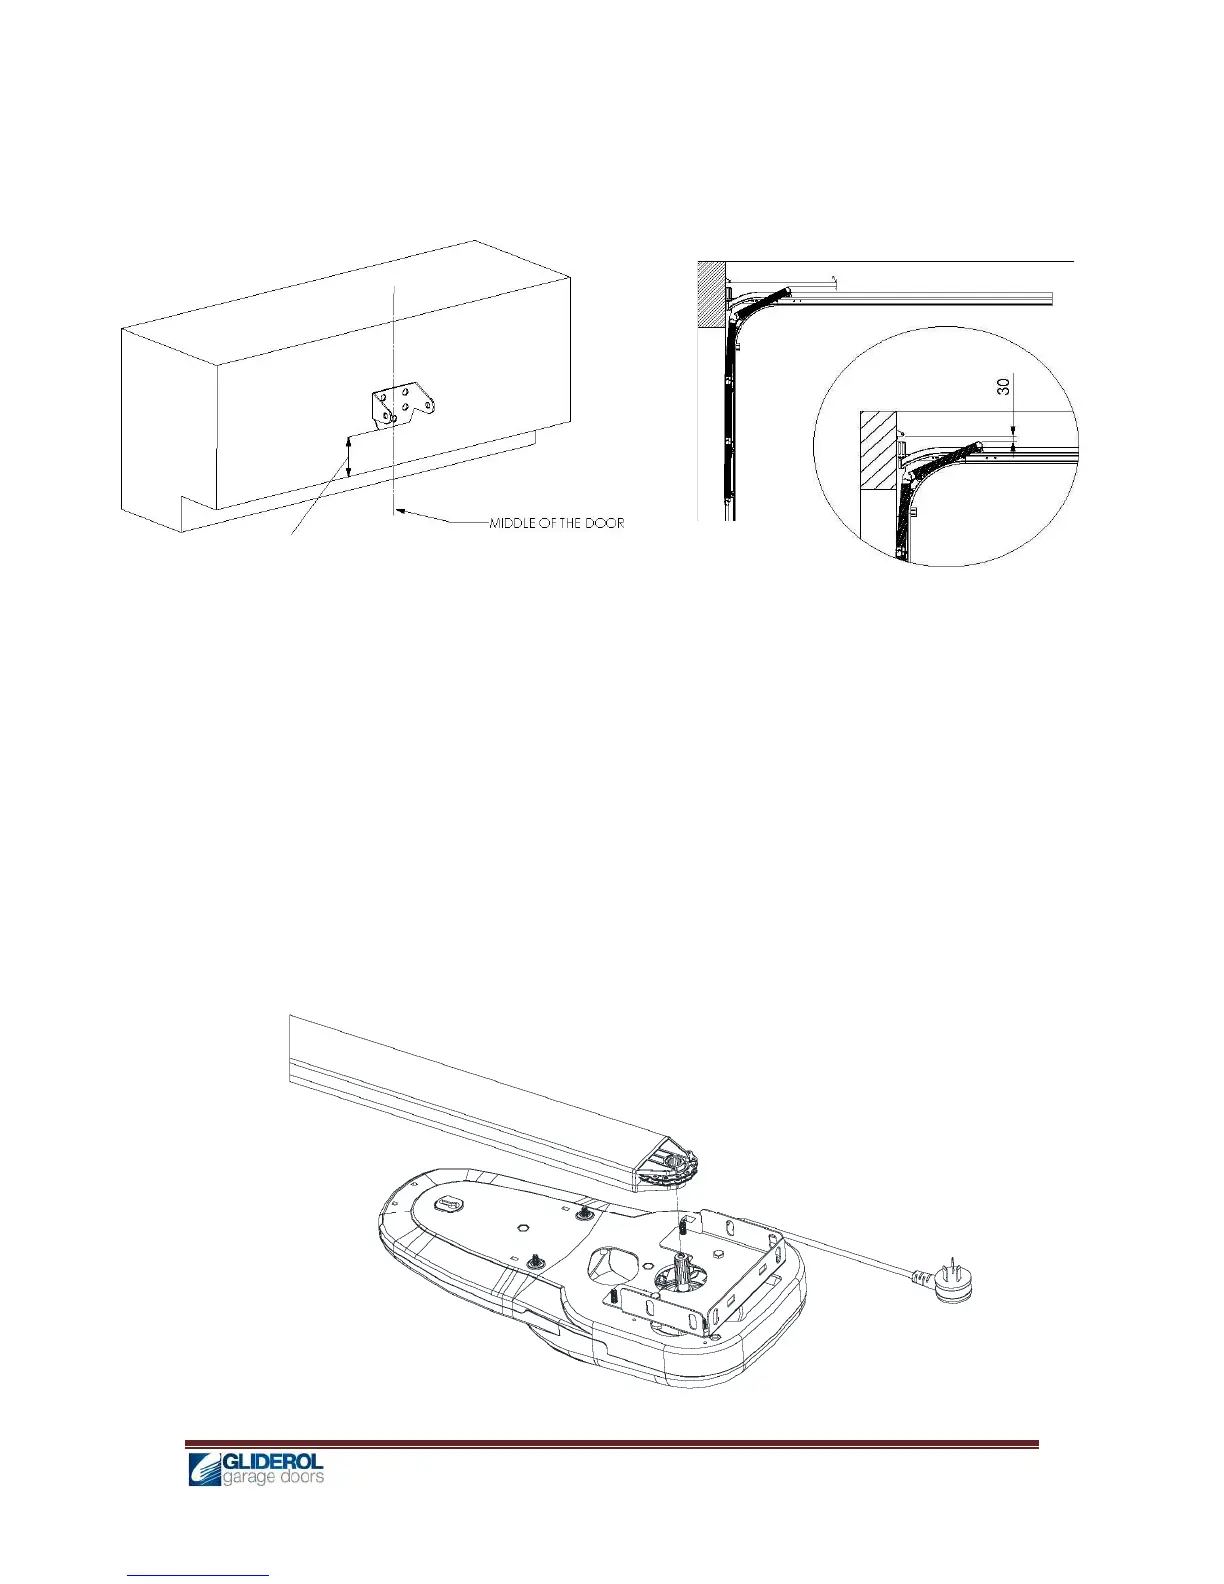
Stage 1 - Install the Lintel Bracket
It is essential the door header be substantial as nearly all the force generated by the
opener is concentrated via the header bracket.
Determine the centre of the door and continue this vertical line through the header.
Open the Door and find the highest point to which the top of the door reaches, using an
appropriate straight edge and level.
Transfer this height to the header and lower the door.
Increase the distance from this height by 30mm if possible.
Grab the lintel bracket and place the flat bottom of the flanges at the height determined,
fixing with screws (not supplied).
Note: Headroom requirements and the need to avoid obstructions sometimes makes
it necessary to move the bracket higher.
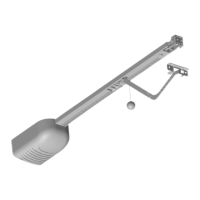
Stage 2 - Attach Track to Power Unit
Place the track end over the geared shaft of the power unit and slide down.
Ensure track and unit are correctly aligned.