Glidermatic GTS+ Installation Instructions & owner’s manual Page 6
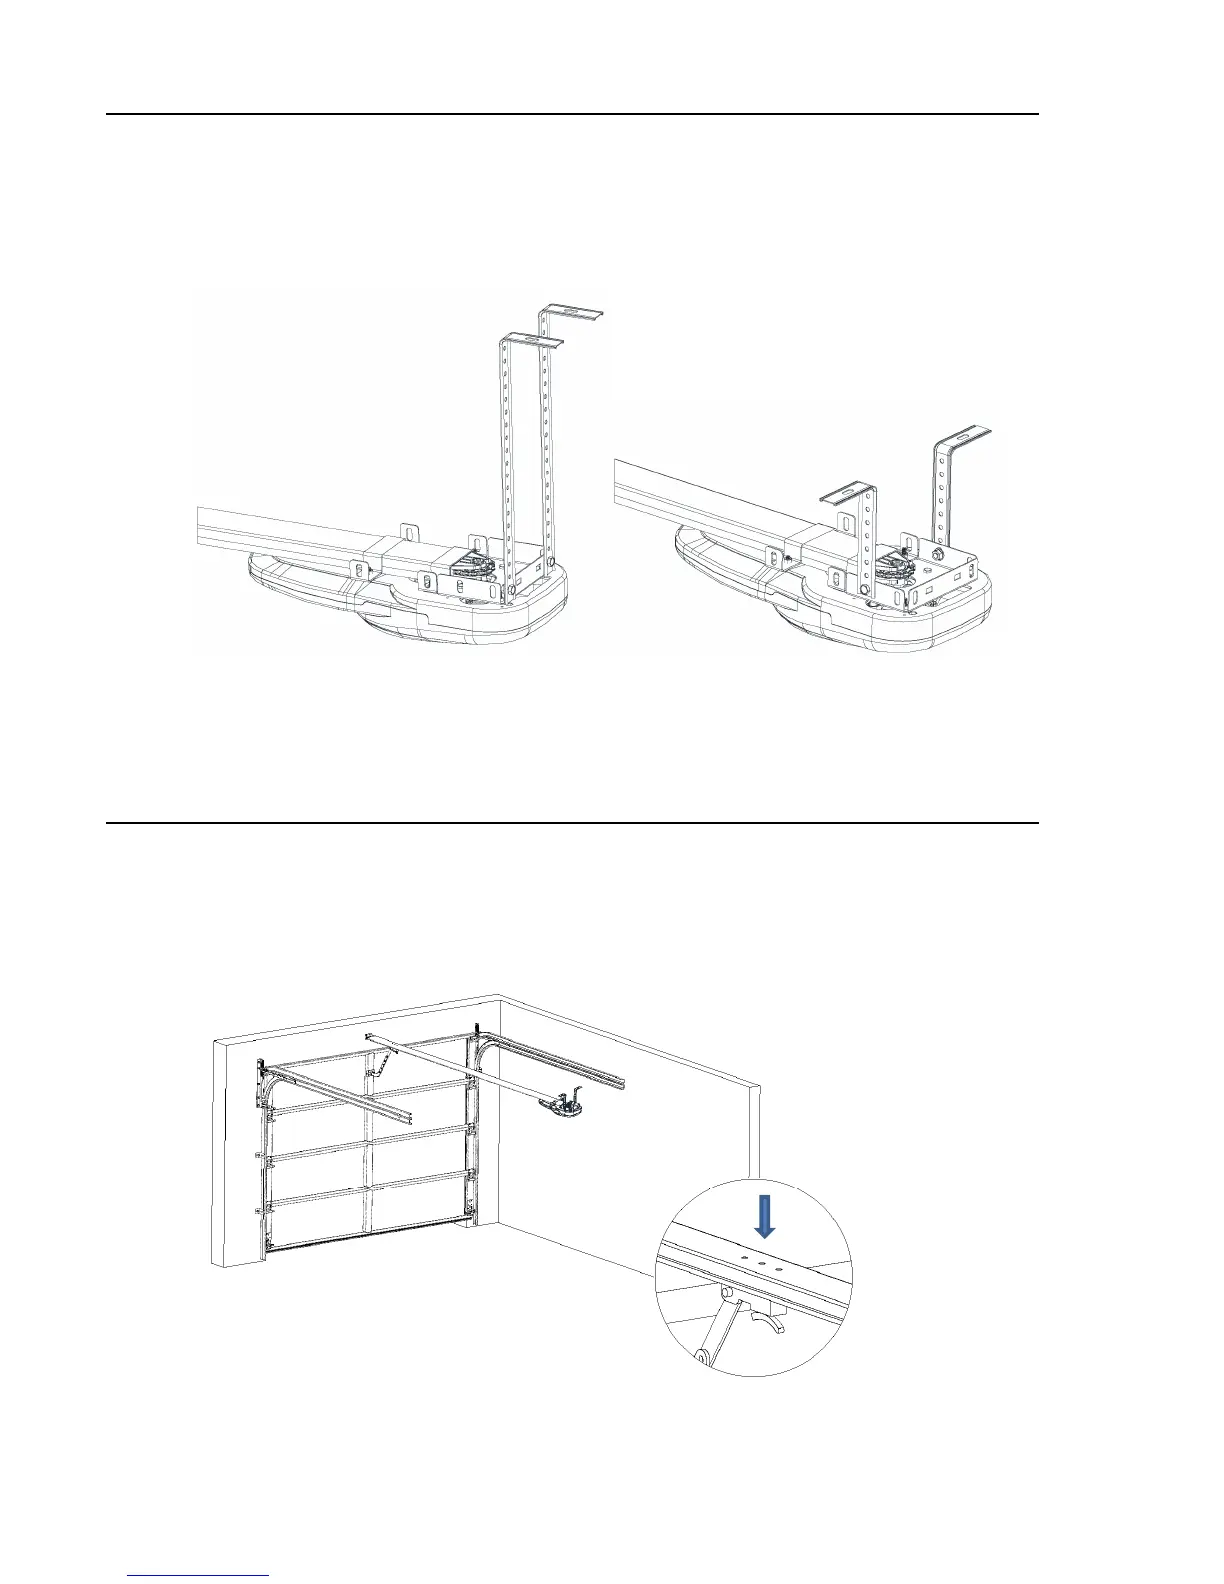
Stage 7 - Secure the Power Unit
Cut the ‘L’ brackets to the measured length (as per stage 6).
Find secure installation point in ceiling.
Attach ‘L’ brackets to power unit with the remaining M8 fasteners (supplied
Install power unit to ceiling. (Fasteners not supplied).
NOTE: Ensure the track is line up centre with the door.
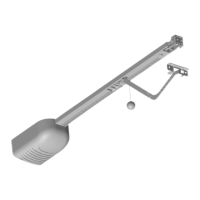
Install flat Hinge to Door
Slide door back down to the closed position.
Manually move the carriage back to the Lintel bracket end and lock into one of the manual lock holes’.
Attach the flat hinge bracket to the door, as per the guide on the next page.
Measure height of ceiling to the bottom of the track.
This distance will be required for the length of the ‘L’ brackets.
While fixing the Hinge bracket and connecting pusher arm and boomerang arm together make sure the carriage pin
engages to one of the three holes on the shaft whilst the door in fully close position, this gives the option to lock the door
in manual operation.