Glow T180
Tankless Condensing Water Heater
20
2.8 Installer Section
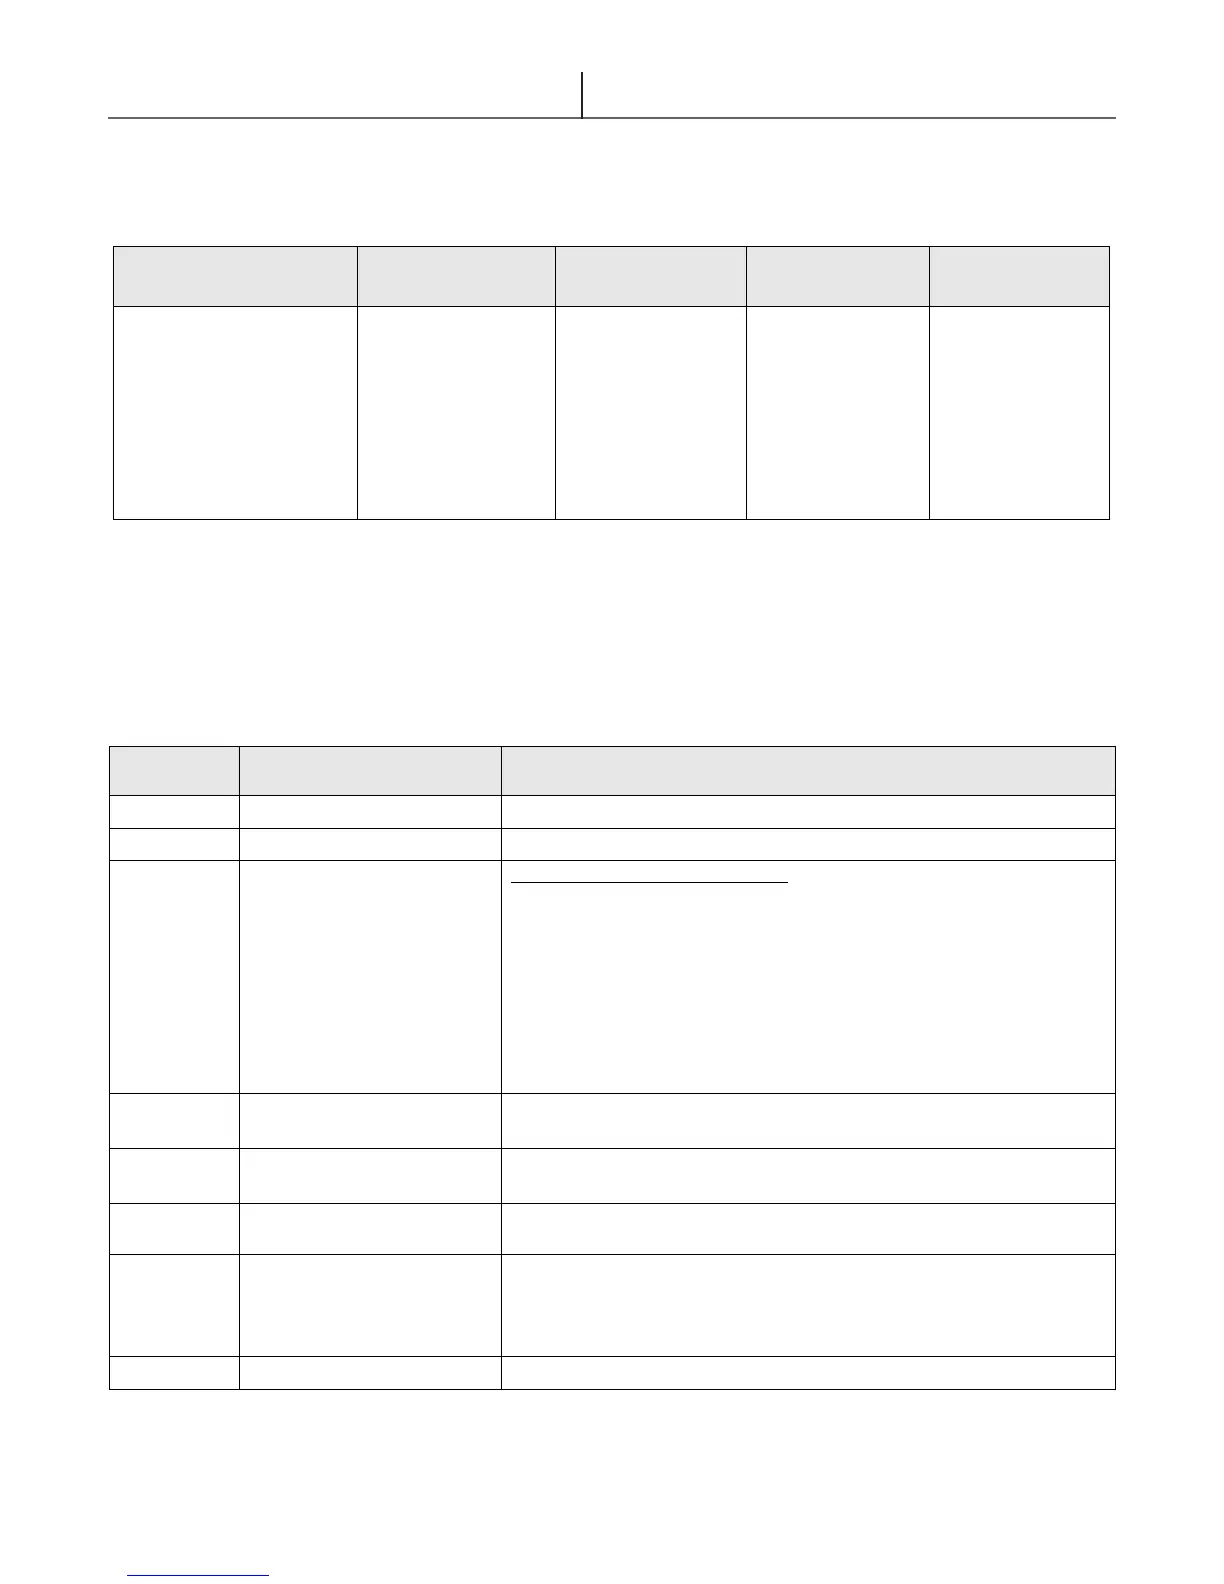
The Installer section ensures that one control can control several different devices. The scheme below
schematically shows how to operate the installer Section in some simple steps:
* If these buttons are no longer operated for 2 sec. the parameter no. and the current value displayed will show with intervals of 2 sec.
** In case of a non-adjustable parameter, the current value will be displayed continuously.
Appliance selection model
°C/ °F (Stored in the internal memory)
Only select the following mode:
08: Tankless water heater
Don’t apply the following modes:
00: N/A
01: N/A
02: N/A
03: N/A
05: N/A
06: N/A
07: N/A
dIS = Disabled (no preheat)
EnA = Enabled (preheat) default
160°F(70 °C)
(Stored in the internal memory, default value 70°C)
102°F(39°C)
(Stored in the internal memory, default value 39°C)
00: Preheat Off mode
01: Anti freezing mode (Default)
02: Eco mode
03: Comfort mode
EnA (Enabled) default, dIS (Disabled)
Table 2.11
Table 2.12
The following table shows the available parameters in the Service menu.
1. Enter the
Installer Selection
2. Scroll though
Parameter List
4. Alter value of
parameter
5. Confirm / cancel
alteration
Power OFF unit
Remove power cord from
receptacle. Simultaneously
press and hold [MENU] &
[ENTER] while plugging in
the power cord. Continue
to hold [MENU] &
[ENTER] until the display
flashes ini & 300
alternately for 10 seconds.
It will rest at 302.
Scroll through the
parameter list with the
[UP] / [DOWN]
buttons*
10 seconds of no
action automatically
return to the status
screen.
Select a parameter to
alter/read-out it’s
value by pressing
[ENTER]* *
10 seconds of no
action automatically
return to the status
screen.
Alter a value of the
parameter with the
[UP] / [DOWN]
buttons.
When the parameter
is being altered, the
value on the display
will blink.
Confirm (save) with
[ENTER] or
Cancel with [RESET]
After
saving/cancelling you
automatically return
to the installer
selection (1).