PAGE 20 INSTRUCTION MANUAL TX4400
FITTING THE MICROPHONE
The microphone uses a miniature 6 pin telephone style plug
and socket.
To fit the microphone:
1. Position the microphone plug so the plastic tab faces
downwards. Press the plug into the socket until
it ‘clicks’.
2. Gently press the rubber strain relief into the hole
surrounding the socket so that the slot around the strain
relief fits neatly inside the lip of the hole.
Removing the microphone.
1. Squeeze the rubber strain relief near the front panel to
disengage the slot, and slide the strain relief back along
the microphone cord.
2. Press the small plastic tab on the microphone plug
towards the plug to unlock it, while gently pulling the
plug outwards. If the plug does not come out easily, the
tab has not released correctly and should be pressed
again. You may need a small bladed screwdriver for this
task, as the tab can be difficult to reach with
your fingers.
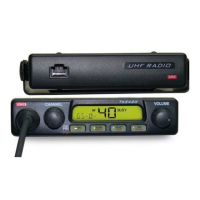
REAR MICROPHONE CONNECTION
TX4400M
The TX4400M comes with the LEM6M rear accessory pack
factory fitted.
To fit the rear mounting microphone optional
accessory kit (LEM6M):
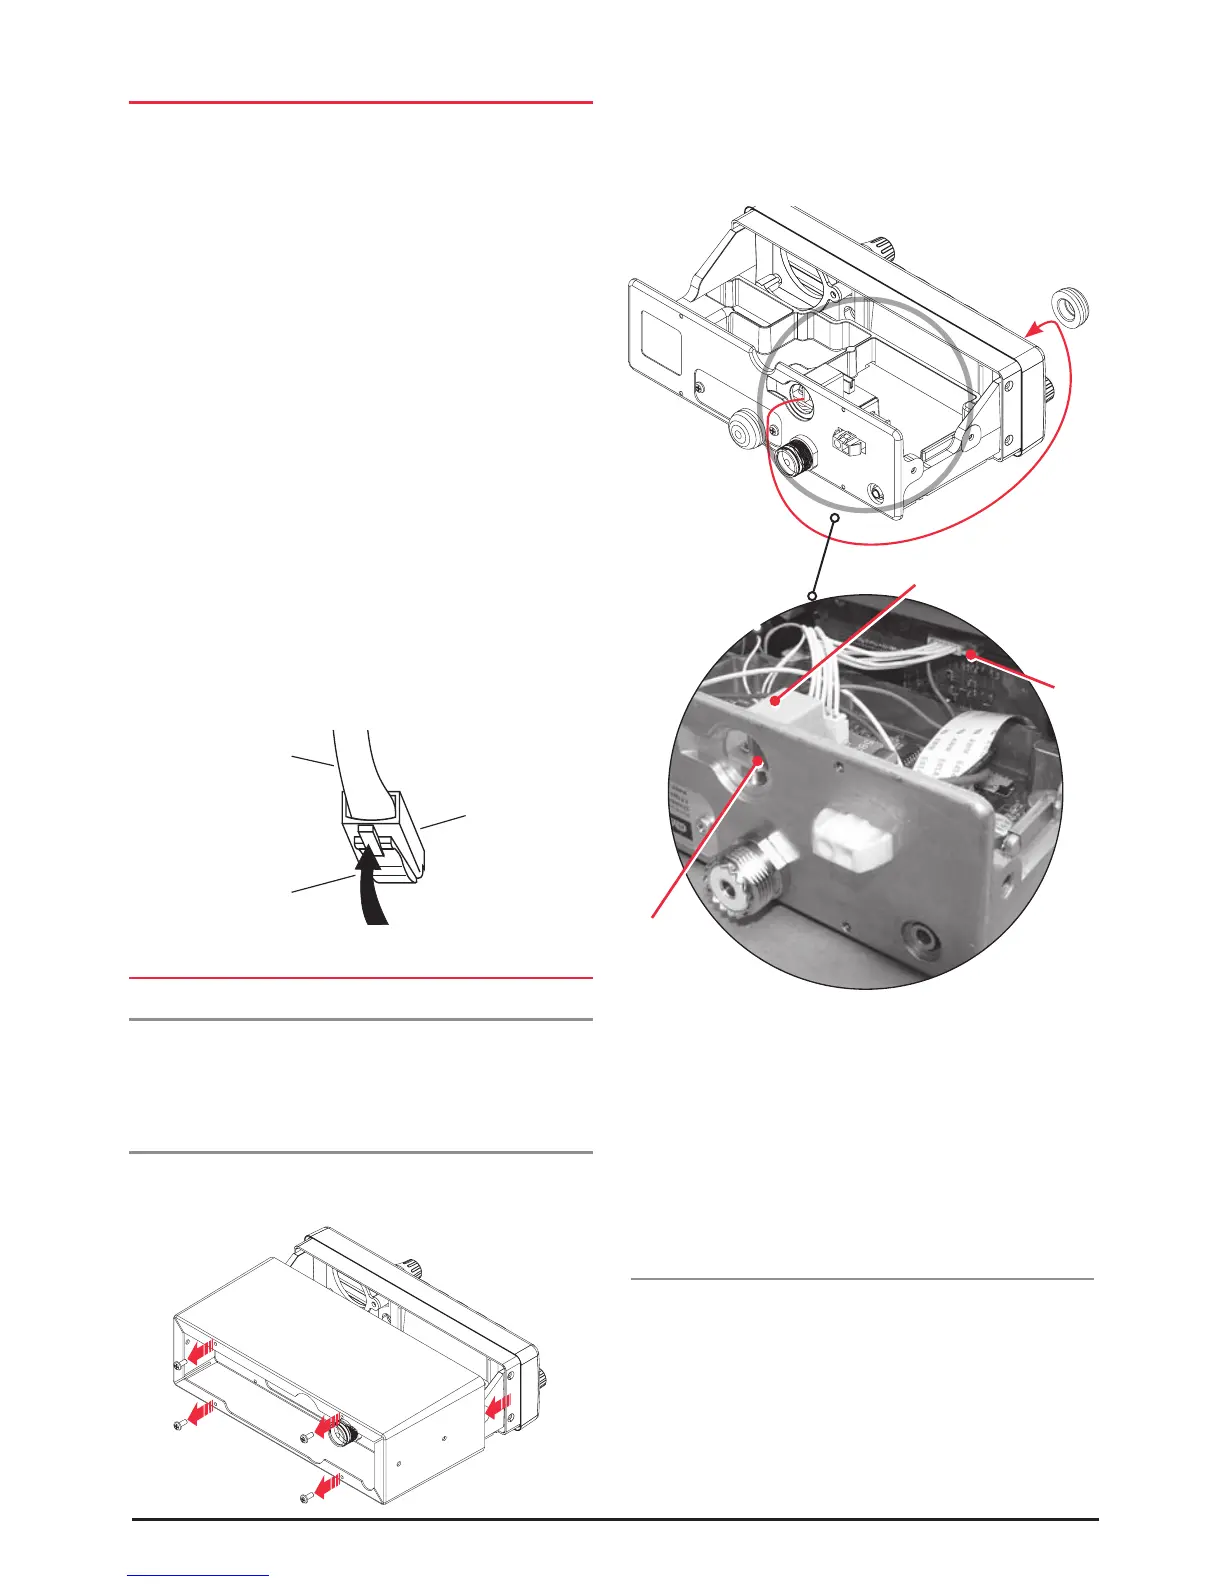
1. Remove the 4 screws from the rear panel securing the
cover and slide the cover from the radio (figure 1).
2. Turn the TX4400 upside down, remove the black
grommet from the back of the radio and insert into the
front panel microphone socket aperture of the TX4400
(figure 2).
3. Secure the rear microphone printed circuit board
(PCB) supplied with the LEM6M accessory kit with
the screws provided (Figure 3).
4. Connect the 6 pin lead attached to the rear microphone
PCB and the 6 pin socket on the front PCB.
5. Refit the cover and fasten with the 4 screws
Microphone Extension Lead
The LEM6P is a 4 metre microphone extension lead that can
be fitted to the microphone socket.
Cable
Microphone plug
Lift locking tab
to release plug
Connection
to front
PCB
Rear
microphone
socket
Rear microphone PCB
Figure 1
Figure 2
Figure 3