(14)
, apply 3 to 4 thread glues to the bolts,
and first fit the tension plate bushing to
the tension plate In the corresponding
hole, tighten the tension plate in the
corresponding hole of the left body with
screws;
4. Put the
CG125D-2# gear display moving
contact (19)
into the corresponding slot of
the speed change drum, then take the gear
display wire harness (20), install it into
the corresponding hole on the left body,
and use 1
M6×20 The screws (21) are fastened
;
5. Take 1 M6×12 bolt (17), press the gear
display wire harness under the CB125 foot-2# wire
retaining plate (18), and fasten it to the
corresponding position of the left body.
Tightening torque: 11 to 13 N·m.
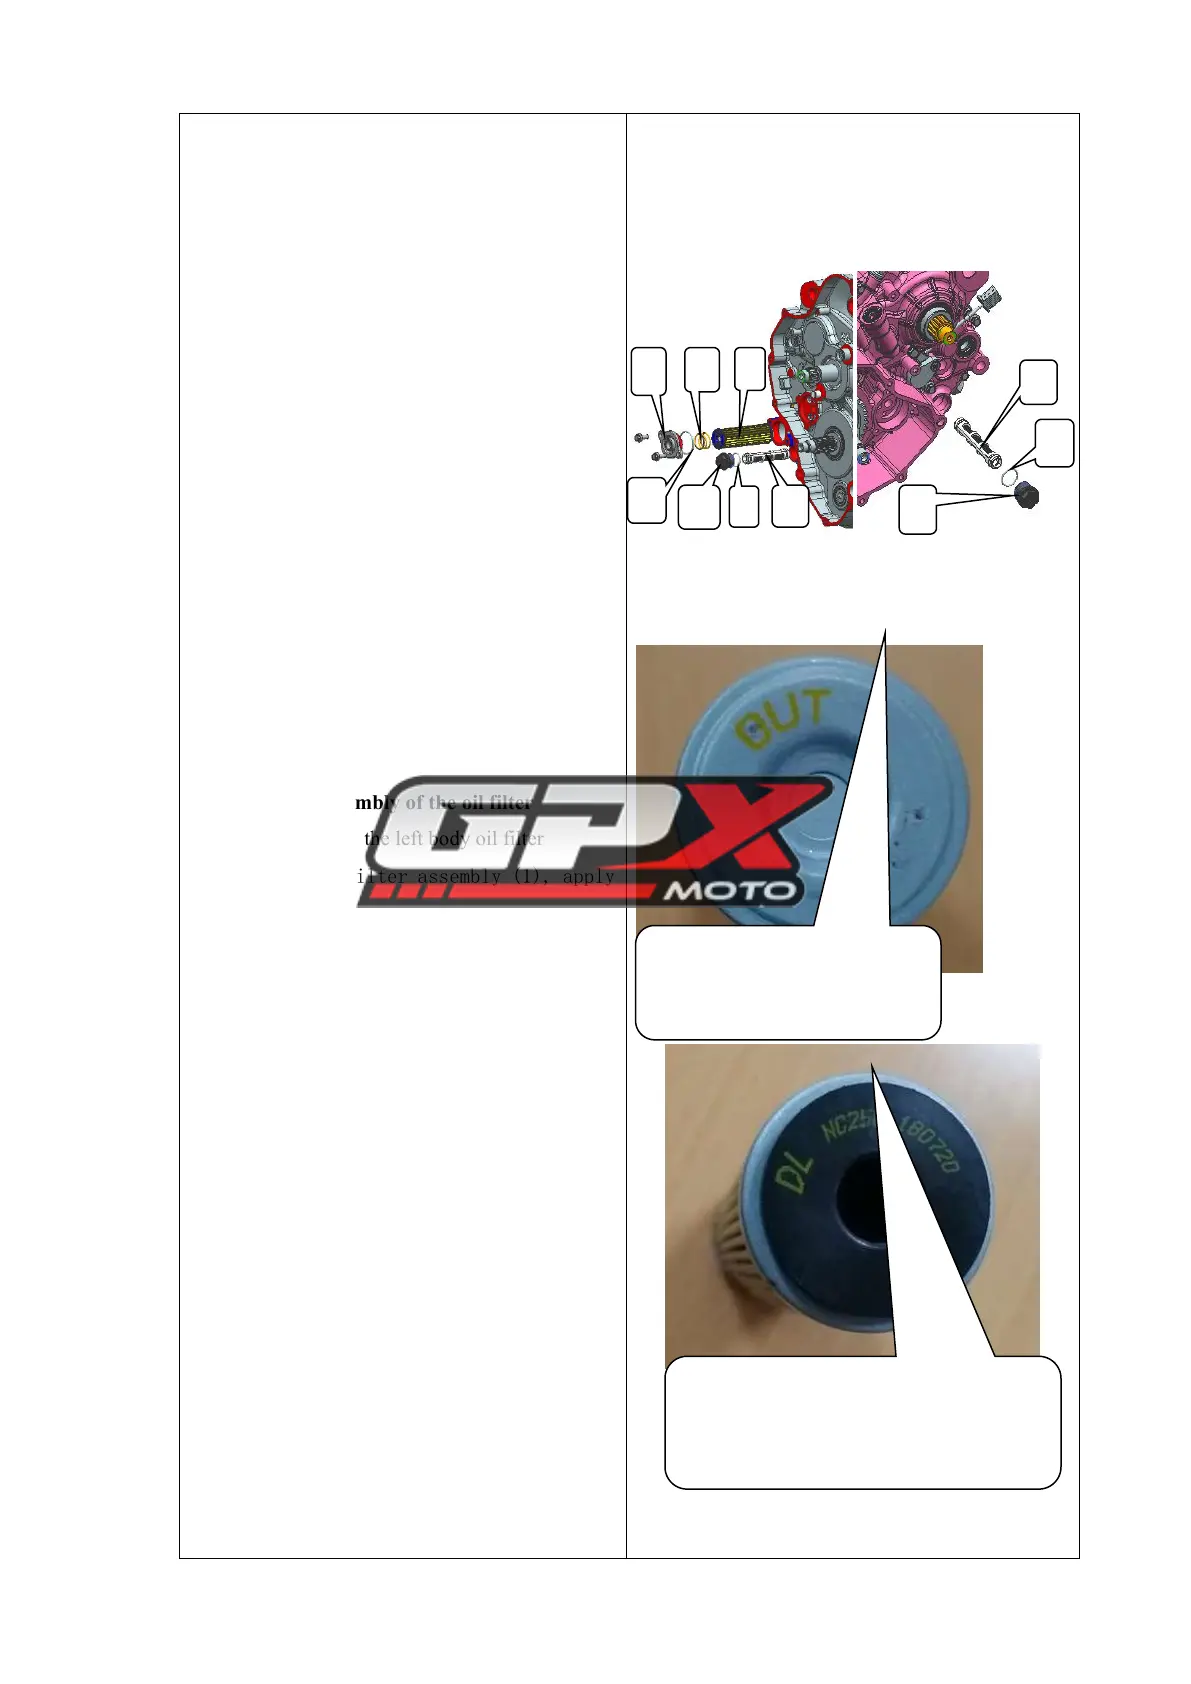
Assembly of the oil filter
1. Assembly of the left body oil filter
Take 1 oil filter assembly (1), apply
a small amount of oil to its O-ring, and
install it into the corresponding oil
filter hole. Install the oil filter cover
O-ring (2) on the oil filter cover, apply
an appropriate amount of grease to the
inner hole of the oil filter cover (3), and
fasten it on the box body;
Tightening torque: 11 to 13 N·m.
2. Assembly of the right body oil
filter
a. Take 1 oil filter assembly (1),
apply a small amount of oil on its O-ring,
install it into the corresponding oil
filter hole, and install the oil filter
cover O-ring (2) to the oil Put on the
filter cover, pour an appropriate amount of