308-68510
Startup
10.
Prime the pump:
a.
Place the suction tube in the bucket of paint,
water
, or solvent.
b.
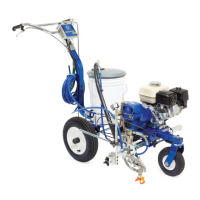
Detach pressure drain valve (V
, Fig. 1) from
suction tube
and place pressure valve drain
tube in another bucket.
c.
Open the pressure drain valve.
d.
Set engine speed to idle.
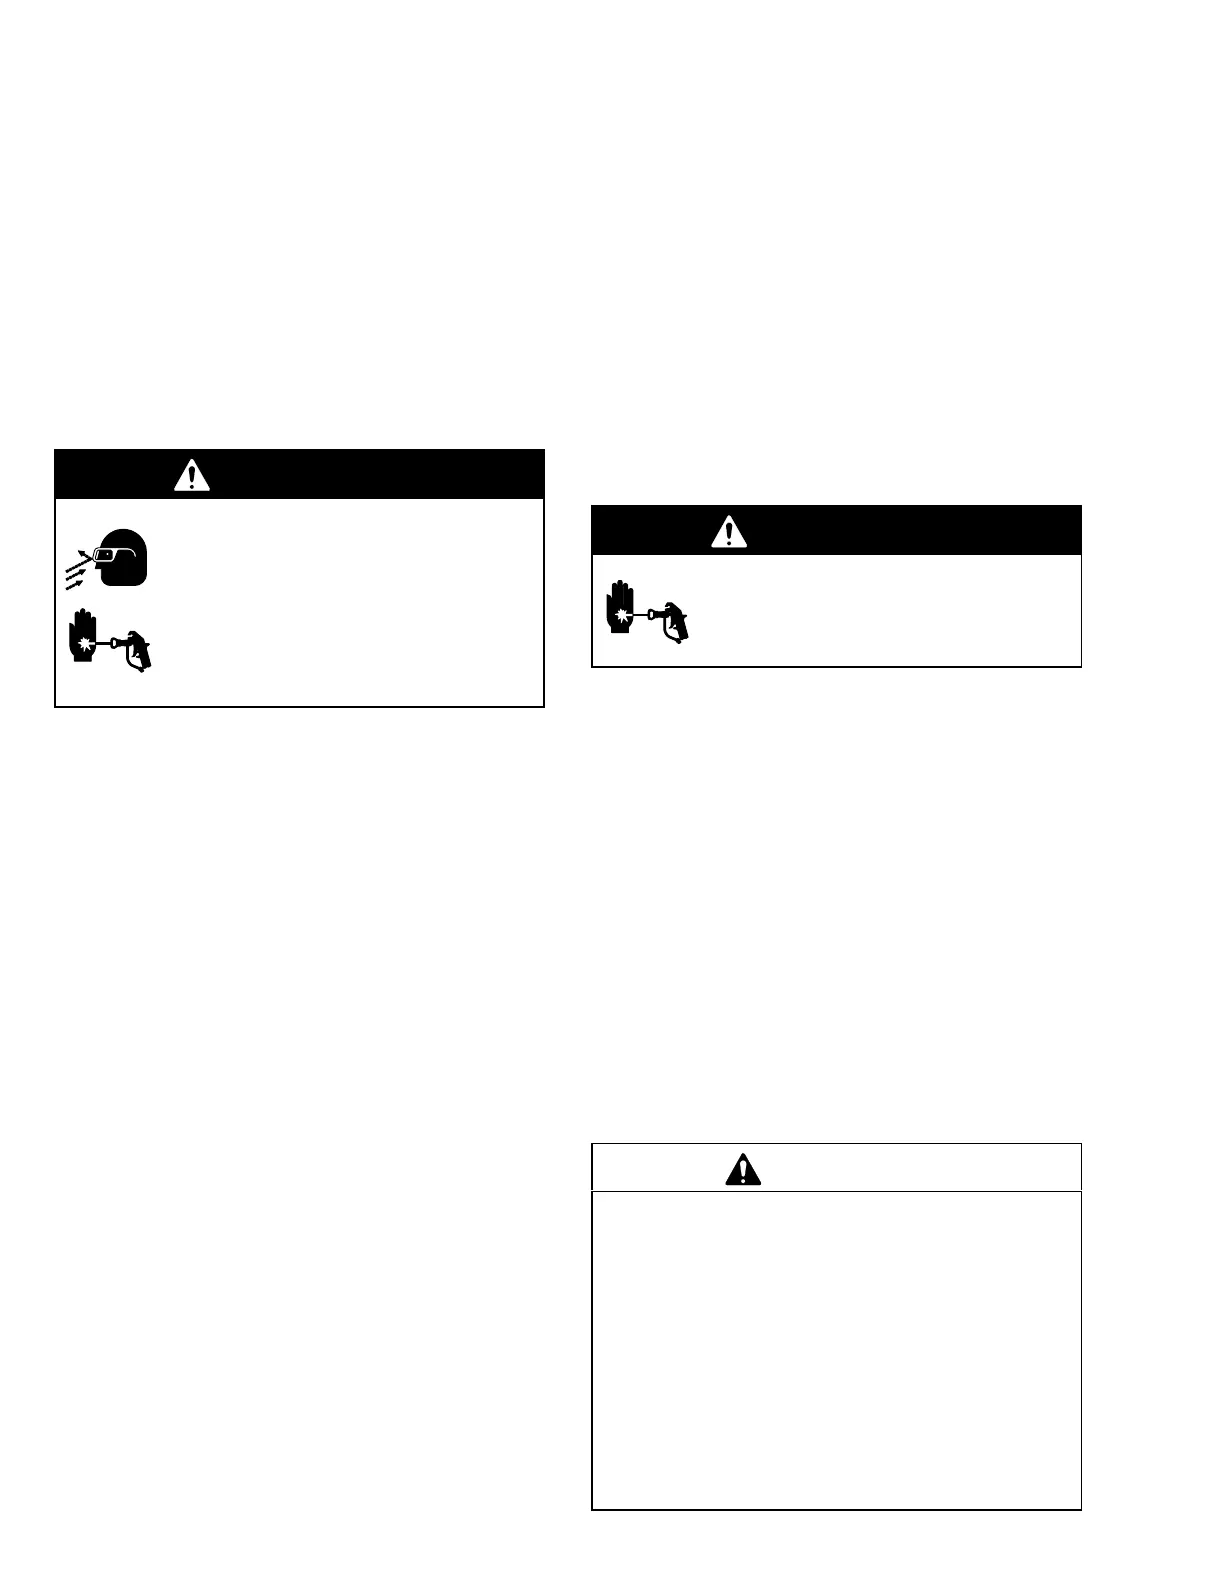
WARNING
INJECTION HAZARD
Operating sprayer with the pressure
drain tube plugged will cause a back
pressure that may rupture the tube.
Sprayed fluid from the ruptured drain
tube may cause serious injury from
splashing fluid into the eyes and/or skin
injection.
e.
Check that the drain tube it is clear
. Clean
and/or replace as necessary
.
f.
Move the pressure control switch to ON. T
urn
the pressure adjusting knob slowly until the
pump starts.
g.
Run the pump until fluid is flowing smoothly
from the pressure drain valve tube, indicating
the pump is primed.
h.
Move the pressure control switch to OFF
.
i.
If the pump was primed with water or solvent,
remove the suction tube from the water or
solvent and place it in the paint. Repeat steps
c. through g. until paint flows from the pres
-
sure drain valve tube.
j.
Close the pressure drain valve.
11.
When the pump is primed:
a.
Remove the spray tip.
b.
Set the engine speed to maximum.
c.
Move the pressure control switch to ON. T
urn
the pressure adjusting knob slowly until the
pump starts.
d.
Unlock the gun trigger safety
.
e. T
rigger the gun into the pail until fluid flows
from the gun. If pumping solvent or solvent–
based paint, hold a metal part of the gun firmly
against a grounded metal pail.
f.
Release the gun trigger and lock the gun
trigger safety
.
g.
Move the pressure control switch to OFF
.
h.
Relieve pressure by opening the pressure
drain valve.
i.
Close the pressure drain valve.
WARNING
INJECTION HAZARD
T
o reduce the risk of serious injury from
fluid injection, never operate the spray
gun with the tip guard removed.
12. Install the spray tip in the gun.
See the separate
tip instruction manual, 308–235, supplied.
13.
Place the gun in the gun holder. Secure the gun in
the holder by screwing down the gun holder knob.
14.
Engage the gun trigger safety latch and set the
trigger cable.
15.
Move the pressure control switch to ON.
16. Adjust the engine speed and pump pressure.
Unlock the gun trigger safety
. T
rigger the gun onto
a test paper to check spray pattern and atomiza
-
tion. T
urn pressure adjusting knob until you get a
good pattern. Slowly lower the throttle setting as
far as you can without changing the spray pattern.
CAUTION
Always use the lowest needed fluid pressure and the
lowest needed throttle setting, to increase the life of
the sprayer
. Higher settings cause excessive clutch
cycling, premature tip wear and premature pump
wear.
Close
the black fuel shutof
f lever whenever you are
transporting the sprayer to prevent fuel from flooding
the engine.
Keep
the sprayer upright and level when operating it
and when transporting it. This prevents crankcase oil
from leaking into the combustion chamber
, which
makes startup very dif
ficult.