Setup
311075R 17
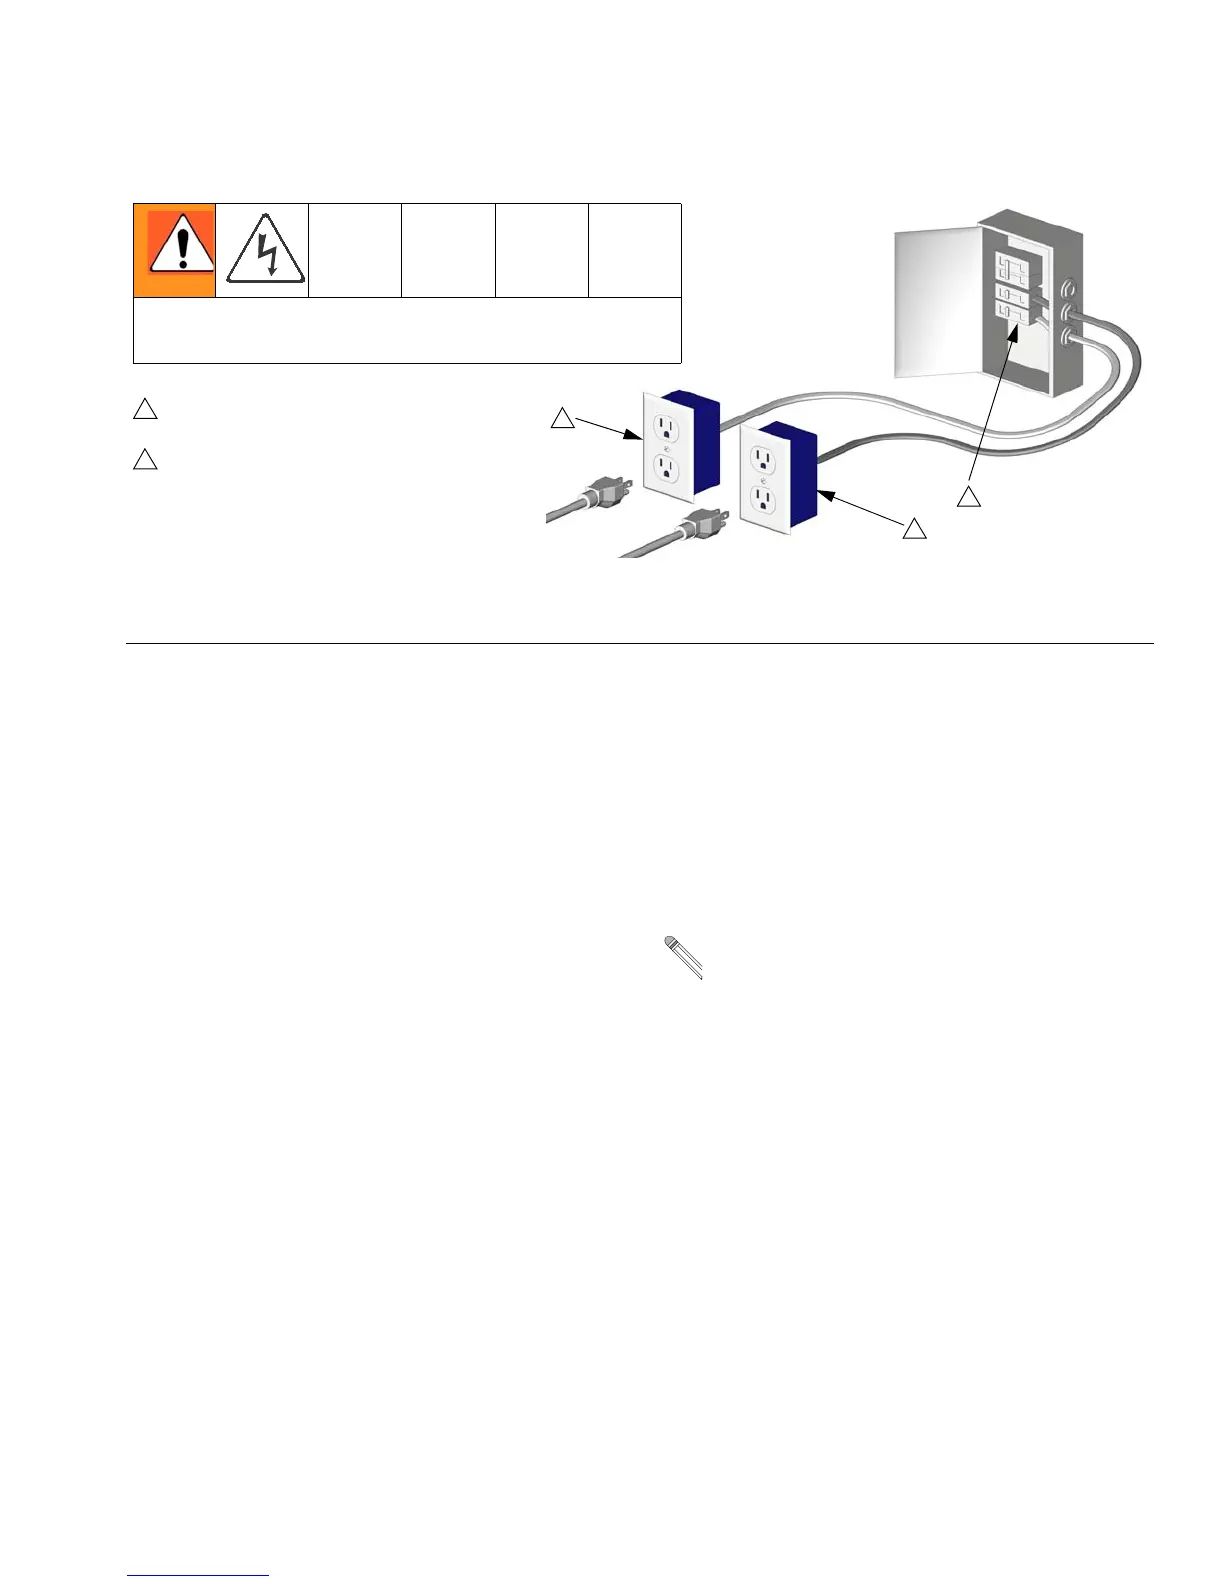
FIG. 5. Use Two Separate Circuits for Two Cord Models
1
Ensure no other high amp loads are connected
while running Reactor E-10.
To verify separate circuits, plug in Reactor E-10
or a worklight and cycle breakers on and off.
1
2
To avoid electric shock, always unplug both cords
before servicing Reactor E-10.
1
Heater Power
Motor Power
TI7061a
2
4. Connect fluid hoses
Connect fluid supply hoses to outlet
hose connections (R, FIG. 6). Red hoses
for component A (ISO), blue for compo-
nent B (RES). Fittings are sized to pre-
vent connection errors. Connect other
end of hoses to A and B inputs of gun.
Heated units only: connect recirculation
hoses from gun recirculation ports to
connections (S).
5. Connect gun air hose
Connect gun air hose to the gun air
input and to the air filter outlet (Z). If you
are using more than one hose bundle,
join the air hoses with the nipple (305)
provided with the hose bundle.
On heated units with Fusion guns, con-
nect the supplied ball valve and
quick-disconnect coupler to the gun air
hose, then connect the coupler to the
gun air fitting.
6. Connect main air supply
Connect the main air supply to the quick
disconnect fitting (Q) on the unit. Air
supply hose must be at least 5/16 in. (8
mm) ID up to 50 ft (15 m) or 3/8 in. (10
mm) ID up to 100 ft (30 m).
Air Filter/Moisture Separator (Z) is
equipped with an automatic moisture
drain.
7. Flush before first use
The Reactor E-10 is tested with a plasti-
cizer oil at the factory. Flush out the oil
with a compatible solvent before spray-
ing. See page 29.