6 307273
Maintenance
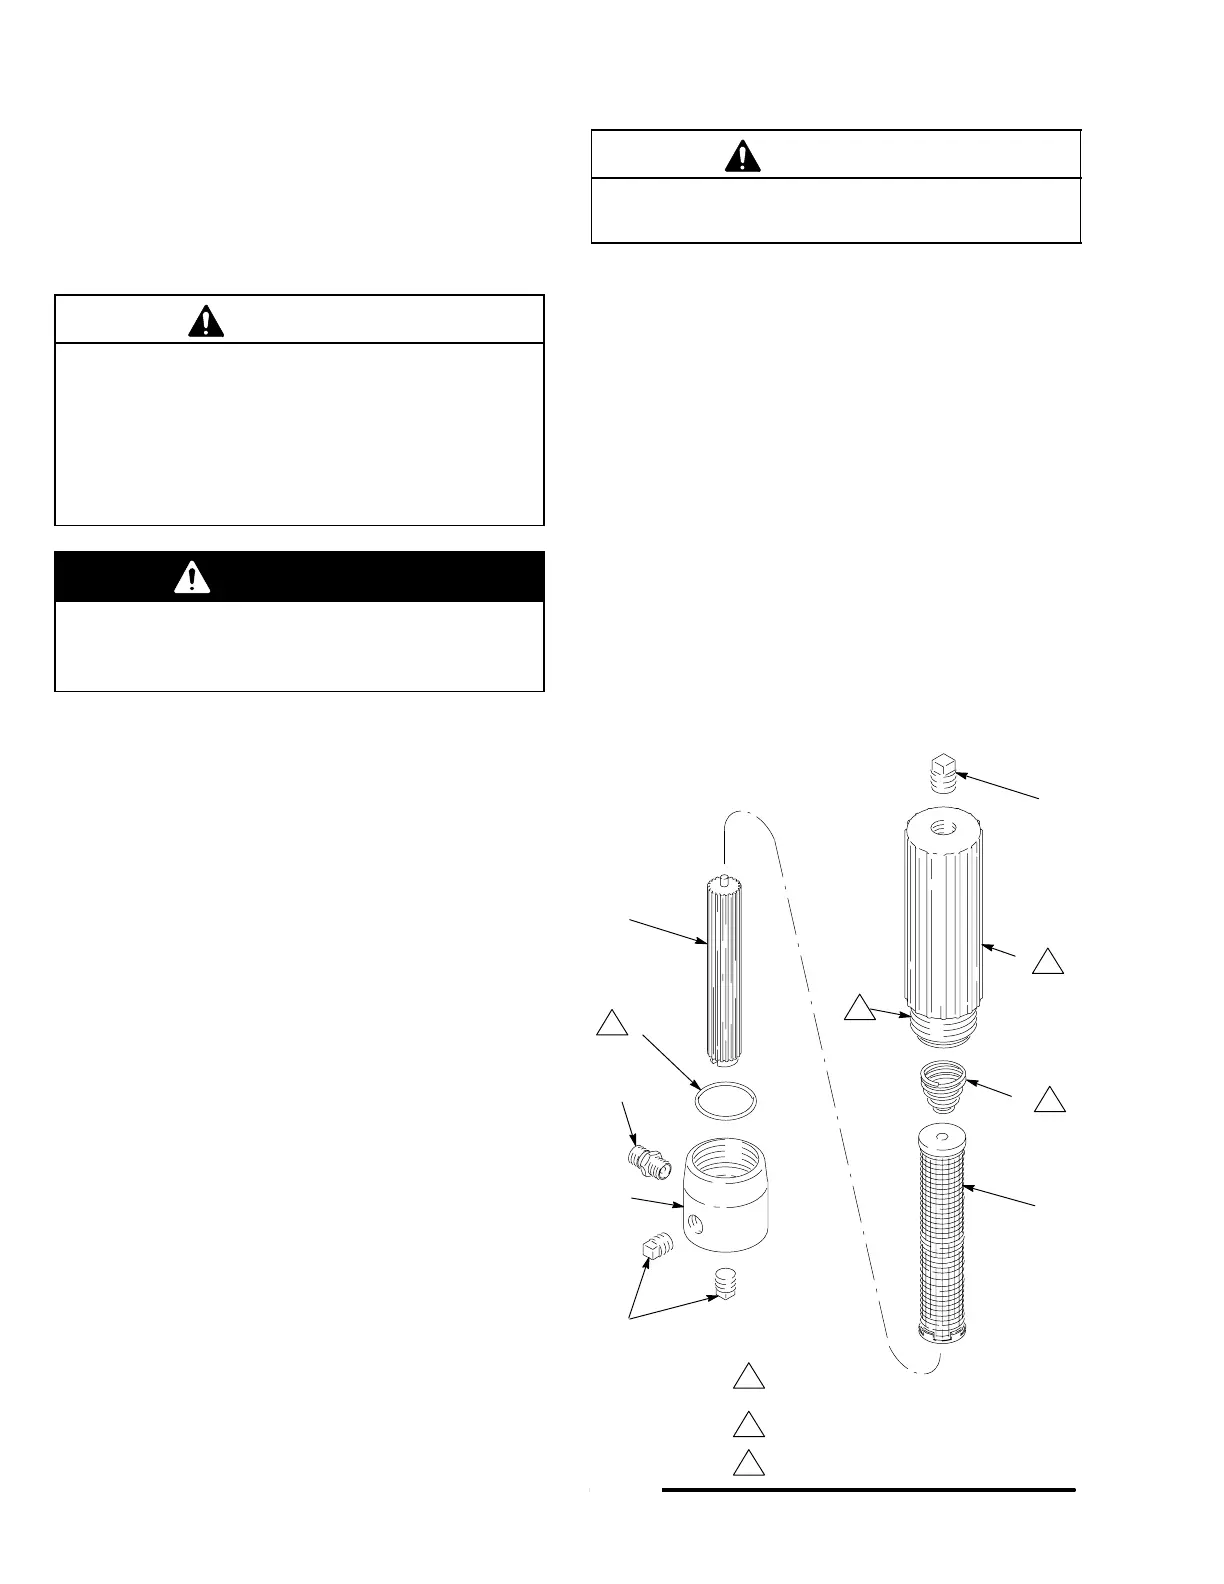
Cleaning the Filter
Dried paint sediment can clog the filter screen and
greatly reduce filtering ability. Dried paint also makes
the filter difficult to remove. Clean the filter regularly;
daily if needed, following the procedure below.
CAUTION
To avoid damaging parts, never force them apart. If
any parts are stuck tightly together, soak them in a
compatible solvent before disassembling them.
Be careful not to drop or damage the filter housing
and bowl. Dirt, paint sediment, nicks or scratches
may prevent the o-ring (3) from seating properly.
WARNING
To reduce the risk of serious injury whenever you
are instructed to relieve pressure, always follow the
Pressure Relief Procedure on page 5.
1. Relieve the pressure.
2. Carefully remove the drain plug (1) from the bot-
tom of the filter bowl (7) to drain the fluid.
NOTES:
D Some models are supplied with a drain valve
(12). Refer to the parts list for your model.
D Drain plug not used with Model 241107.
3. Unscrew the bowl from the filter housing (9).
4. Pull the screen (5) straight out of the bowl. (See
Accessories for other available screens.)
5. Remove the compression spring (8) from the filter
bowl (7).
6. To remove the filter support (6), gently push in on
the filter support stud. Replace the filter support if
the ridges are worn.
7. Clean all parts thoroughly with a compatible sol-
vent.
8. Place the filter support (6) in the screen (5) so the
support stud fits through the small opening in the
bottom of the screen.
9. Press fit the compression spring (8) to the bottom
of the filter bowl (7).
10. Carefully install the filter support (6) and screen (5)
into the filter bowl (7).
CAUTION
Improper assembly of the filter support, screen and
spring will prevent filtering and damage parts.
11. Replace the o-ring (3) if damaged or worn. Lubri-
cate the o-ring with No. 2 grease. Bend it into a
kidney shape, then carefully push it into the groove
to avoid damaging it.
12. Lubricate the filter bowl (7) threads and screw it
firmly into the housing (9).
NOTE: Be sure the bottom drain plug or drain valve is
closed before starting the pump.
Model 214570, 236789: Apply PTFE tape to all non-
swiveling pipe threads.
All other models: Apply anaerobic pipe sealant to all
non-swiveling pipe threads.
Fig. 2
1
3
2
Lubricate
Press fit spring to bottom of bowl
Screw bowl firmly into housing
NOTES:
0252
1
7
8
5
6
3
2
9
4
3
2
1
1
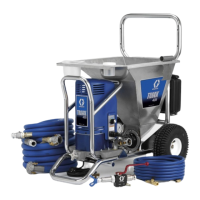
Model 214570 is shown

 Loading...