日本語
English
Français Deutsch 中文 한국어 Español
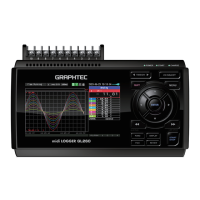
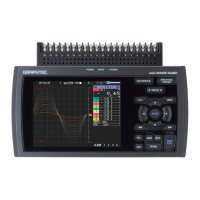
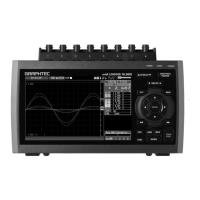
Connection Procedures
Orange with red dotted line : 1
Orange with black dotted line : 2
Grey with red dotted line : 3
Grey with black dotted line : 4
White with red dotted line : 1
White with black dotted line : 2
Yellow with red dotted line : 3
Yellow with black dotted line : 4
Pink with red dotted line : Trigger input/
external sampling input
Shielded
GND
Logic/pulse
input
Alarm output
< Signal assignment >
Pink with black dotted line
CH 1 2 3 4 5 6 7 8 9 10
+
-
Thermocouple input
Compensation wire is
used if it is required.
+
-
Shunt resister
Ex: Current signal is converted to voltage using
the shunt resister.
For 4 to 20mA current to convert the signal to 1
to 5V.
Note: Graphtec offers B-551 250 ohm precision
shunt resister.
Current input
+
-
DC voltage input
Voltage input
Connect the DC output of the AC adapter to the
connector indicated as "DC LINE" on the GL260.
Connecting the AC Adapter
Connecting the Grounding Cable
Use a flathead screwdriver to push the button above
the GND terminal while connecting the grounding
cable to the GL260.
Connect the other end of the cable to ground.
Connect to the Analog Input Terminals
CAUTION: Connect wire to the designated channel, where individual channels are numbered.
Connect the External Input/Output Terminals
(For logic/pulse input, alarm output, trigger input, external sampling pulse input)
* Requires B-513 pulse/logic cable.
4