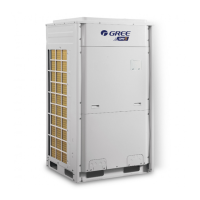
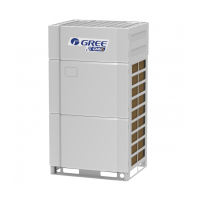
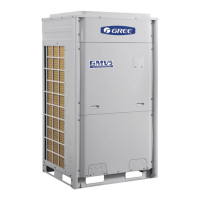
GREE Photovoltaic Direct-driven Inverter Multi VRF Units
76
Step 4: Under LED1 function code qU status, set grid voltage type (voltage and frequency);
Step 5: Under LED1 function code qn status, set the function for residual power sending to the grid
(residual power sent to grid is defaulted);
Step 6: setting is done; wait for 1min and arrange configuration and debugging of air conditioning
system.
Notes:
①
If configuration is not done in initial energization, the unit will stay in standby status and cannot
operate normally. For detailed configuration procedures, please refer to related instructions in the
owner’s manual.
②
Above configuration shall be done by the professional engineering personnel who is accredited by
Gree. Customer shall not change the configuration; otherwise unit malfunction may be caused.
8.2 Installation Project of Photovoltaic System
The system construction is as below. The installation of photovoltaic system mainly includes the
installation of Photovoltaic Array and GMV, the lay-out of cable and power device.
8.2.1 Installation of Photovoltaic Support Bracket
The photovoltaic support bracket shall be inspected by Party A and professional supervision unit
before installation. The material of support shall be aluminium alloy or hot galvanizing steel. During
installation, please avoid scratching to the aluminium alloy surface or galvanizing layer.
During installation, please place the transition unit(connected with house panel), main keel,
subaltern keel(if needed) and other parts separately, and then hang them uniformly. Calculate the correct
quantity of each row according to the quantity of photovoltaic support bracket of each row, including the
quantity of bolt and other accessories. Firstly, fix the transition unit in the house panel. Secondly, fix the
corresponding main keel and subaltern keel(if needed) on it. Then connect each part together with bolt.
Tighten the bolt by hand and then tighten it by manual spanner or electric spanner. Meanwhile, check
and adjust the straight degree with nylon wire.
After finishing installation, clear the installation site.

 Loading...


