Do you have a question about the Gree XE71-42/G and is the answer not in the manual?
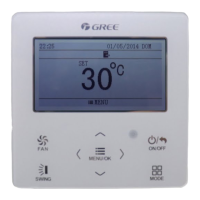
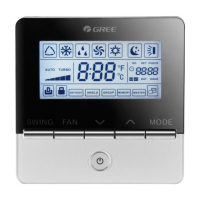
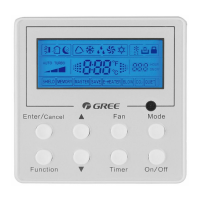
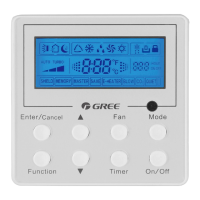
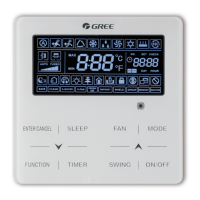
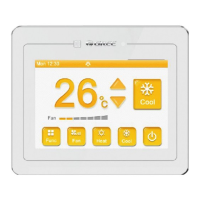
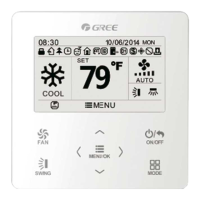
Describes the visual layout and components of the wired controller display.
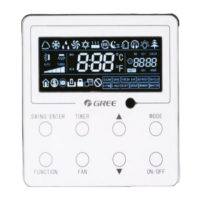
Explains the meaning of various symbols shown on the controller's display screen.
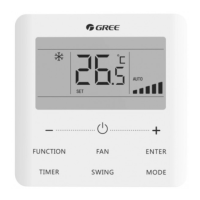
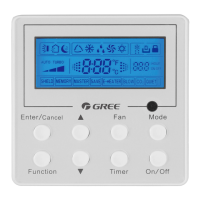
Illustrates the physical buttons on the wired controller and their corresponding labels.
Details the specific functions and operations associated with each button on the controller.
Outlines the hierarchical organization of menus and functions accessible via the controller.
Details how to turn the air conditioning unit on and off using the wired controller.
Explains how to select different operating modes like Auto, Cooling, Dry, Fan, and Heating.
Describes how to adjust the desired temperature for the unit's operation.
Details how to change the fan speed settings, including available levels and auto mode.
Explains how to control the swing function for air direction, including fixed-angle and simple swing modes.
Guides users on accessing and configuring various additional functions available on the controller.
Shows how to check the current operational status and parameters of the air conditioning unit.
Explains how to view error codes and troubleshoot issues indicated by the controller.
Covers the configuration of various timer functions for automating unit operation.
Details how to set the clock and time format on the wired controller.
Explains how to lock or unlock specific functions or buttons on the controller to prevent unintended changes.
Provides details on the physical components and overall dimensions of the wired controller.
Lists the necessary conditions and precautions to be followed before and during the installation process.
Describes the step-by-step procedures for physically installing the wired controller.
Outlines the process for safely removing the wired controller from its mounting.
| Brand | Gree |
|---|---|
| Model | XE71-42/G |
| Category | Controller |
| Language | English |