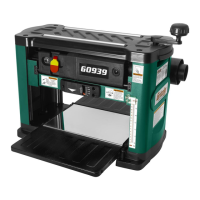
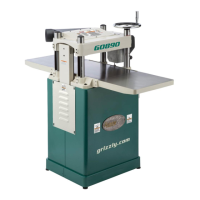
Model G0939/G0940 (Mfd. Since 12/20)
-27-
To reduce risk of shock or
accidental startup, always
disconnect machine from
power before adjustments,
maintenance, or service.
Adjusting/Replacing
Knives (G0939)
The condition of the knives on the Model G0939
will affect the precision of the cut. During opera-
tion, watch for the following signs of dulled knives:
• Raised grain occurs as a result of dull knives
hammering at the surface of the wood.
• A "fuzzy" appearance on the surface of the
wood occurs as a result of dull knives tearing,
rather than cutting the wood fibers.
•
Ridges occur as a result of nicks along the
knife edge.
•
Difficulty feeding the workpiece into the
planer.
If any of these signs become apparent during use,
the knives should be reversed or replaced.
The knives on the Model G0939 Planer are
reversible and should always be reversed or
replaced as a matched set. To avoid downtime,
we recommend having an extra set of knives for
your planer.
Before re-installing the knives, the cutterhead,
gib, and knives must be inspected. Neglecting to
inspect these components may result in damage
to the planer.
To maintain accurate and consistent plan-
ing results, we do not recommend sharpen-
ing knives yourself. Instead, just replace
dull knives or have them professionally
sharpened.
The knives on this planer are extremely
sharp and can quickly cause serious injury
to your hands or fingers. Always wear heavy
leather gloves when handling these knives
to reduce the risk of cutting injuries.
Tools Needed Qty
Hex Wrench 4mm .............................................. 1
Leather Gloves
...........................................1 Pair
Phillips Head Screwdriver #2
............................ 1
Magnet (for knife removal/installation)
............... 1
Removing Knives
1. DISCONNECT MACHINE FROM POWER!
2. Lower cutterhead as far as it will go, then
remove dust chute and dust shroud from
headstock (see Figure 21).
Note: Rotate cutterhead to orient knife point-
ing upward. Cutterhead should lock in place
once dust shroud is removed.
Figure 21. Components to be removed to
access cutterhead.
Dust Shroud
Dust Chute