15 16
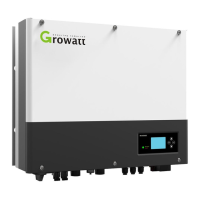
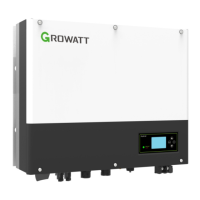
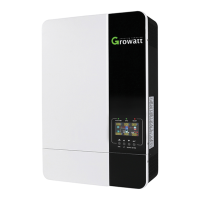
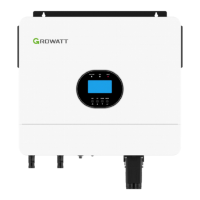
5.3.2 Installation of SPH
1.Project the machine's probably size on the wall; the thickness of wall for SPH must
be not less than 60mm.
Make sure the drill position, use paper board(installation guide), put the paper
board cling to the wall, make sure the top edge of paper board is level(As the chart
5.8a below).
Mark four points at the wall via the hole of the paper board, then remove the paper
board
Drill four Ф8 holes at the mark point, the depth is not less than 55mm
Knock four explosion bolt intoФ8 holes(As the chart 5.8b below)
2.
3.
.
4. .
5. .
6.Hang the energy storage machine on the four setscrews(As the chart 5.8c
below)
7.Lock the nut of setscrew(As the chart 5.8d below)
8.The whole installation has finished
a)
Chart 5.7
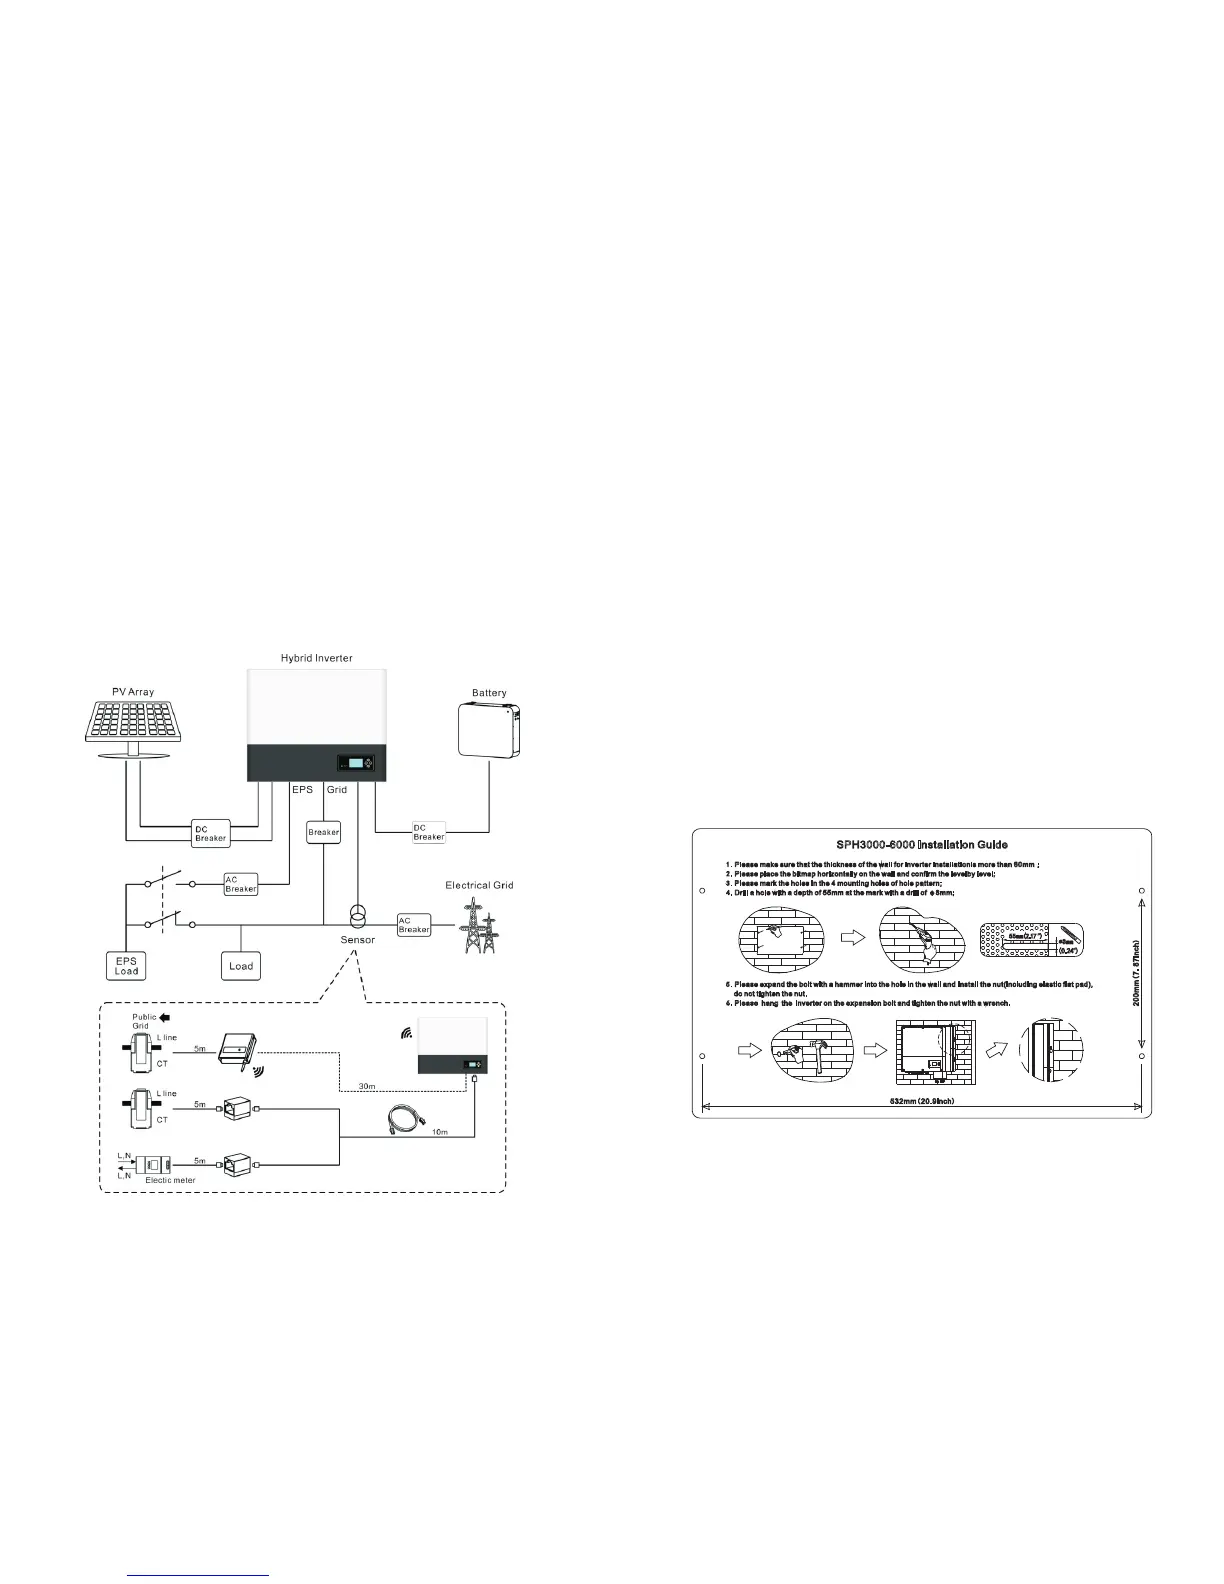
5.3 Installation Instructions
5.3.1 Attention Layout(length of sensors consider)
There're three types of sensors for use with Growatt SPH. one is wired current sensor,
one is meter sensor, or SP-CT, if you choose wired sensor or meter . Before installing
you should know something that as below:
The cable of wired sensor and meter is suggested not longer than 15m. so you need
to consider the length between SPH with combiner box for the sensor should be
installed in the live line. And if you installed SP-CT for sensor, Distance recommended
not more than 30 meters.
The installation layout of energy storage machine at home as following:
 Loading...