8
4. Align the two mounting holes in the switch chassis bottom with the two screws on the wall and
hang the switch.
Make sure the Ethernet ports are facing upwards or downwards and the chassis side panels are
perpendicular to the ground.
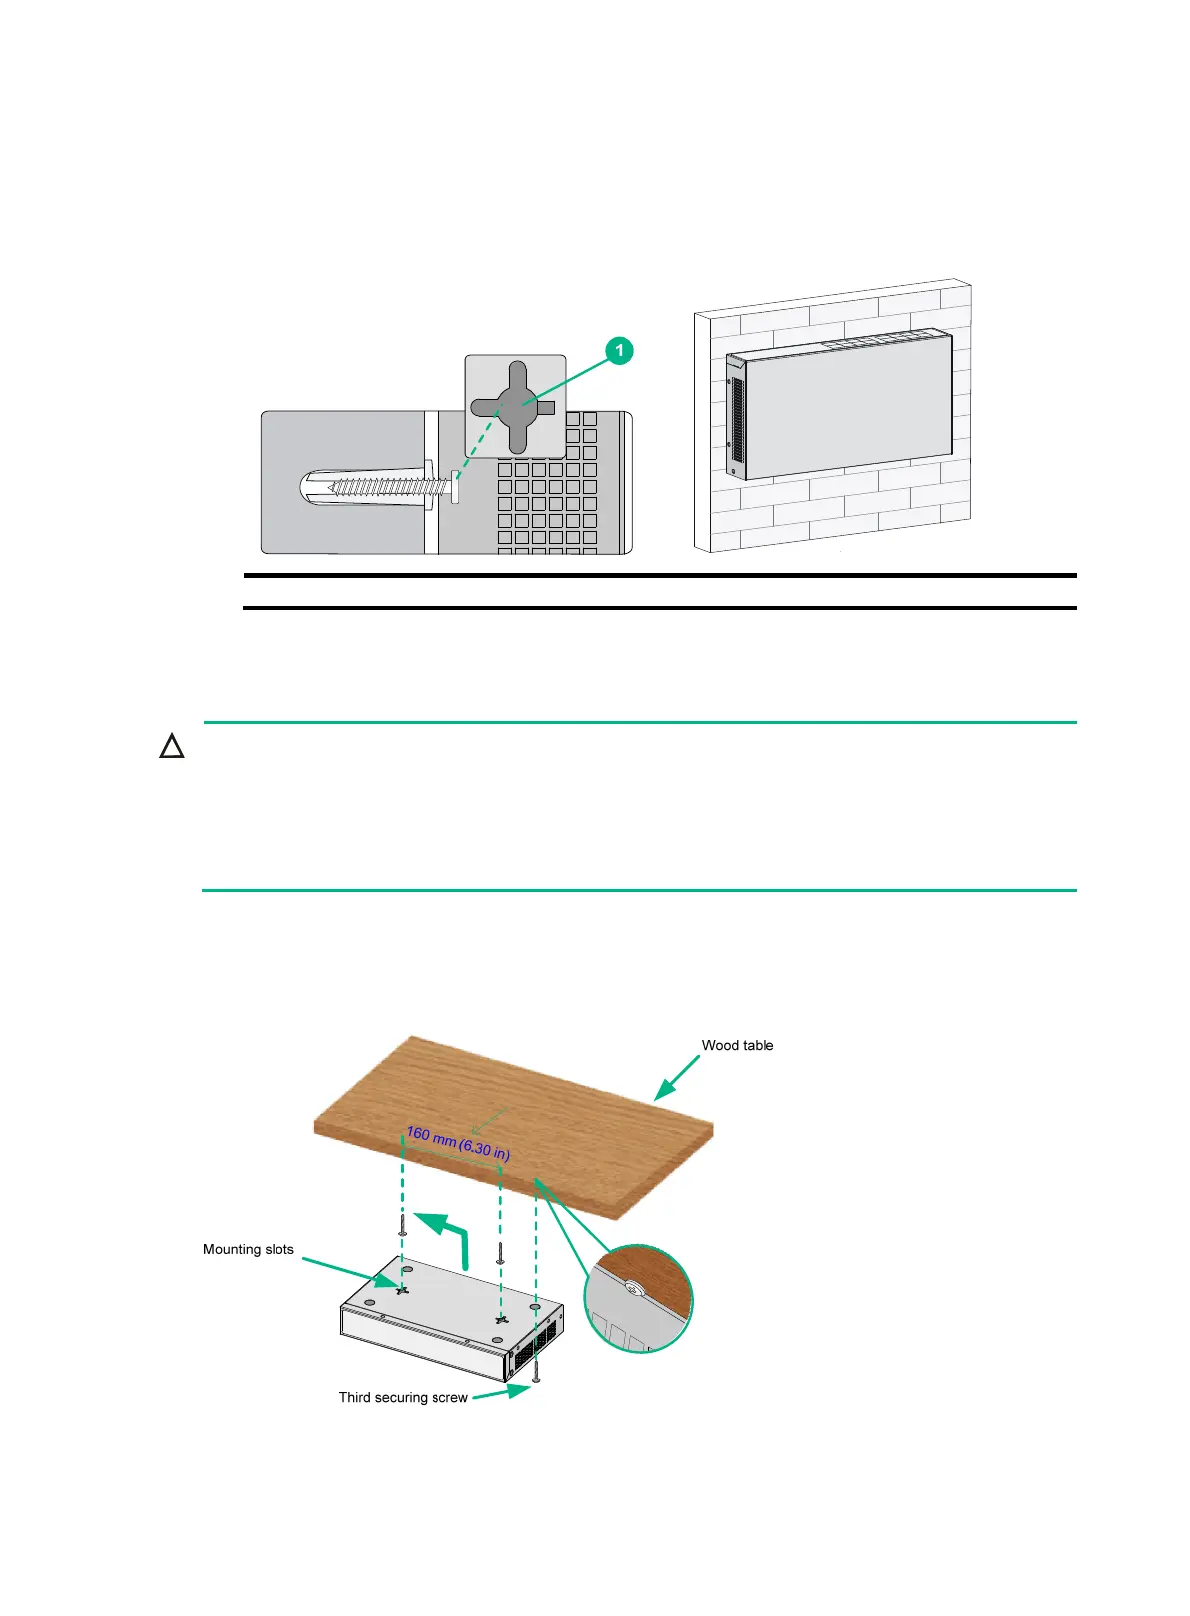
Figure 10 Wall mounting
(1) Mounting hole in the switch chassis bottom
Under-table mounting
CAUTION:
• A network-attached switch with cables mounted upside down can be heavy. Verify that the table
is sufficiently strong and of a material that can support the screws that hold the weight of the
switch and the attached cables. Make sure the cables are protected and out of the way.
• Regularly inspect the installation of the switch to ensure that the switch remains securely
anchored and unobstructed.
Only the S1205, S1205-PWR, S1208, S1208-PWR, and S1216 switches support under-table
mounting. The wall mounting screws (provided) can be used when you mount the switch under a
table. This section uses the S1216 as an example.
Figure 11 Under-table mounting

 Loading...


