3-4
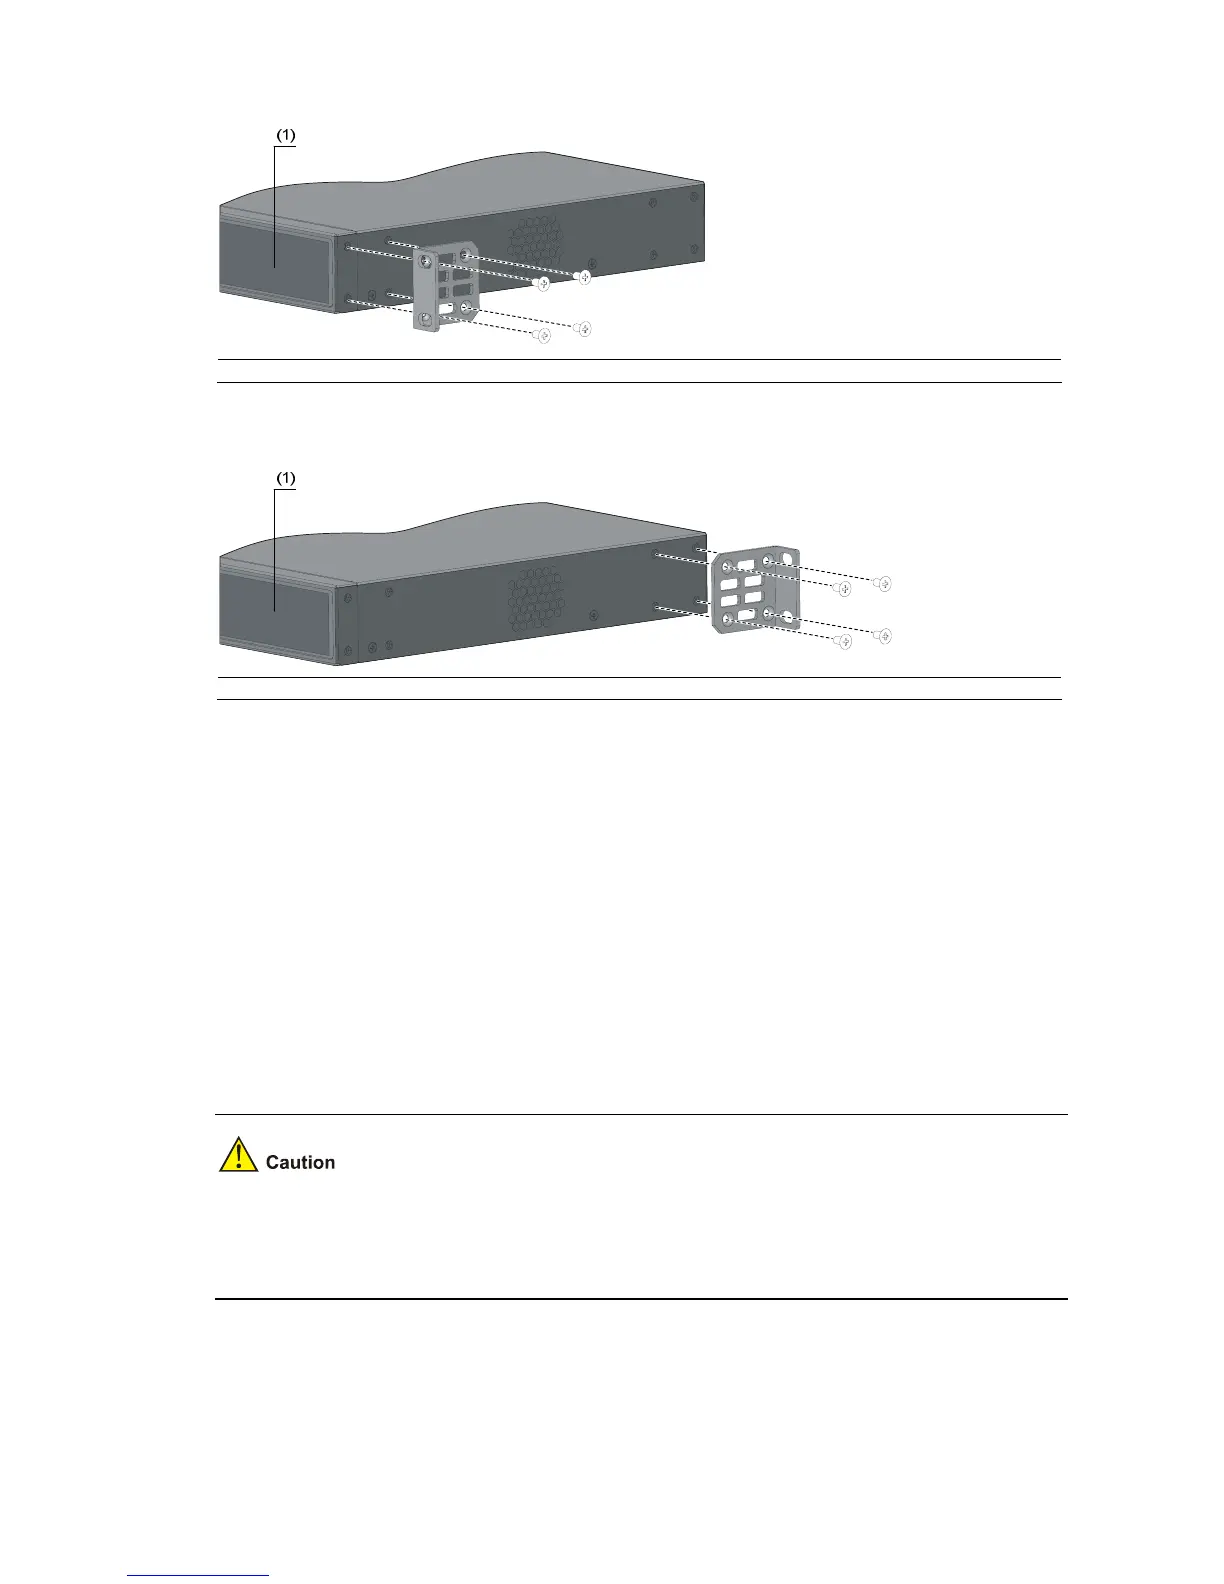
Figure 3-6 Install a four-holed mounting bracket on the chassis (front part)
(1) Front panel
Figure 3-7 Install a four-holed mounting bracket on the chassis (rear part)
(1) Front panel
Mounting the Switch to a Rack
Step1 Put on an ESD-preventive wrist strap and make sure the rack is well grounded and is firm enough to
hold the switch and cables.
Step2 Attach the mounting brackets to the switch. For details, refer to “
Attaching the Mounting Brackets to a
Switch” on page
3-2.
Step3 Hold the bottom of the switch and gently place the switch on the rack to a proper location with one
person.
Step4 Fix the mounting brackets with screws (anti-rust screws prepared by yourself) with another person to
install the switch to the rack horizontally.
If support trays are provided on the rack, you can mount the switch to the rack with mounting brackets
and trays. Put the switch on the support tray and slide the switch to an appropriate location. Then fix the
mounting brackets.

 Loading...


