10
Required Parts
• Wing panel (right and left)
• 3
1
/
2
" aileron linkage (2)
• 8-32 x 2
1
/
4
" control horn screw (2)
• 8-32 flange nut (2)
• Molded swivel link (2)
• Ball link for swivel link (2)
• 4-40 x 1/2" socket head screw (2)
• 4-40 lock nut (2)
• Ball link for servo arm (2)
Required Tools and Adhesives
• Drill • Drill bit: 1/16"
• Ruler
• Phillips screwdriver (small)
• 12" Servo Extension (JRPA098) (2)
• 3D 1/2 Servo Arm 4-40: JR (HAN3578) (2)
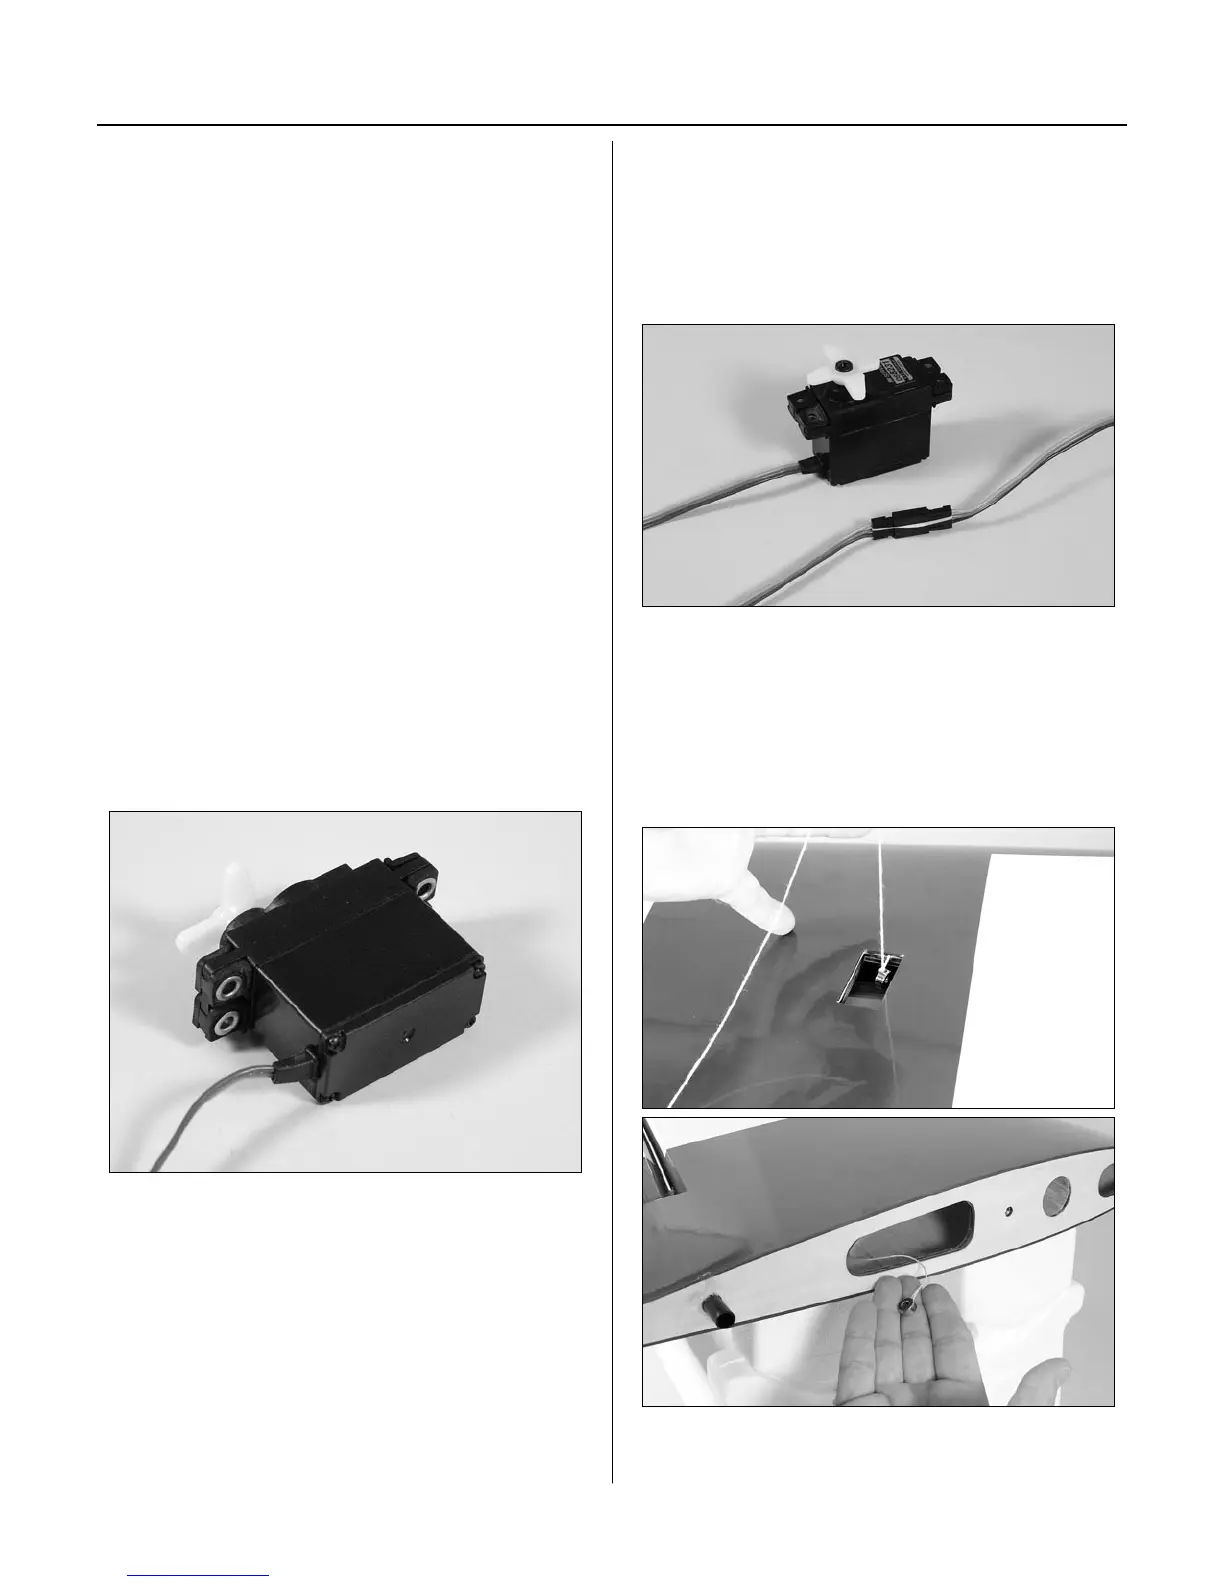
Step 1
Install the servo hardware (grommets and eyelets)
included with the servo.
Step 2
Plug a 12" servo extension onto the servo. Either
tie the servo leads together, using a commercially
available connector, or use unwaxed dental floss to
secure the extensions to prevent them from coming
loose during flight.
Step 3
Tie a weight to a piece of string. A wheel collar works
great in this application. Lower the string into the
wing from the aileron servo opening. Hold the wing
with the tip upwards and let the weight drop out
through the wing root for the servo.
Section 3 – Aileron Servo Installation