31
Required Parts
• Fuselage • Tail wheel assembly
• Tail wheel spring (2) • Tail wheel assembly
• #4 x 5/8" socket head wood screw (2)
• Tiller arm
Required Tools and Adhesives
• Drill • Drill bit: 5/64"
• Felt-tipped pen
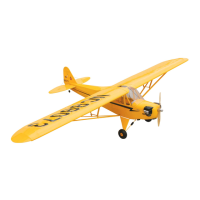
Step 1
Secure the tiller arm to the bottom of the rudder using
two wood screws. Remove the screws and apply 2-3
drops of thin CA into the holes to harden the balsa,
then reinstall the screws.
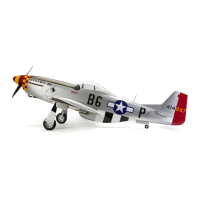
Step 2
Position the carbon fiber tail wheel in place as
shown, centered on the rear of the fuselage. Using a
felt-tipped pen, mark the positions for the mounting
screws through the tail wheel bracket.
Step 3
Remove the bracket and drill 5/64" pilot holes at the
previously marked positions.
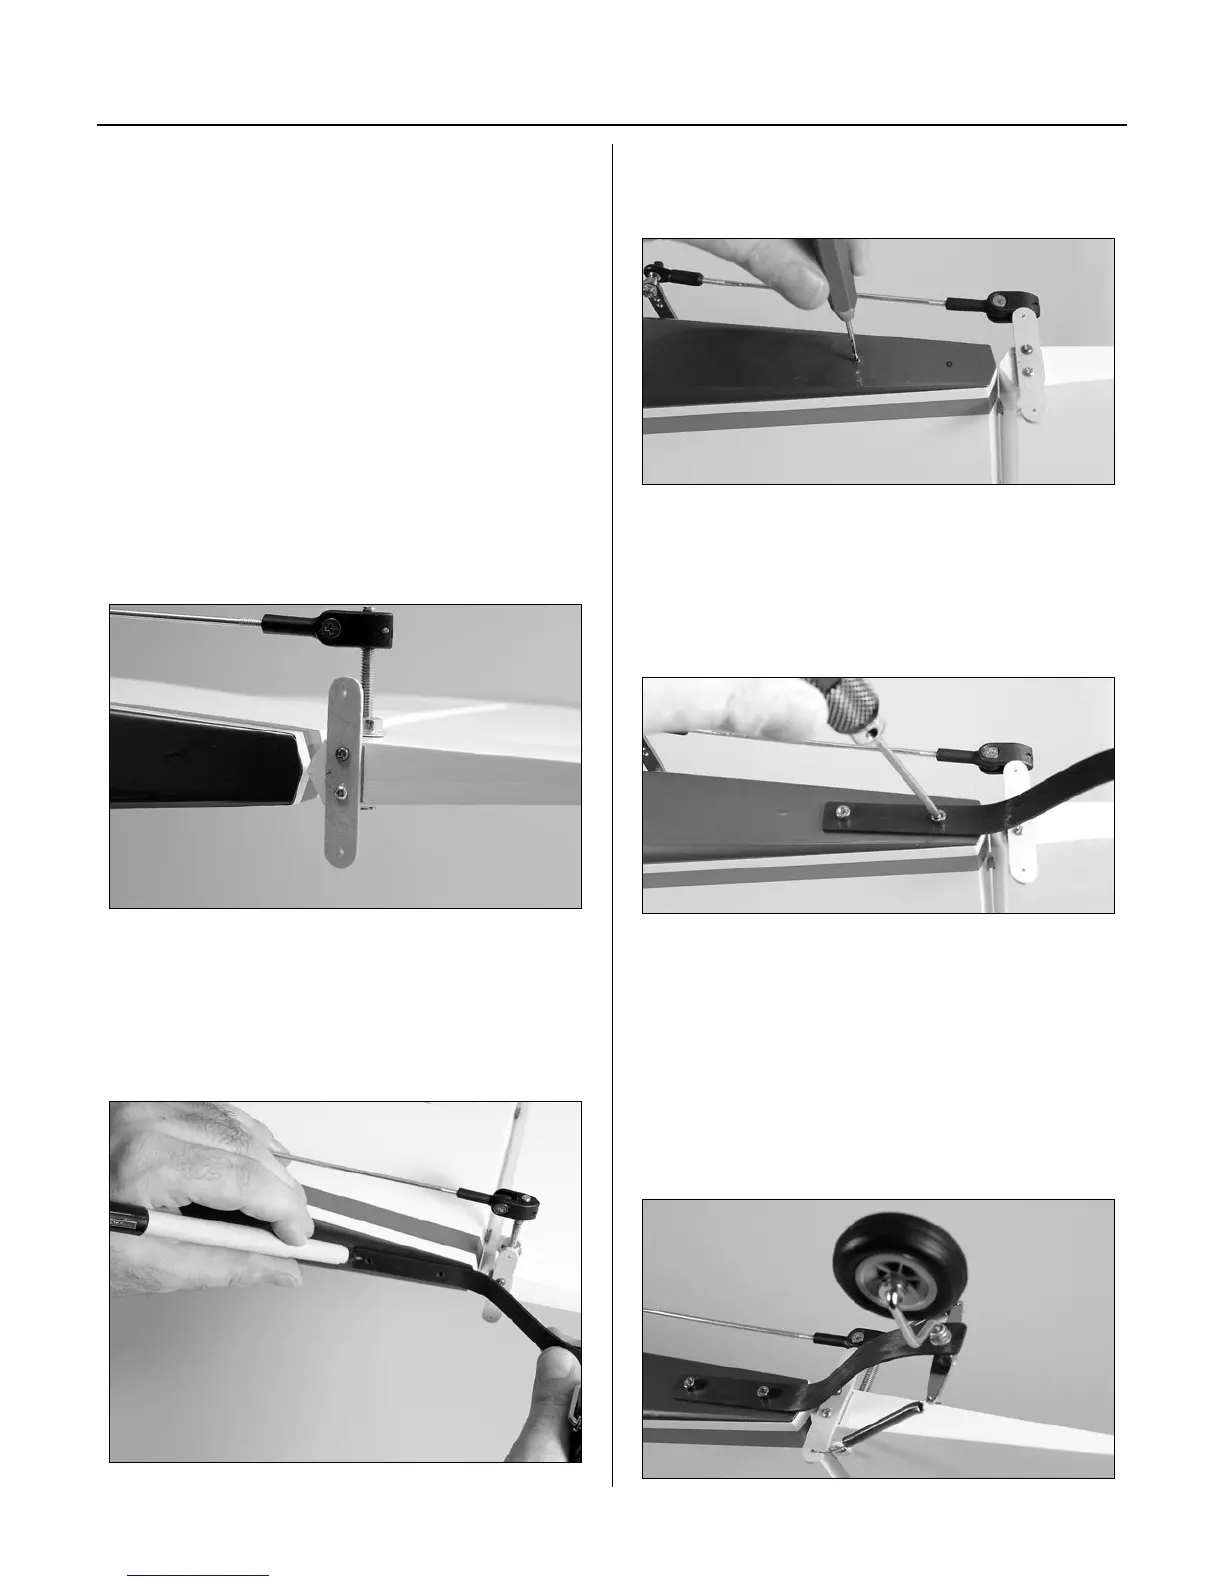
Step 4
Use two #4 x 5/8" sheet metal screws to secure
the tail wheel bracket in place. A hardwood plate is
positioned in the rear of the fuselage, allowing these
screws to be firmly tightened.
Hint: Remove the screws and wick thin CA
into the holes to strengthen the threads. When
dry, reinstall the screws.
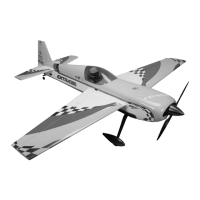
Step 5
Use the tail wheel springs to make the connection
between the tiller arm and the steering arm. Bend the
springs so they won’t come loose during flight.
Section 9 – Tail Wheel Installation