37
Required Parts
• Fuselage assembly • Cowling
• #4 washer (4) • 1/4" fuel tube (4)
• 4-40 x 1" socket head screw (4)
Required Tools and Adhesives
• Rotary tool with sanding drum
• 3
1
/
4
" spinner and adapters
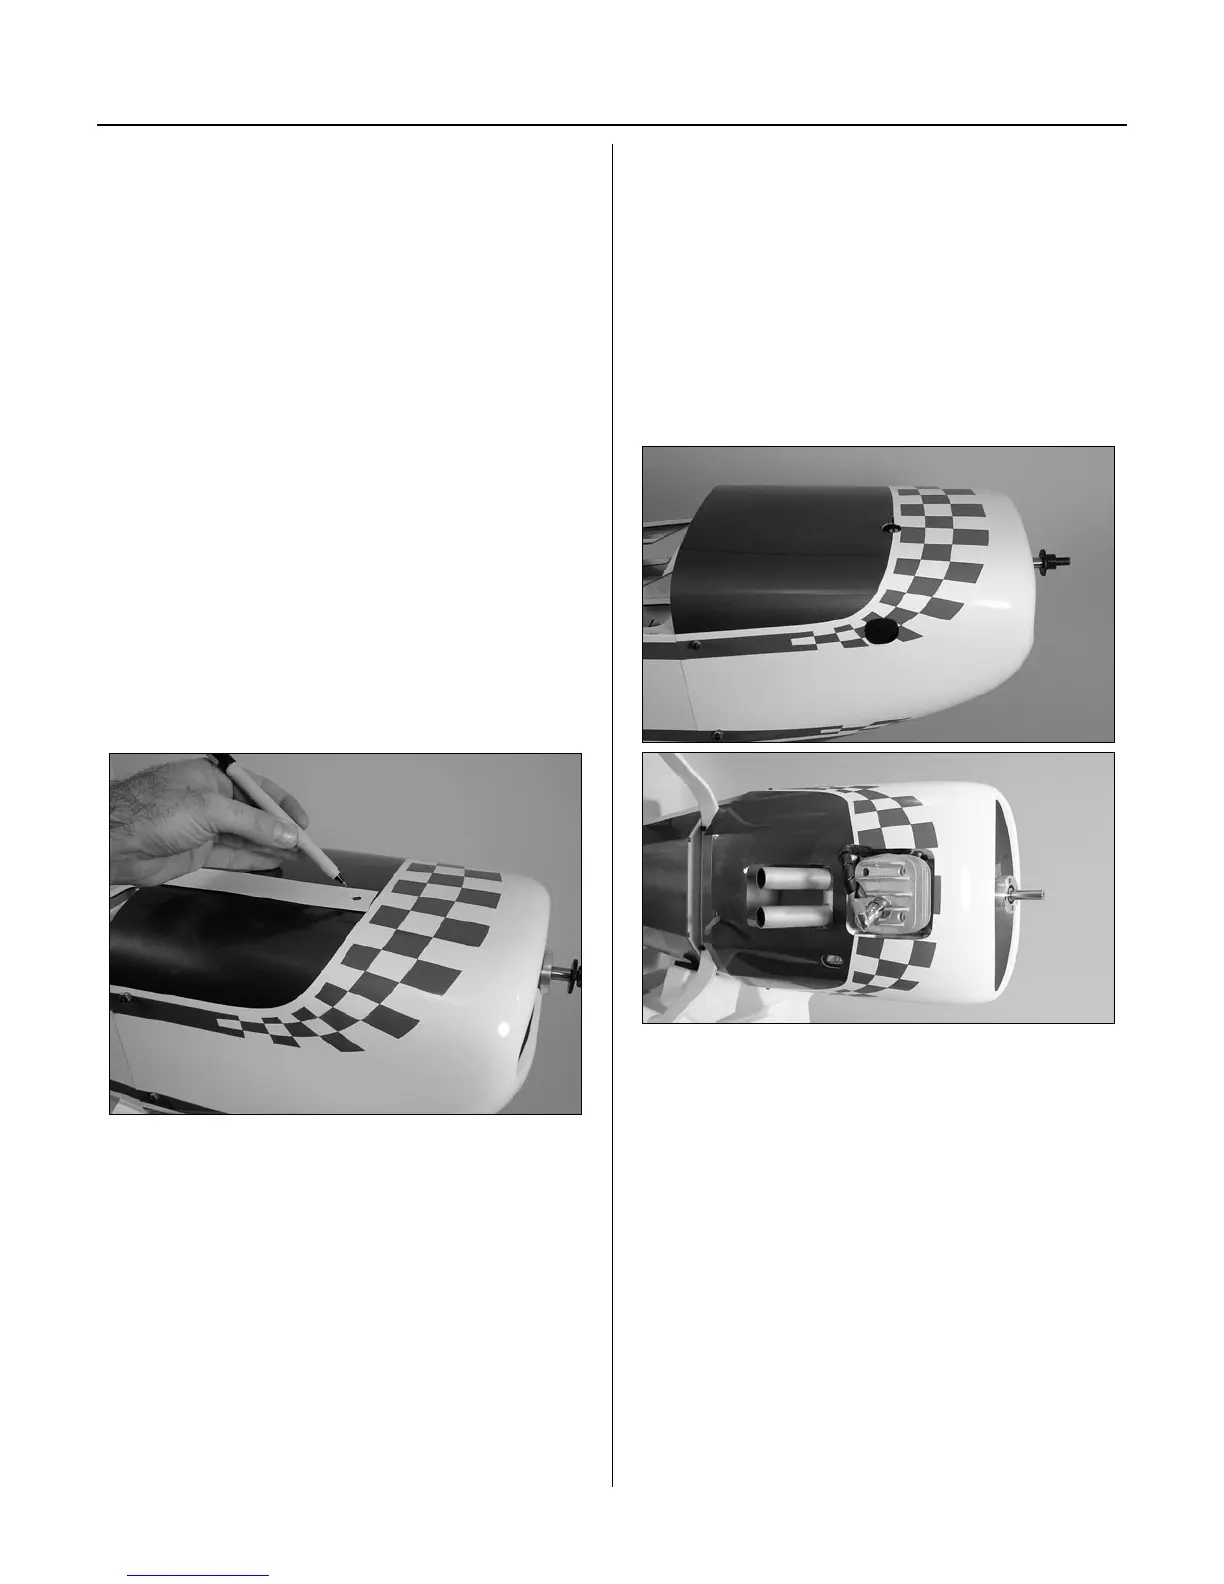
Step 1
Use cardstock to indicate the location of the
engine, needle valve, firewall and any other engine
related items that will need to be accessed with
the cowling on.
Step 2
Attach the cowling onto the fuselage using four
4-40 x 1" socket head screws, four #4 washers and
four pieces of 1/4" long fuel tubing. Transfer the
positions from the cardstock onto the cowling.
Step 3
Remove the cowl from the fuselage. Use a rotary tool
and sanding drum to remove material to allow access
to items such as needle valves, glow plugs, cut-off
switches, mufflers, etc.
Note: Start by removing only a little material
at a time. You can always make the holes
bigger as you work. Work until the cowl fits
nicely over the engine.
Section 12 – Cowling Installation