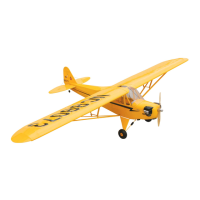
27
Step 3
Screw the molded swivel link onto the 8-32 screw
until the distance from the rudder surface to the top of
the link is 11/16".
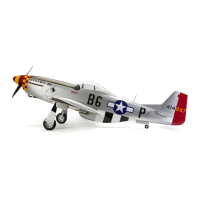
Step 4
Thread the cable end halfway into the ball link.
Remove the covering from the fuselage for the cable
exit. The exit is located 6" in front of the rudder
hinge line. Pass the cable into the fuselage through
the opening.
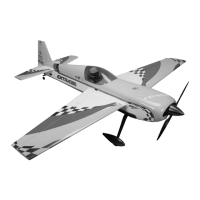
Step 5
Using the screws included with the servos, fasten
the servos in place. You may find it helpful to drill a
1/16" pilot hole before installing the screws.
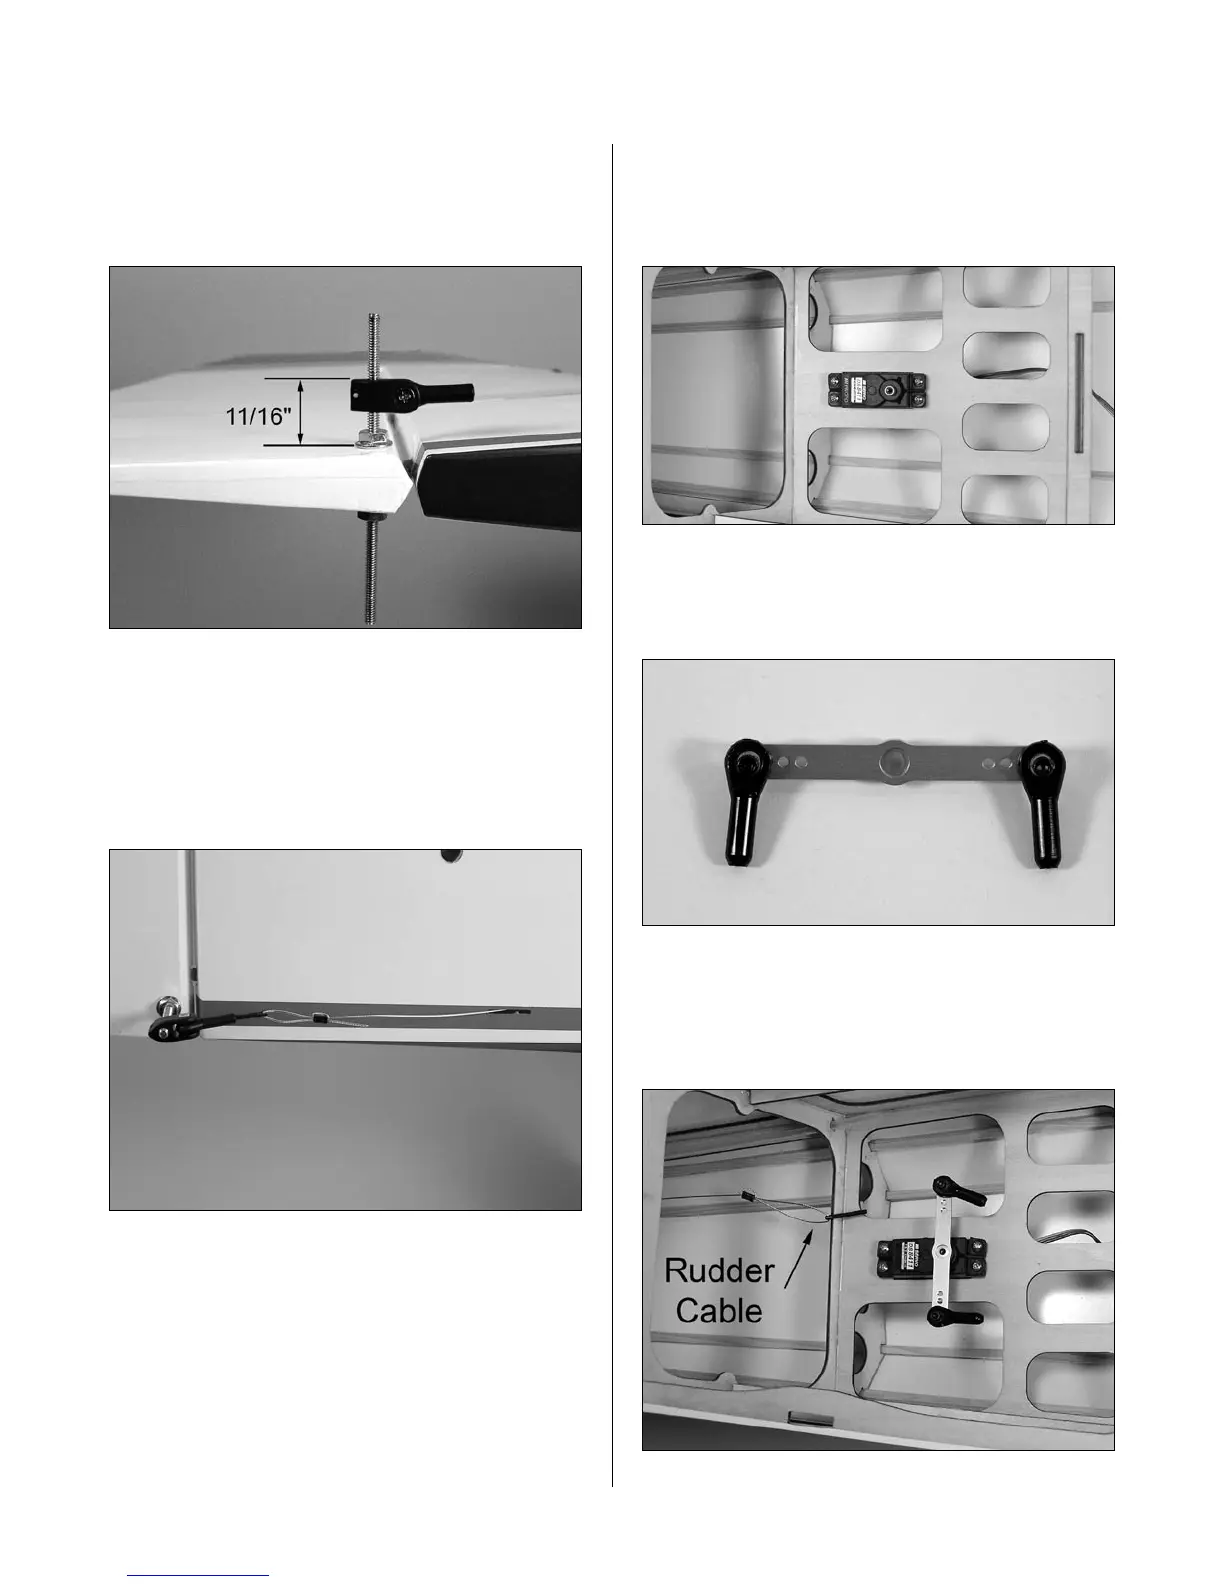
Step 6
Prepare the rudder servo arm by attaching two 4-40
ball links using the standoffs and 4-40 lock nuts.
Step 7
Center the rudder servo and place the servo arm
onto the servo. Slide a crimp onto the cable, then a
threaded end. Pass the cable back through the crimp.
Section 8A – Rudder Servo Installation: Saito 1.80