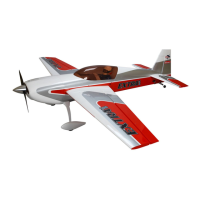
34
Step 8
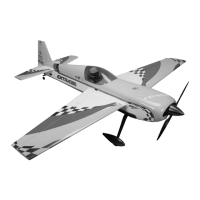
Tighten the M3 x 20 screw carefully—do not over-
tighten. This allows the rubber stopper to form a seal
by being slightly compressed, thus sealing the fuel
tank opening.
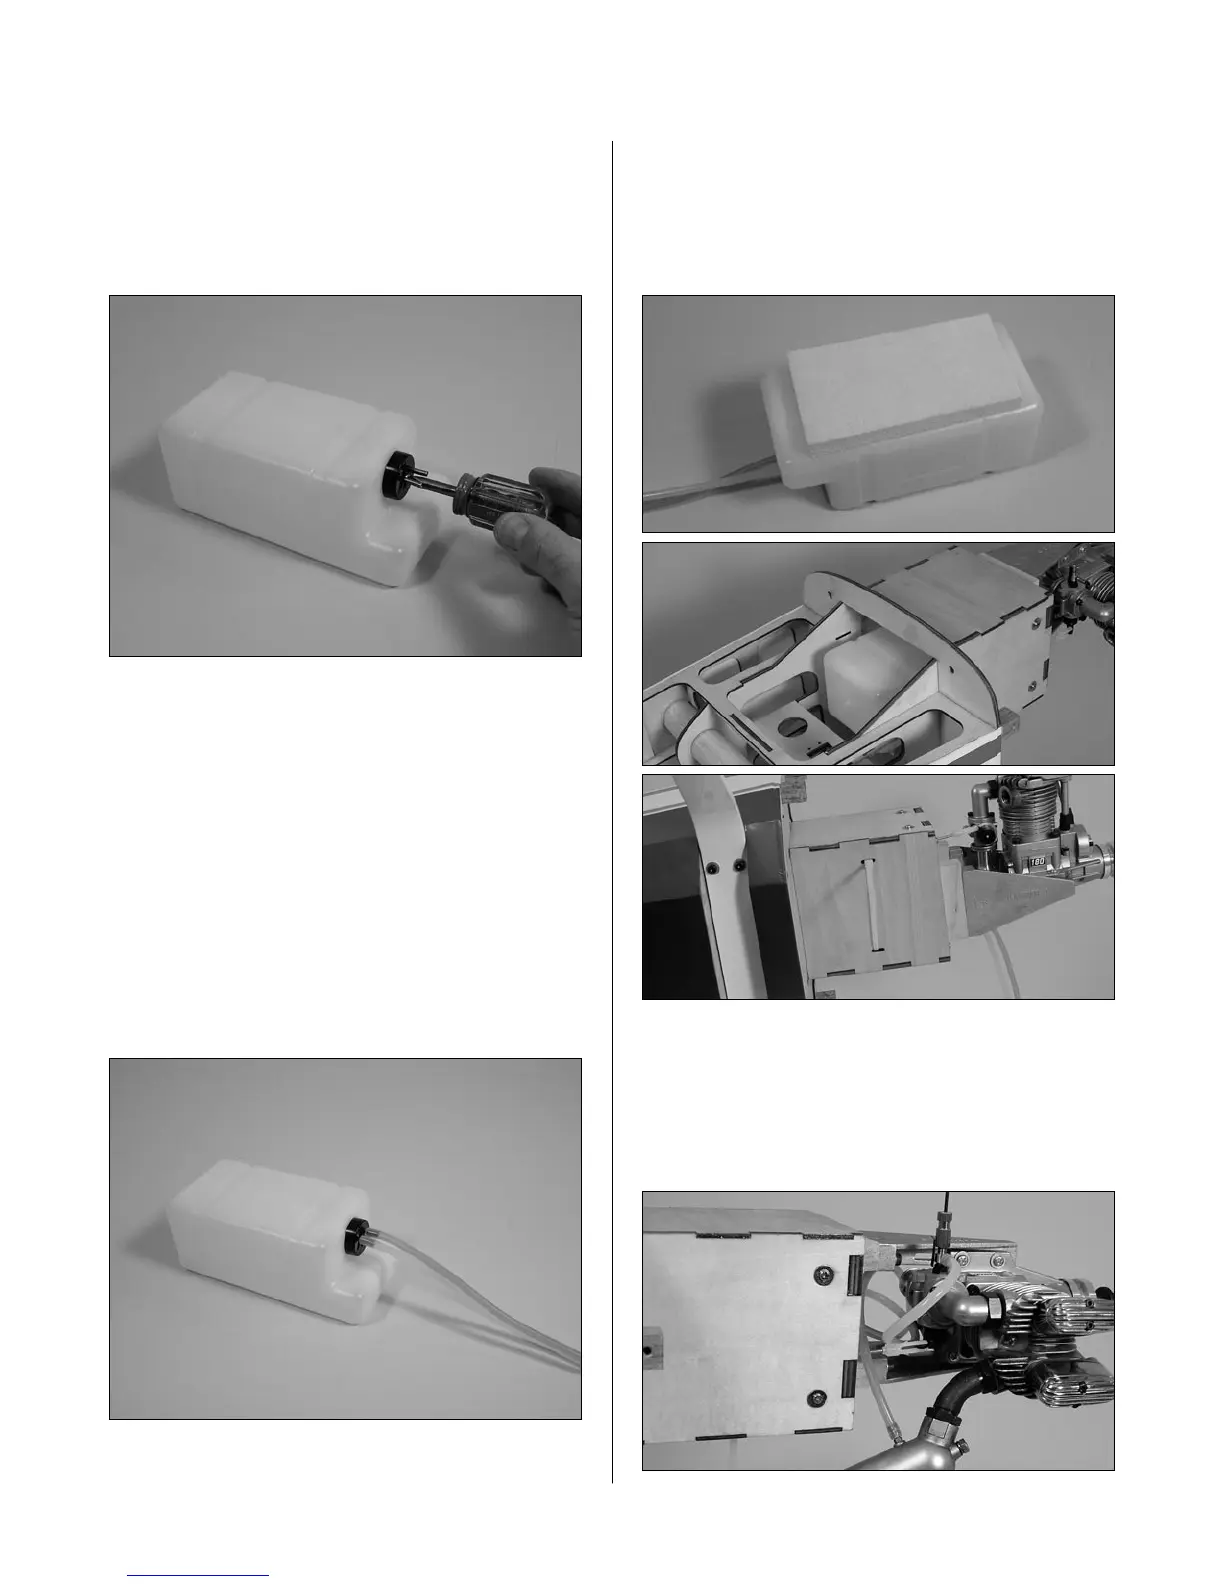
Note: When installing the fuel tank, make
sure to have a piece of foam at any point
that contacts any structure inside the
fuselage. Without the foam, vibrations will be
transmitted to the fuel tank, which could cause
the fuel to foam. In turn, you will not get the
optimum performance from your engine.
Step 9
Connect two 12" pieces of fuel tubing for pickup and
vent tubes. Attach the green tubing to the pick-up, the
red to the vent.
Step 10
Cut a piece of 1/4" foam and attach it to the bottom
of the fuel tank. Install the fuel tank into the fuselage.
Use the 15" tie wrap to secure the tank into position
in the fuselage.
Step 11
Make the proper connections to the engine, using the
engine manufacturer’s instructions. If you are using a
4-stoke, make sure to route the crankcase vent to the
outside of the cowling.
Section 10 – Fuel Tank Installation