10
Step 8
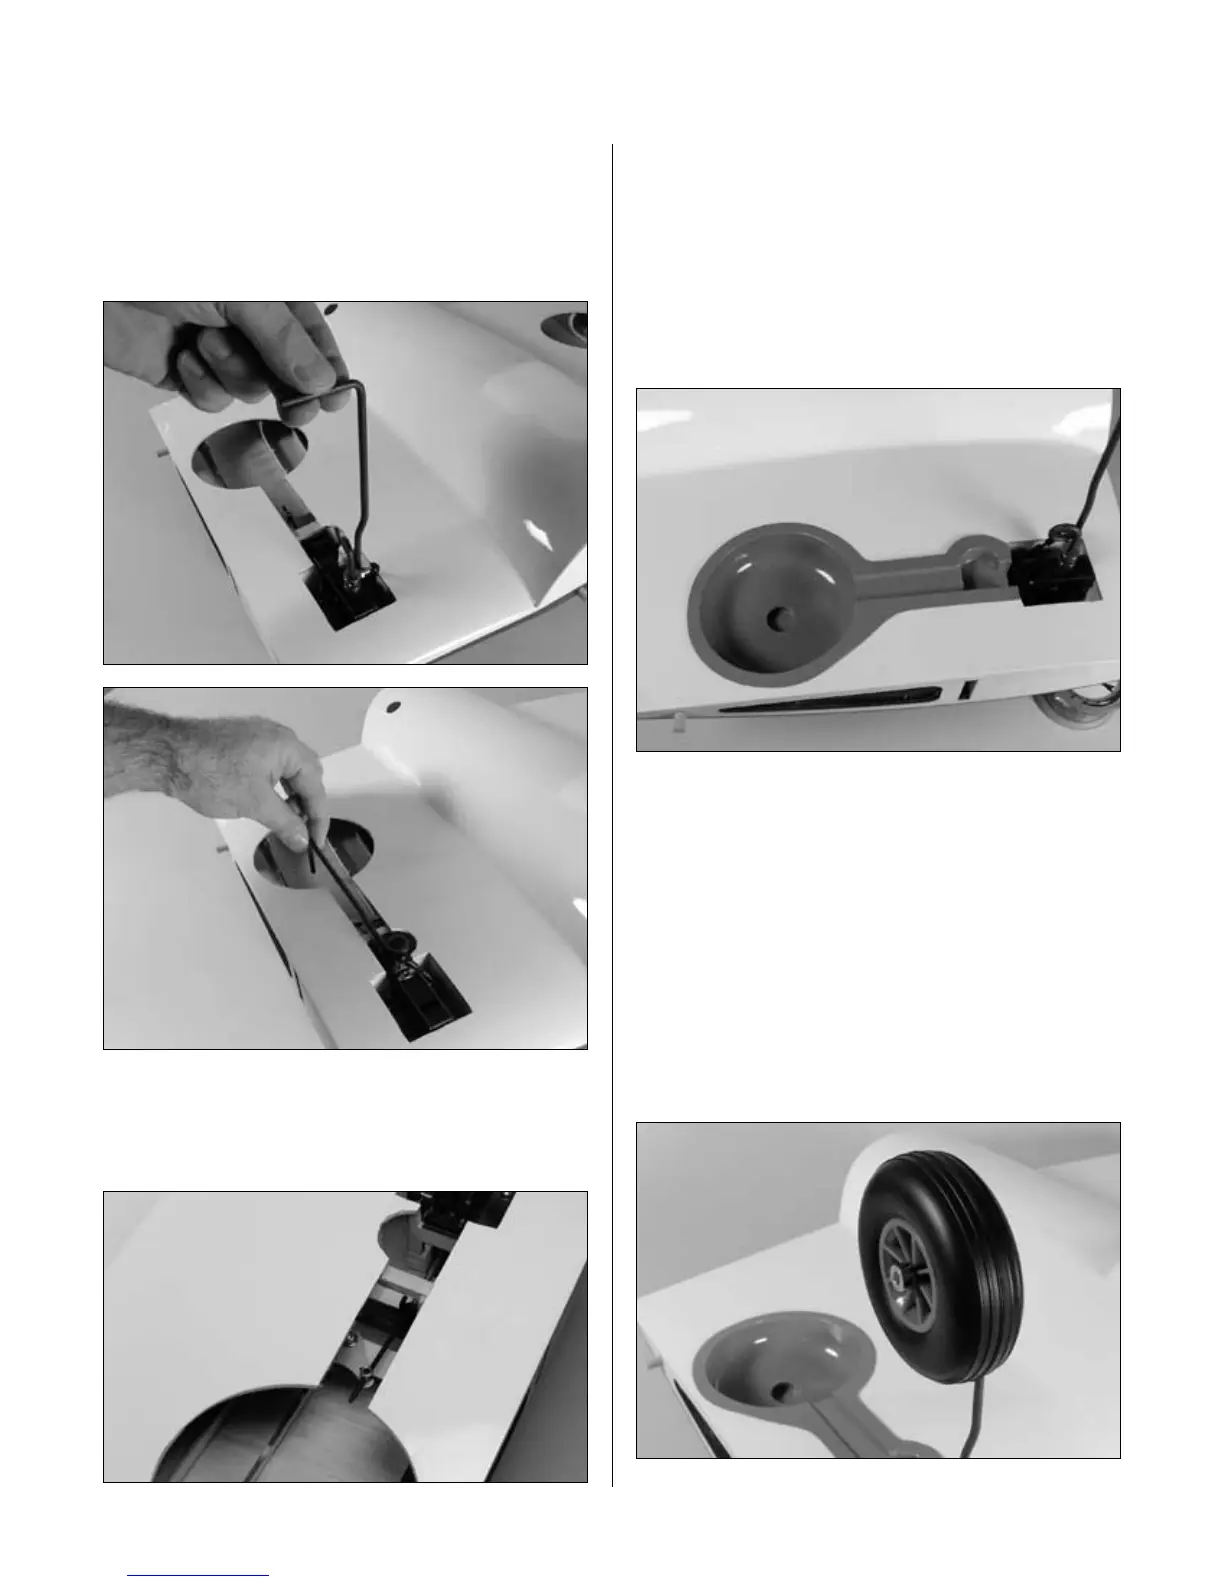
Check the actuation of the retracts, making sure
they fully lock in both the up and down positions.
Make any necessary adjustments to the linkages as
necessary for proper operation of the retracts.
Hint: Adjustments and fine tuning can
also be made to the retract linkages
from inside the wheel wells.
Step 9
Install the wheel wells once the retracts have been
adjusted. Roughen the bottom side of the well and
surrounding covering using medium sandpaper. Clean
both the wing and wheel well using rubbing alcohol and
a paper towel. Trace around the wheel well onto the wing.
Use a sharp hobby knife to remove the covering to expose
the underlying wood. Glue the wells using 6-minute epoxy.
Hint: Use clear tape and tape the wells into
position when flying from rough surfaces.
This will allow easy access to the linkages in
case they might need future adjustments.
Step 10
Install a wheel and two wheel collars on the main
landing gear. The order of items is 5/32" wheel collar,
wheel, and then another wheel collar. Secure the collars
using the 3mm setscrews. Use threadlock to prevent
the wheel collars from vibrating loose during flight.
Section 1: Retract Linkage Installation
 Loading...