12
Required Parts
• Outer wing panel (L&R) • Aileron (left and right)
• Nylon clevis (2) • Clevis retainer (2)
• CA hinges (6) • #2 x 3/4" screw (6)
• #2 x 3/8" sheet metal screw (8)
• Servo (2)
• Long servo arm (JRPA212) (2)
• 6" (153mm) pushrod wire (2)
• Control horn w/backplate (2)
• Servo Extension, 18" (458mm) (2) (JRPA099)
• 3/8" x 3/4" x 3/4" (9.5mm x 19mm x 19mm)
servo mounting block (4)
Required Tools and Adhesives
• Thin CA • T-pins
• Drill • 6-minute epoxy
• Ruler • Felt-tipped pen
• Drill bit: 1/16" (1.5mm), 5/64" (2mm),
3/32" (2.5mm)
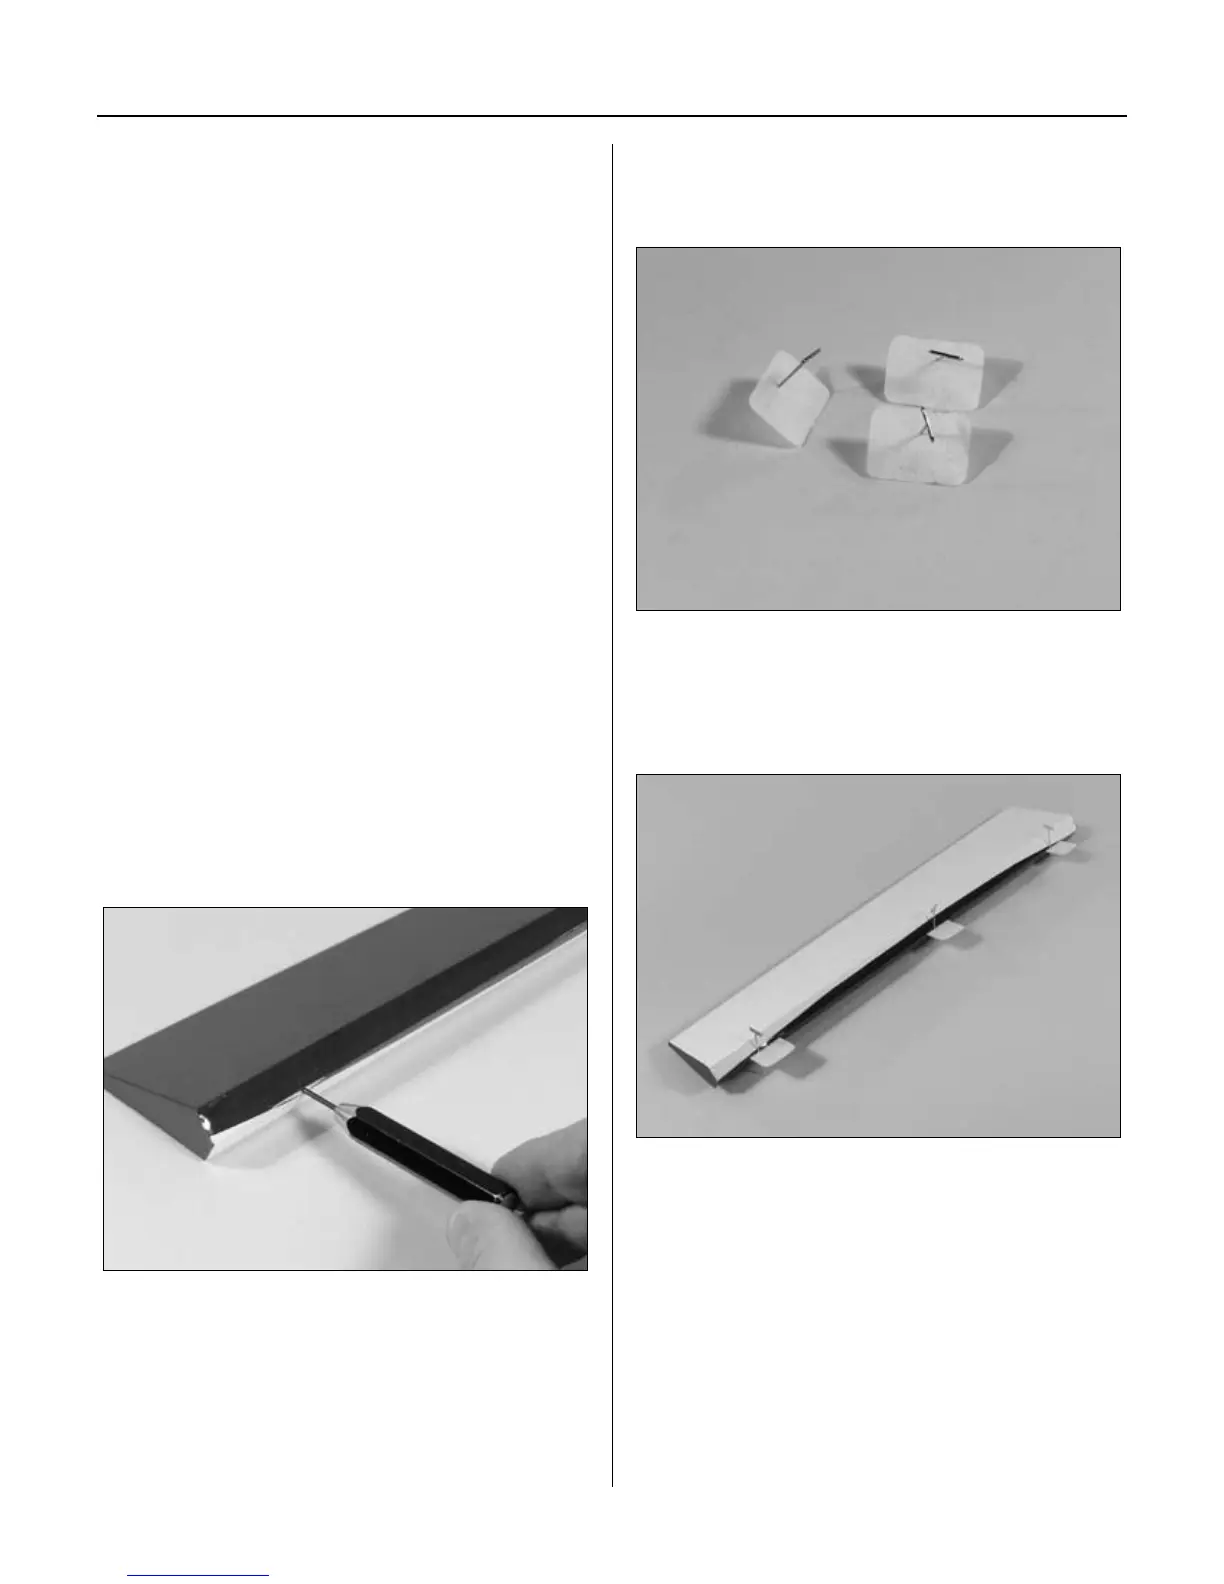
Step 1
Use a 1/16" (1.5mm) drill bit to drill a hole in the
center of each hinge location. Drill holes in both the
wing and aileron. This creates a tunnel for the CA to
wick into, allowing for a better bond of the hinge.
Step 2
Locate three CA hinges. Place a T-pin in the center
of each hinge.
Step 3
Place the hinges in the precut slots in the
aileron. The T-pin will rest against the leading
edge of the aileron when installed correctly.
Section 2: Aileron Installation
 Loading...