13
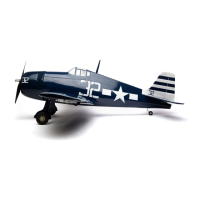
Step 4
Slide the aileron and wing together. The gap between
the leading edge of the aileron and wing should be a
maximum of approximately 1/64" (.4mm). Check to
make sure the gap at the ends of the aileron are equal
and the aileron can move without rubbing on the wing.
Note: Do not use CA accelerator during
the hinging process. The CA must be
allowed to soak into the hinge to provide
the best bond. Using accelerator will not
provide enough time for this process.
Step 5
Remove the T-pins and move the aileron to provide
the best access to the hinge. Apply thin CA to each
hinge. Make sure the hinge is fully saturated with
CA. Use a paper towel and CA remover/debonder to
clean up any excess CA from the wing and/or aileron.
Make sure to apply CA to both sides of the hinges.
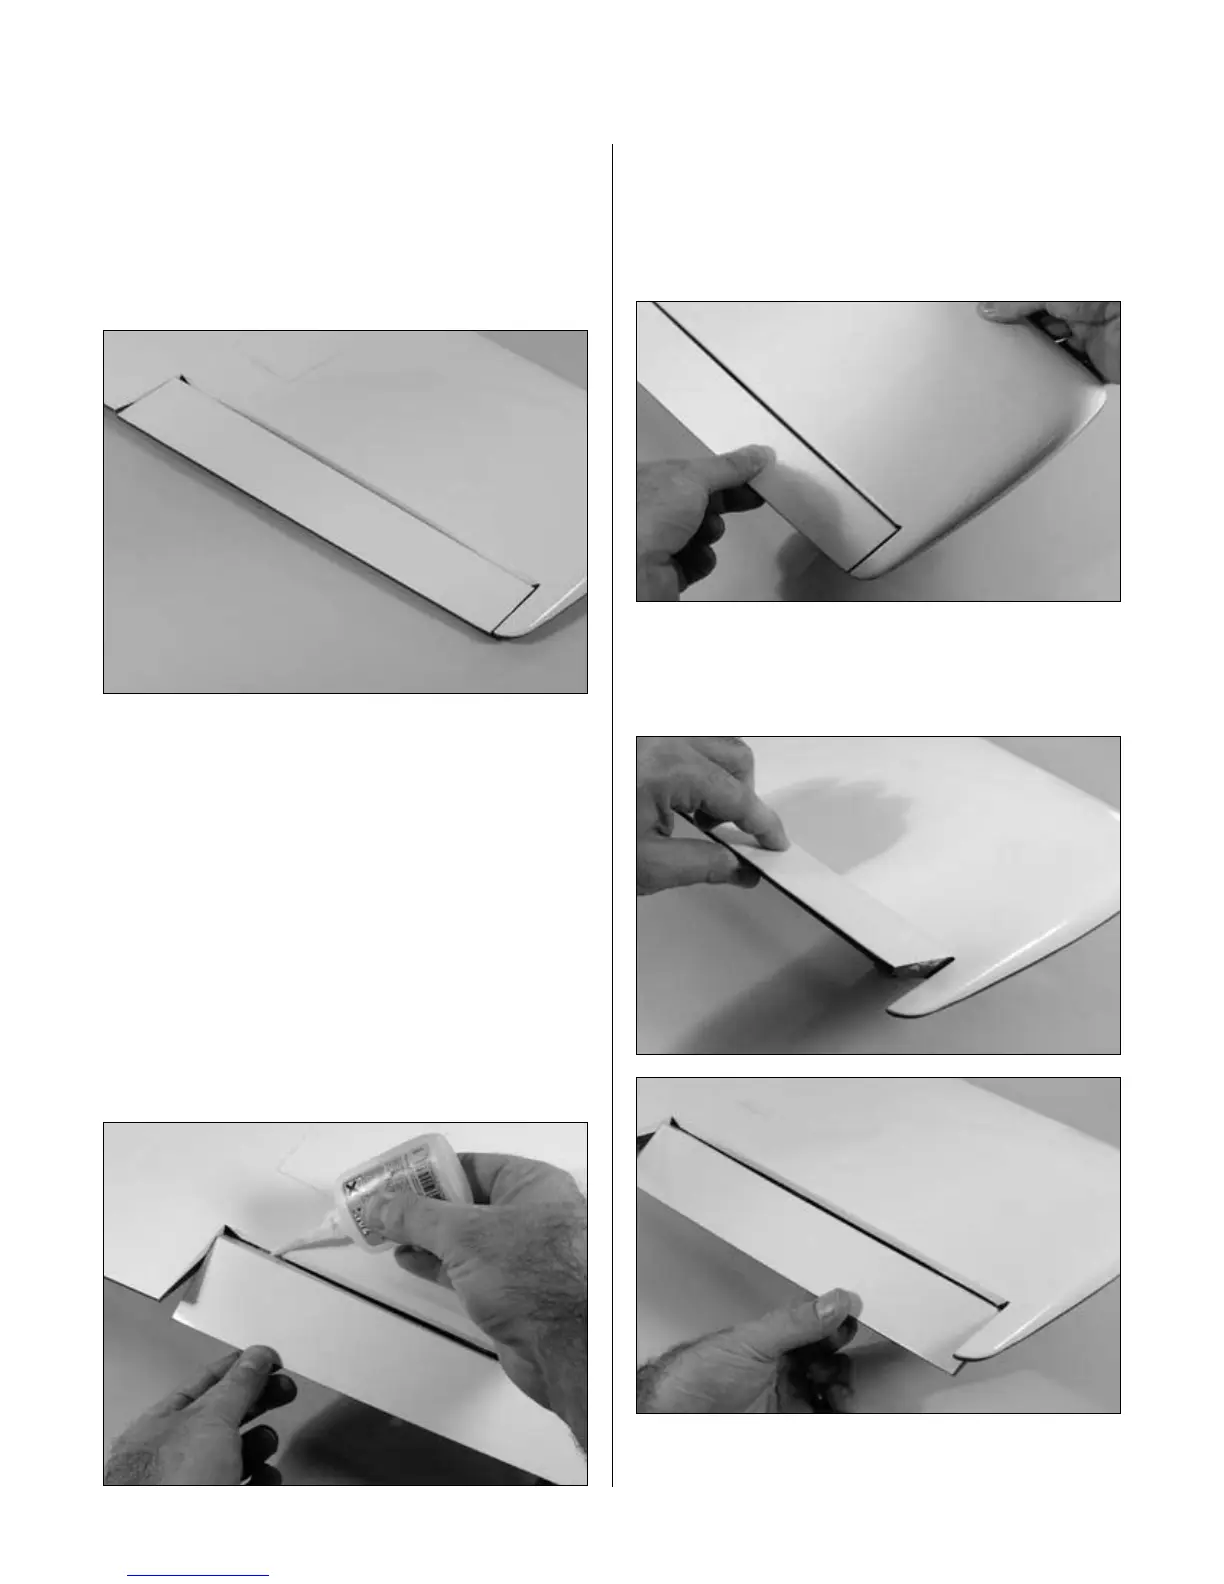
Step 6
Firmly grasp the wing and aileron and gently pull
on the aileron to ensure the hinges are secure and
cannot be pulled apart. Use caution when gripping the
wing and aileron to avoid crushing the structure.
Step 7
Work the aileron up and down several times to work
in the hinges and check for proper movement.
Section 2: Aileron Installation
 Loading...