15
Note: It may be necessary to slightly
trim one of the servo mounting
blocks to clear the servo wire.
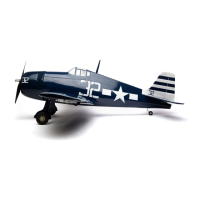
Step 12
Remove the servo and use a 1/16" (1.5mm) drill bit to
predrill the holes for the servo mounting screws marked
in the previous step. Use the screws supplied with
the servo to mount it to the servo mounting blocks.
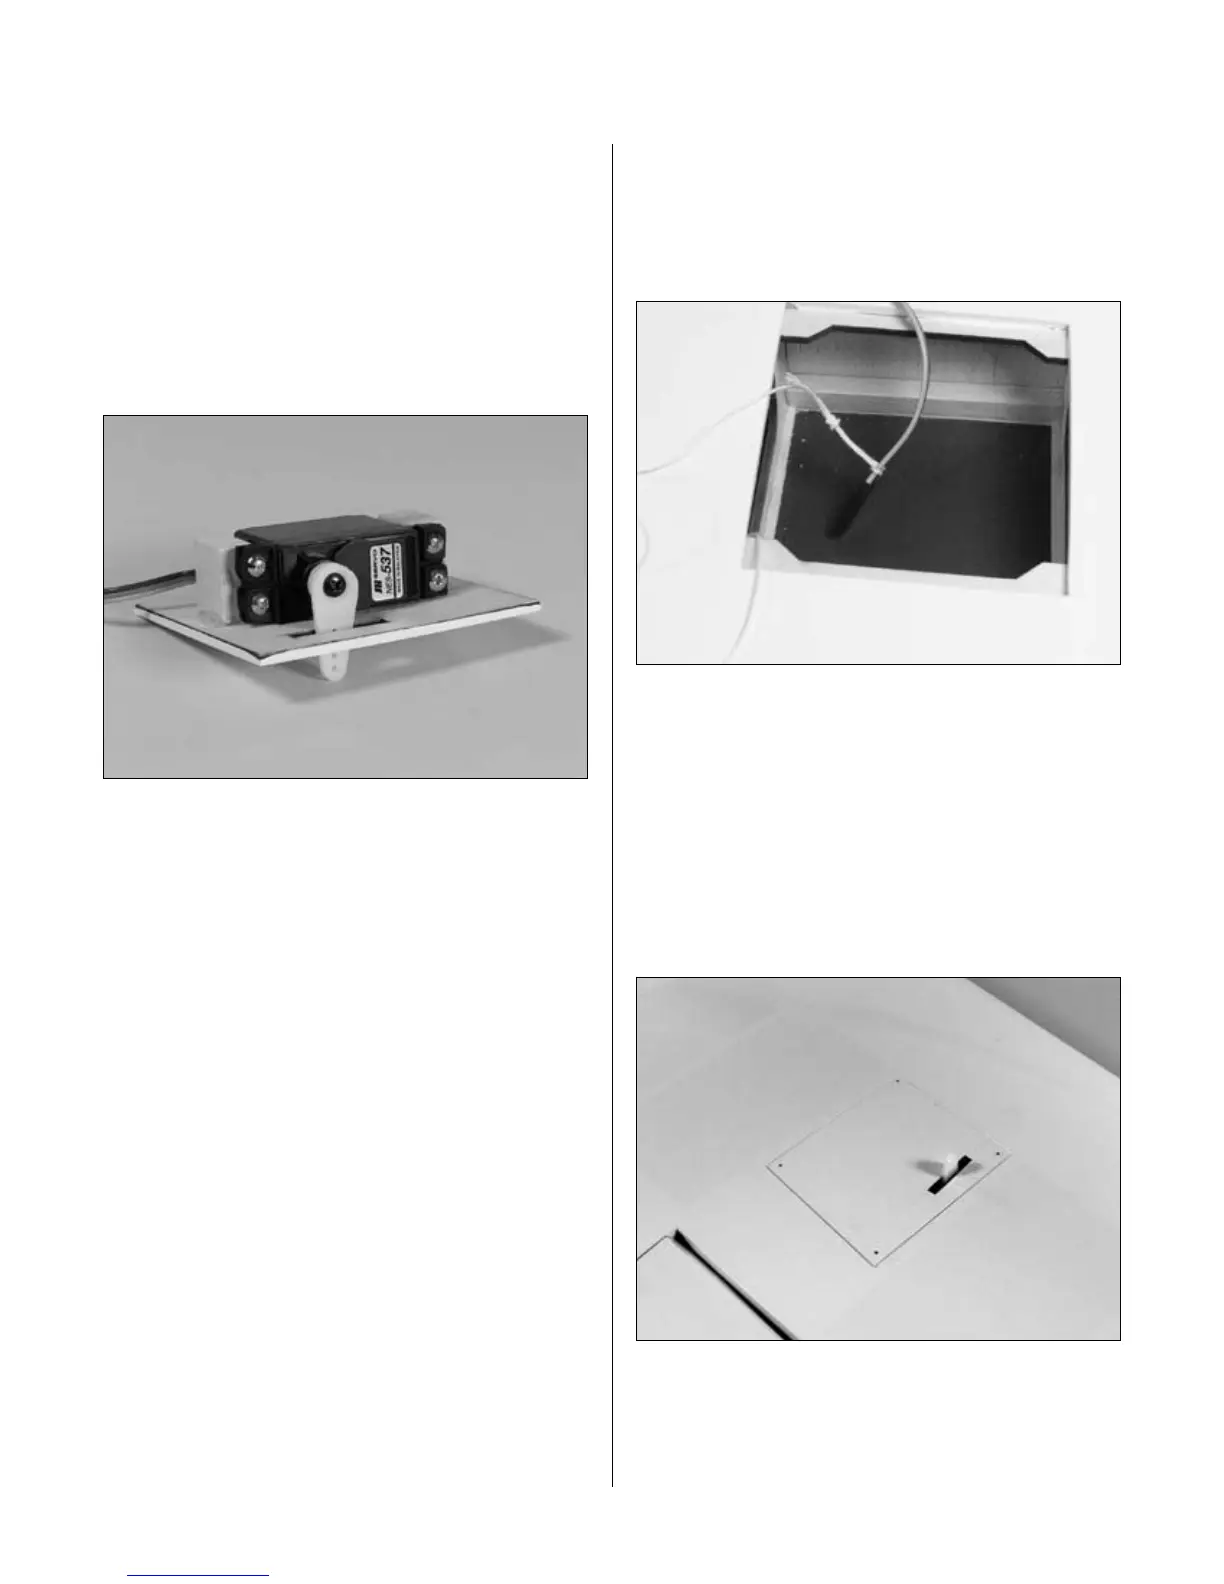
Step 13
Connect an 18" (458mm) Servo Lead extension
(JRPA099) to the servo lead. Secure the connectors by
tying them in a knot using dental floss (as shown) or
by using a commercially available connector clamp to
prevent the servo leads from becoming disconnected.
Note: It is always a good idea to secure the
servo connector and servo extension together
to prevent the wires from becoming unplugged.
Step 14
Tie the preinstalled string onto the servo extension.
Tie a small weight onto the string at the root
of the outer panel. Use the string and weight
to pull the extension out of the tip panel.
Step 15
Place the hatch cover in position in the aileron
opening. Measure in 1/8" (3mm) on all four
sides of the hatch. Drill four 1/16" (1.5mm) holes
at the intersections of the lines as shown.
Note: Drill through the servo hatch and the
underlying hatch mounts. Use caution not to
accidentally drill through the top of the wing.
Section 2: Aileron Installation
 Loading...